Search This Blog

Wednesday 19 August 2020

Wings, Ailerons and Flaps - putting it all together

Wings, Ailerons and Flaps

Its a really cool point in any project when you start merging components into assemblies.  Always has been my favorite part of any project...

Flaps.... in hindsight, the flaps were easy :-).  The hardest part is mounting something that is 10' wide by yourself.... however, the wing stands worked really well for this.

At first I really struggled putting all the hardware together.  Bushing, bearing, end caps, washers bolt and nut.  Once I figured out that you take the bushing, bearing, and caps and get them in the track, roll them into position on the flap bracket, drop the bolt and washer in and you are done.  Makes it way easier.


The videos of the ailerons wont load unfortunately.... but they do work.

The hardware for the ailerons is quite complex.  Spacers, washers, all 'stacked' together using super glue.  I used a sacrificial bolt to stack everything, and kept the actual bolts for 'good'.  Again, using the wing stands to hold everything in place.

NOTE:  I had zero luck trying to adjust the aileron push rod while installed.  It has to come out, and that is a PAIN.  Also, both ends are right hand threaded, so you cannot adjust the length with both ends installed.

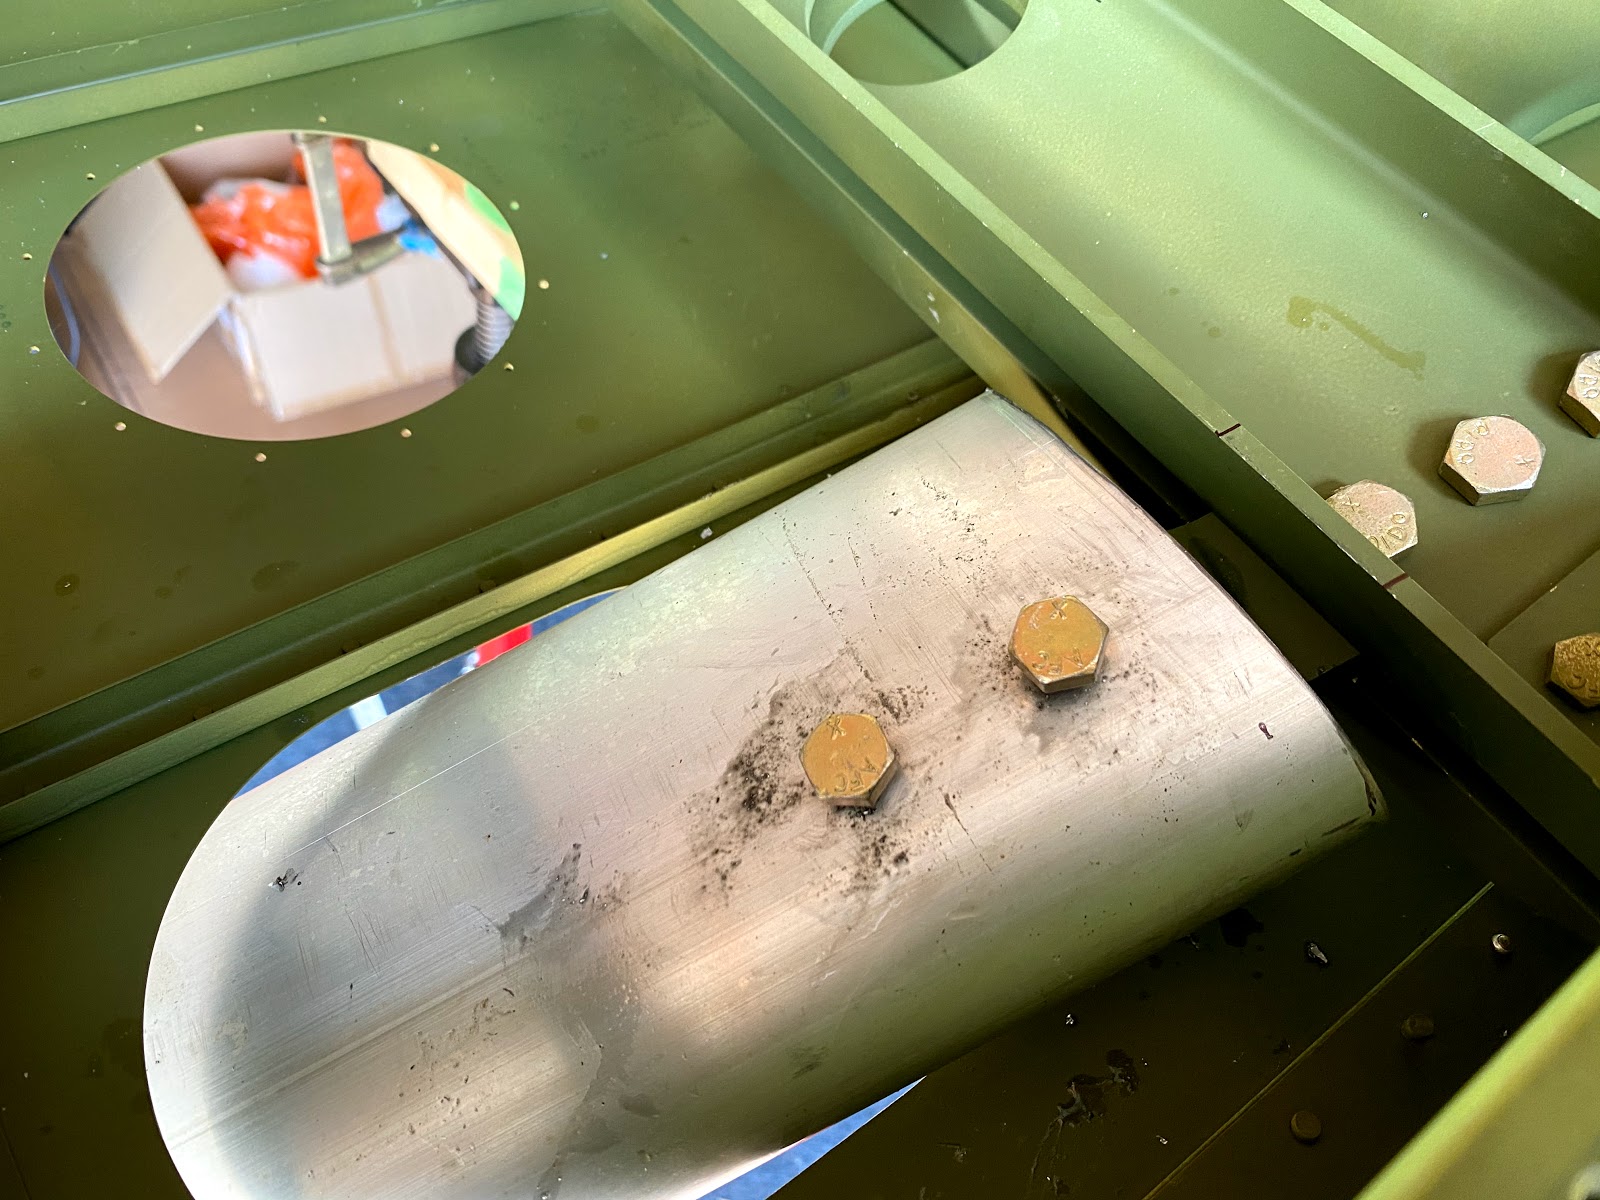
Because of how I purchased the fuselage (already on its wheels), I decided to do all this work with the trailing edge about 5' up.  For me being 6'2", not a big deal (I still did whack my head a couple times... cannot wait for the extended gear and big tires).  Having it at this height does make it easier to get under the wing and through the inspection holes.  Some people have the fuselage sitting about 1' lower - this means you dont need a saw horse to work on the top of the wing, but it would make getting under the wing a lot harder.  Personal preference obviously.... I liked doing it at this height personally.

So once all of the control surfaces are in, then its onto control cables.  Well, this has taken me a week (of weekends and evenings).

Need to make the cable guides.... not hard, except you cant get a pull rivet gun in to pull the rivets.  So, I used #6 bolts and lock nuts.

Keeping the cables organized is a big deal... and I have failed at that.  Its better, but still not 100% right.  But I do know that everything is going to clear, which is the intent.


The actual rigging was interesting.  There are a lot of variables:

  • Cable Lengths - and more specifically, how long do you want them?  There are multiple cables that make up each flap / aileron cable, and at least one of them per function are not terminated
  • Starting point of turnbuckles
  • Desired cable tension
  • Obtaining correct amount of bell crank arc and starting / ending position
Flaps:

I started with the flaps.... because that is what the manual said to do.

The flaps are easier and harder all at the same time.

First off, you need a method to hold the unterminated ends together while going through this whole process.  I decided on these from Home Depot :


You need to use the 3/16" size.  The 1/8th cable wont fit nicely.

First off, put on the heat shrink that will eventually go on the nicopress sleeve.  Next ensure you have a thimble on your connection point, then put on the sleeve, and get some tension on it.  Then use the cable clamp and lock it into position.

For best results, butt the cable clamp RIGHT UP against the nicopress sleeve.  If you can get it nice and tight, it makes crimping easier later on.

Once you have all off the places to be crimped held in place temporarily, then comes to fun of getting the cable lengths and tensions correct.

For the flaps, the goal is full RETRACTION.  Right up against the flap track.

Tension the retraction cable so it pulls up against the forward edge of the track.  Then add in the deployment cable.  You will need to add / remove tension to get everything just right.  I think I did  it no less than 12 times.

So if you think that is bad, the ailerons are worse...

What I found worked:
  • Set the aileron neutral position.  I did so using jack stands.
  • Put in the crossover cable, and set some light tension
  • Add in the left / right aileron cables.  Center the control yoke.
  • Adjust cable lengths, apply tension.
  • Verify aileron travel
  • Make stop plates.
So at this point I have a bas rigging setup on both the flaps and ailerons and everything works.  I am jumping ahead and making the crossover cable guide pretty quick and will put in all of the final hardware and cotter pins and lock everything down for the trip back home.

2 things left to do, and then it all comes apart.


Monday 3 August 2020

Wings Part VIII

Sunday was a good day.

Left wing strut drilled.


The Glasair supplied drill jig did exactly what it was supposed to do.

Once the fuselage is level and twist removed and angle of incidence set, drop the jig in and put in the alignment pins.  Clamp in place, draw witness marks on the strut beam.  Put the strut in place, center in wing hole, drill the first hole.  Put a pin in the hole you just drilled, drill 2nd hole.

Go SLOW.  Real slow.  Use a corded drill, and use lots of drilling fluid.


Look ma - no stands!


Same deal for the right wing.


Finished product!

Next is hanging the ailerons and flaps....

Sunday 2 August 2020

Wings Part VII

With the ailerons and flaps complete, just need to finish the last of the riveting on the bottoms.


So now its onto book #2!  

I am lucky enough to have a fuselage that is ready to hang the wings.  

So I rented a hanger for the Emeraude, and moved the wings / ailerons / flaps.  I built a dolly that will hold everything.  We moved everything to the airport in my father in laws big enclosed trailer.


Really simple design.  After consulting the forum, the trick seems to be where the weight sits.  I decided to go leading edge DOWN.  Each of the 3 sections on the dolly are an 8' 2x6 with a 8' 2x4 screwed to it on edge, creating an upside down T structure.  Should not warp badly enough to cause any issues.  All 3 of these T structures were fixed together with 2x6 outriggers for the wheels.  2x6 uprights to hold them up.  Then I added 2 more 2x6's for the flaps and other bits.

Moving day...


Arrived at the airport (less than 20 miles) with no issues.

The hanger is really tight however...


I decided to buy a couple adjustable tripod stands from Pricness Auto (Canadian version of Harbor Freight).


Getting the fuselage level...


For the 'wing raising', I solicited a bunch of friends.  I thought 4 including me would be enough, but 6 showed up - and that was a very good thing.  We needed all 6.  I had wing stands ready for both sides, fuselage roughly level, struts assembled (but not cut on the outboard sides).


Took us 1.5 hours to get both on.  The only issue was on the right side had to open up the fiberglass a bit.


The adjustable tripods worked awesome.  Remove the twist, dial in the angle of incidence, done.

I had the strut marked out already, but we put it in place and measured.  96.4" was right on the money with an 82 degree angle.

Rented the wing strut drill jig from Glasair.  Thanks Brian!

Ready to drill...


I am going to add another clamp and check everything again before committing.

What comes next:
  • Drill the struts for the left wing
  • Check length on right wing, cut strut and drill
  • Hang ailerons and flaps
  • Run control cables and nicopress.
  • Wings back to home, install fuel tanks, run fuel lines, install transfer pumps, wiring, pitot/aoa plumbing, etc.
  • Close wings (top skins)
The cool part - its starting to look like an airplane!


Ailerons and Flaps - Part III

Progress has been good.... 

Flaps are complete...


Riveting bottom of right aileron and wiring for servo


Last thing on the aileron is to cut the slot for the counterweights.  That will be done later on, after they are hung and the control cables run.