Wings, Ailerons and Flaps
Its a really cool point in any project when you start merging components into assemblies. Always has been my favorite part of any project...
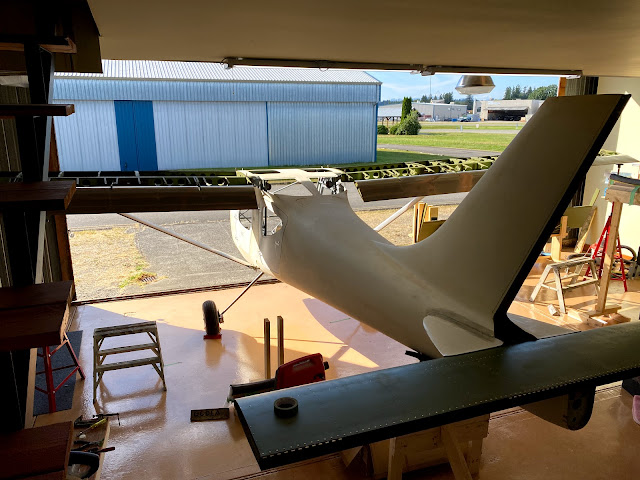
Flaps.... in hindsight, the flaps were easy :-). The hardest part is mounting something that is 10' wide by yourself.... however, the wing stands worked really well for this.
At first I really struggled putting all the hardware together. Bushing, bearing, end caps, washers bolt and nut. Once I figured out that you take the bushing, bearing, and caps and get them in the track, roll them into position on the flap bracket, drop the bolt and washer in and you are done. Makes it way easier.
The videos of the ailerons wont load unfortunately.... but they do work.
The hardware for the ailerons is quite complex. Spacers, washers, all 'stacked' together using super glue. I used a sacrificial bolt to stack everything, and kept the actual bolts for 'good'. Again, using the wing stands to hold everything in place.
NOTE: I had zero luck trying to adjust the aileron push rod while installed. It has to come out, and that is a PAIN. Also, both ends are right hand threaded, so you cannot adjust the length with both ends installed.
Because of how I purchased the fuselage (already on its wheels), I decided to do all this work with the trailing edge about 5' up. For me being 6'2", not a big deal (I still did whack my head a couple times... cannot wait for the extended gear and big tires). Having it at this height does make it easier to get under the wing and through the inspection holes. Some people have the fuselage sitting about 1' lower - this means you dont need a saw horse to work on the top of the wing, but it would make getting under the wing a lot harder. Personal preference obviously.... I liked doing it at this height personally.
So once all of the control surfaces are in, then its onto control cables. Well, this has taken me a week (of weekends and evenings).
Need to make the cable guides.... not hard, except you cant get a pull rivet gun in to pull the rivets. So, I used #6 bolts and lock nuts.
Keeping the cables organized is a big deal... and I have failed at that. Its better, but still not 100% right. But I do know that everything is going to clear, which is the intent.
The actual rigging was interesting. There are a lot of variables:
- Cable Lengths - and more specifically, how long do you want them? There are multiple cables that make up each flap / aileron cable, and at least one of them per function are not terminated
- Starting point of turnbuckles
- Desired cable tension
- Obtaining correct amount of bell crank arc and starting / ending position
- Set the aileron neutral position. I did so using jack stands.
- Put in the crossover cable, and set some light tension
- Add in the left / right aileron cables. Center the control yoke.
- Adjust cable lengths, apply tension.
- Verify aileron travel
- Make stop plates.


No comments:
Post a Comment