Search This Blog

Showing posts with label Engine. Show all posts

Wednesday, 7 January 2026

Engine Pre-Heat

Our temperatures in the Vancouver area are not that cold... but the coldest days are great flying days typically.  So an engine pre-heat solution is a good thing.

I ended up buying an automotive sump pad that looks identical to an aviation one, but at less than half the price.

Going to put it on the side of the sump as the bottom has ridges.  Which side will depend on wire routing.

Wiring / connector... cannot use the oil door... the turbo is right there, as are the plug wires, oil filler, etc.  That is the logical place, but no.  I do not want to have to disconnect something to take the cowling off.

Next idea is on the air inlets at the front.  That would work, but whatever is there will get covered in bugs.

Connector.  Finally settled on this connector from amazon.

It has a cover, which I like and is required in my opinion.  But I am worried about using this connector with a cover up front by the prop.  If it comes off, it will either go into the engine or the prop or both.  No... bad idea.

Finally decided to put it just forward of the firewall on the bottom just outboard of the gascolator.  Easy wiring run, out of the way, wont get ingested by the engine or prop, and still easy to connect / disconnect.


Nice to finish something in a day / afternoon.  Everything is soldered, heat shrinked, etc.  And it works too... gets hot very quickly.


Saturday, 6 December 2025

Needed a dose of motivation... so start the engine!

The weather was reasonable (which means it wasn't raining) and needed a boost.  The engine would run, so today was the day.


Got oil pressure, so tried to start the engine.  Nope.  Would have helped if the fuel valve from the header tank was ON (it will be safetied open for flight).  Once that was found and the fuel system primed, she started right up.  

Check for leaks.  NONE!  But, fuel pressure indicator reads ZERO.  Need to check the sensor wiring.  The data is coming from the CANBUS, but there is nothing there.

Then the cowls went on.  Everything fits.

Started back up again.  Brought the RPM to 2200.  She wanted to GO.

Quick taxi... brakes need to be bled again.  Re and re'ed the park brake, and some fuel leaked out and air got in.

Successful day!


Friday, 17 February 2023

Finishing / installing the firewall, rehanging the engine (for the last time fingers crossed)

 This has been a long journey.  The build overall has been long, but the 'engine' journey from idea, to fuel system design and fabrication, engine mount, electronics placement, firewall decisions, firewall construction, engine on and off, etc has been 2 years.  But, to see parts made 1 and 2 years ago come together is pretty darn cool.

While I am waiting for parts (more Ocrotek tape and 1 fitting), tidying up the wires, and adding a few more for later use.  Might as well do it now while it is somewhat 'easy' to get to.  Plus, tightening down and torque sealing all the bolts, brake fittings, etc.

Firewall went into today... hopefully for good!  Was relatively easy... just a bit of prodding here and there to get it to seat into the fuselage.


The hardest part was fishing the wires through correctly.  This wasnt that big a deal, except the EarthX battery jumper cables have to go through the opposite way because of the fusible link.

Next step is the fire barrier on the edges.  I am taping everything off in stages so hopefully I can just let it gel, then pull the tape and have a nice line.  I went with the 'gray' 3M Fire Barrier 2000+.  Hopefully it looks OK.


Clecos in (for positioning, not that it was a problem - it all lined up perfectly after some gentle persuasion with a fist or two) and 2 or 3 lines of tape all around.

Fire barrier inserted between the firewall flanges and fuselage shell.  I clamped in a couple areas where the clecos were not enough to snug it up enough.


Air deflector riveted and screwed in place (very thankful it still fit, as I drilled it over a year ago).  Also all gooped up with fire barrier.


Next is riveting the flanges to the fuselage shell.

I set somewhere around half the rivets on the flanges / shell, and replaced the hardware on the gascolator mount and safety wired the screws.  Working on hardware selection to permanently bolt the firewall frame up to the cage tabs.  Its starting to get 'real'.


Once the frame is bolted in, then I can (re)do all the power wires, place the batteries, etc.

Progress.  A couple of evenings and I have a lot of stuff bolted in, and wires (hopefully) run for the last time.


Its starting to look like something.  Lots more to do... but the weekend is here!  Hoping to get everything alive by end of day Sunday.

My inspector is really big on silicon boots (aka nipples) on all power wires... and of course I just ran out.  2 short.


Almost there.  Everything is functional at this point again (but only one battery).  Pumps work, new starter relay works, everything through the firewall, etc.  Lots of little things to do.  Some fasteners to install, couple holes to drill, some rivets, etc.  The interior of the panel can be reassembled as well.  All of the fittings on the aft side of the firewall are populated.  My goal is to get as much done as possible before the engine mount goes on.

Small issue with battery cables.

For my electrical configuration, the output of the main relays are bridged - IE they go onto a common bus.  Because I want to be able to start off of either battery, the cable between then is a 2 gauge.  Plus I have to tie in the engine bus, ACM, and fuse panel, plus the UL smoothing capacitor. Bottom line, there is a lot of stuff on the output side of the relays... and I have to add one more for the starter, and I just don't have enough threads left.  

The thought:  2 terminal distribution block that I can tie in the big 2 gauge lugs, and then split off to the starter.  All this means is the problem will not get worse.  Need to find one that can handle a couple hundred amps.  Then there is the issue of mounting location... I am out of room in that area, so it will probable have to be mounted to the engine mount with adel clamps.

Ready to re-hang the engine...


I took the opportunity to weight the beast before and after using racecar scales.


It wasnt quite perfectly level, but very close.  Doesnt really matter for these purposes... what I wanted to know was the engine weight.

And the numbers are....


268 lbs for engine, exhaust, induction, starter, alternator / generator, etc.  No baffles, intercooler, oil cooler, etc.  An IO-390 weighs 310 lbs bare (no exhaust, no alternator, no starter, etc).  Note:  I forgot to take off the front travel plate (that mounts to the floor of the crate) when i weighed it.  Its at least 2 lbs with hardware.

Couple points for anyone looking at UL:

  • Turbo:  You need to adjust the angle of the turbo outlet before mounting the engine.  In my case, it was pointed straight up.  Also, you have to remove the oil return line in order to spin in.  Dont forget to tighten it back up (note to self).
  • The main oil return line to the sump interferes with the right lower engine mount.  I need to 'finesse' it a little.  
Back in the garage, ready for the next steps.


Next steps are:
  1. Engine umbilical to ECU, firesleeve, etc.  Retest wiring.
  2. Oil cooler mount, cooler, plumbing, etc
  3. Baffles / plenum / intercooler ducting
  4. Intercooler plenum and hoses
  5. Cowl (oil cooler opening), reshape cowl for larger spinner
  6. Exhaust extensions
  7. CHT / EGT lines
  8. Plug wires
  9. Fuel delivery and return lines
That's enough.  My head hurts.

Onward and upward...


Monday, 29 August 2022

Engine Installation - Part II

 While I was waiting / saving for the engine, I planned ahead on component mounting, firewall layout, etc.  The bad news is almost everything I planned had some kind of issue.  The ECU is not exception.

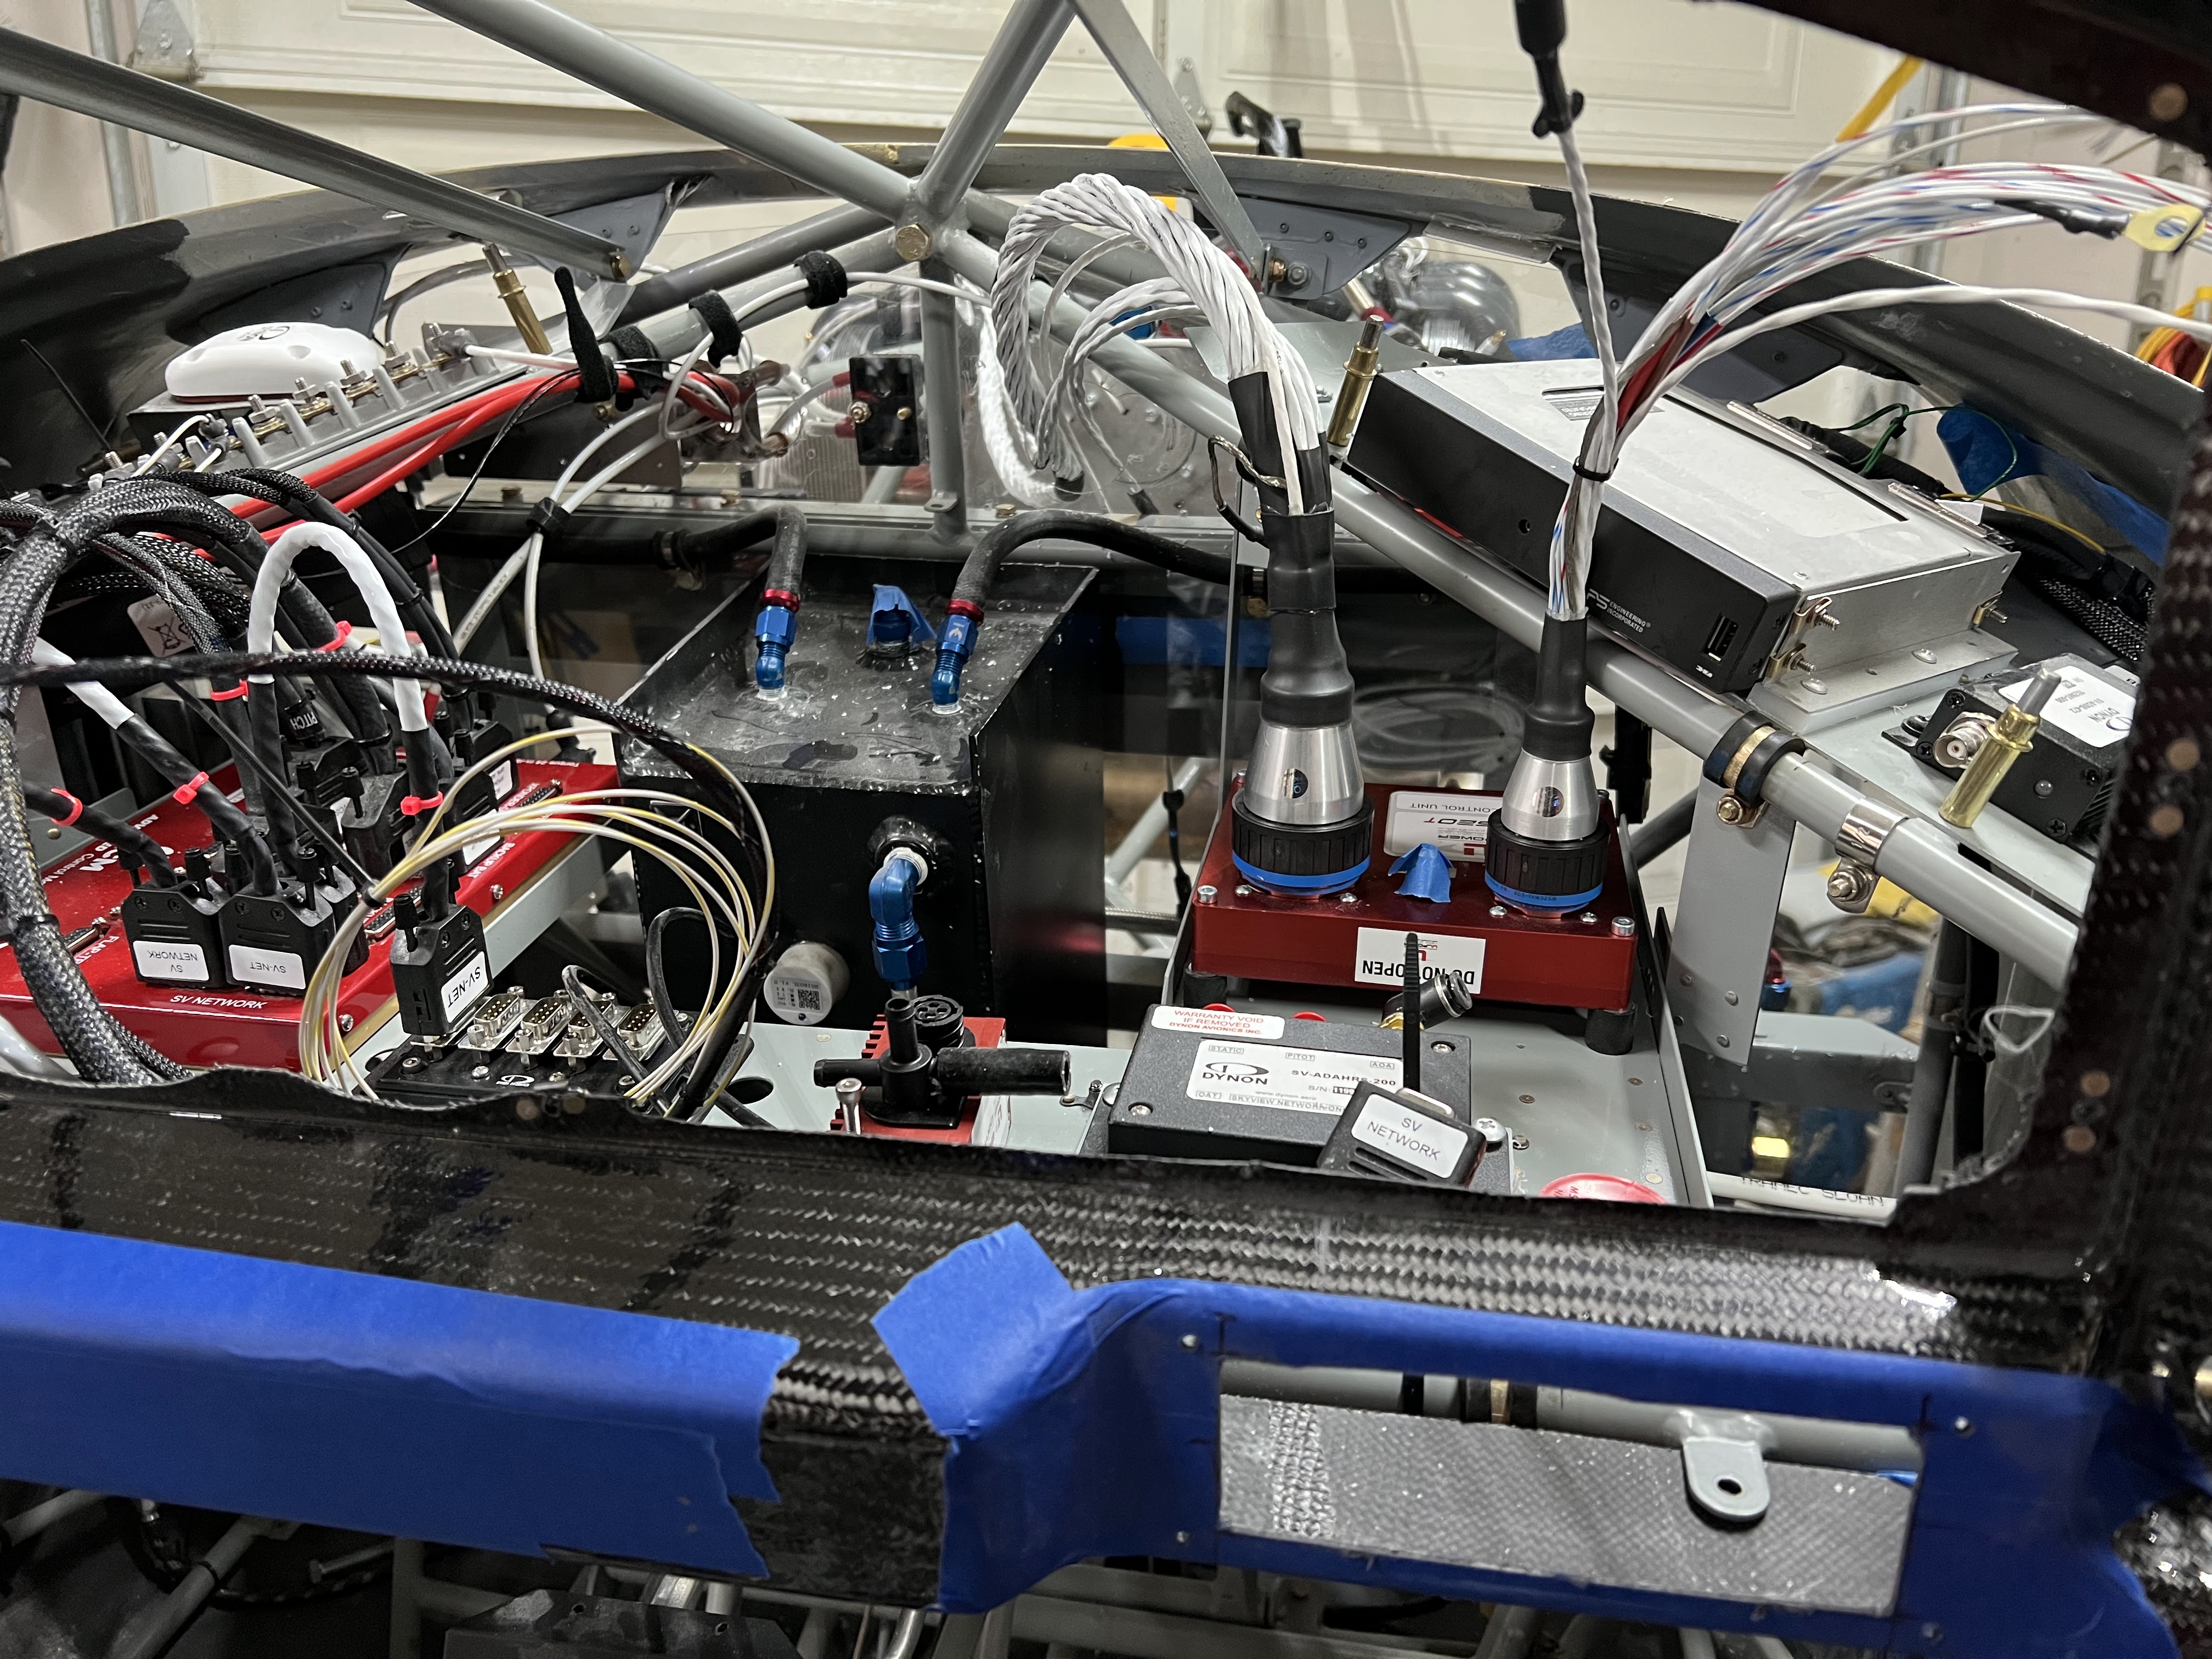
My original plan was to mount the ECU on the right hand side of the 'shelf', forward.  Well, the cannon plugs and wiring is to large to fit under the right side avionics tray.

Original plan


New plan


I turned the ECU 180 degrees, and moved it aft about 3".  This was easy, except the UL aux box is mounted under the shelf with captive fasteners on top.  Made a quick drill guide and done done.

The current top of mind issue is the firewall passthrough.  The wire bundle is ~0.85" across, but the connector is just shy of 2" in diameter.  So you need a 2" hole to get the connector through as the engine is prewired.

Talked to the US distributor, and a local gent that has a UL on a zenith.  Consensus is to make 2 C shaped pieces that interlock and cover the 3" hole, and leave 1" for the wires.

My last attempt at cutting stainless was poor, so I checked out SendCutSend.  I very quickly designed a part (using their standard parts catalog) that would do the job.


Minimum order is $29, so I ordered qty 14.  Each of these will be cut so they overlap.  Total of $32 USD including tax and shipping (to my US post box).  

Ordered Saturday, production started on Monday morning.  Looked like they were going to ship on Monday, but then their progress meter got stuck at 60%, and the estimated ship date went to 4 days later.  Guessing they are out of material or something like that.

Parts received.


I cut 2 disks into C's, and split the firewall passthrough in half and assembled the whole thing.


Works as intended.

Next steps:

1. Plan out engine wiring integration.  John Wood told me about this pretty good free / open source software called QElectroTech.  So far I am quite impressed.

2. Cowling.  Need to get this done before the weather turns cold.  Ideally I am waiting for the prop to arrive so line up the spinner.

3.  And a lot of everything else...


Thursday, 11 August 2022

Engine Installation - Part I

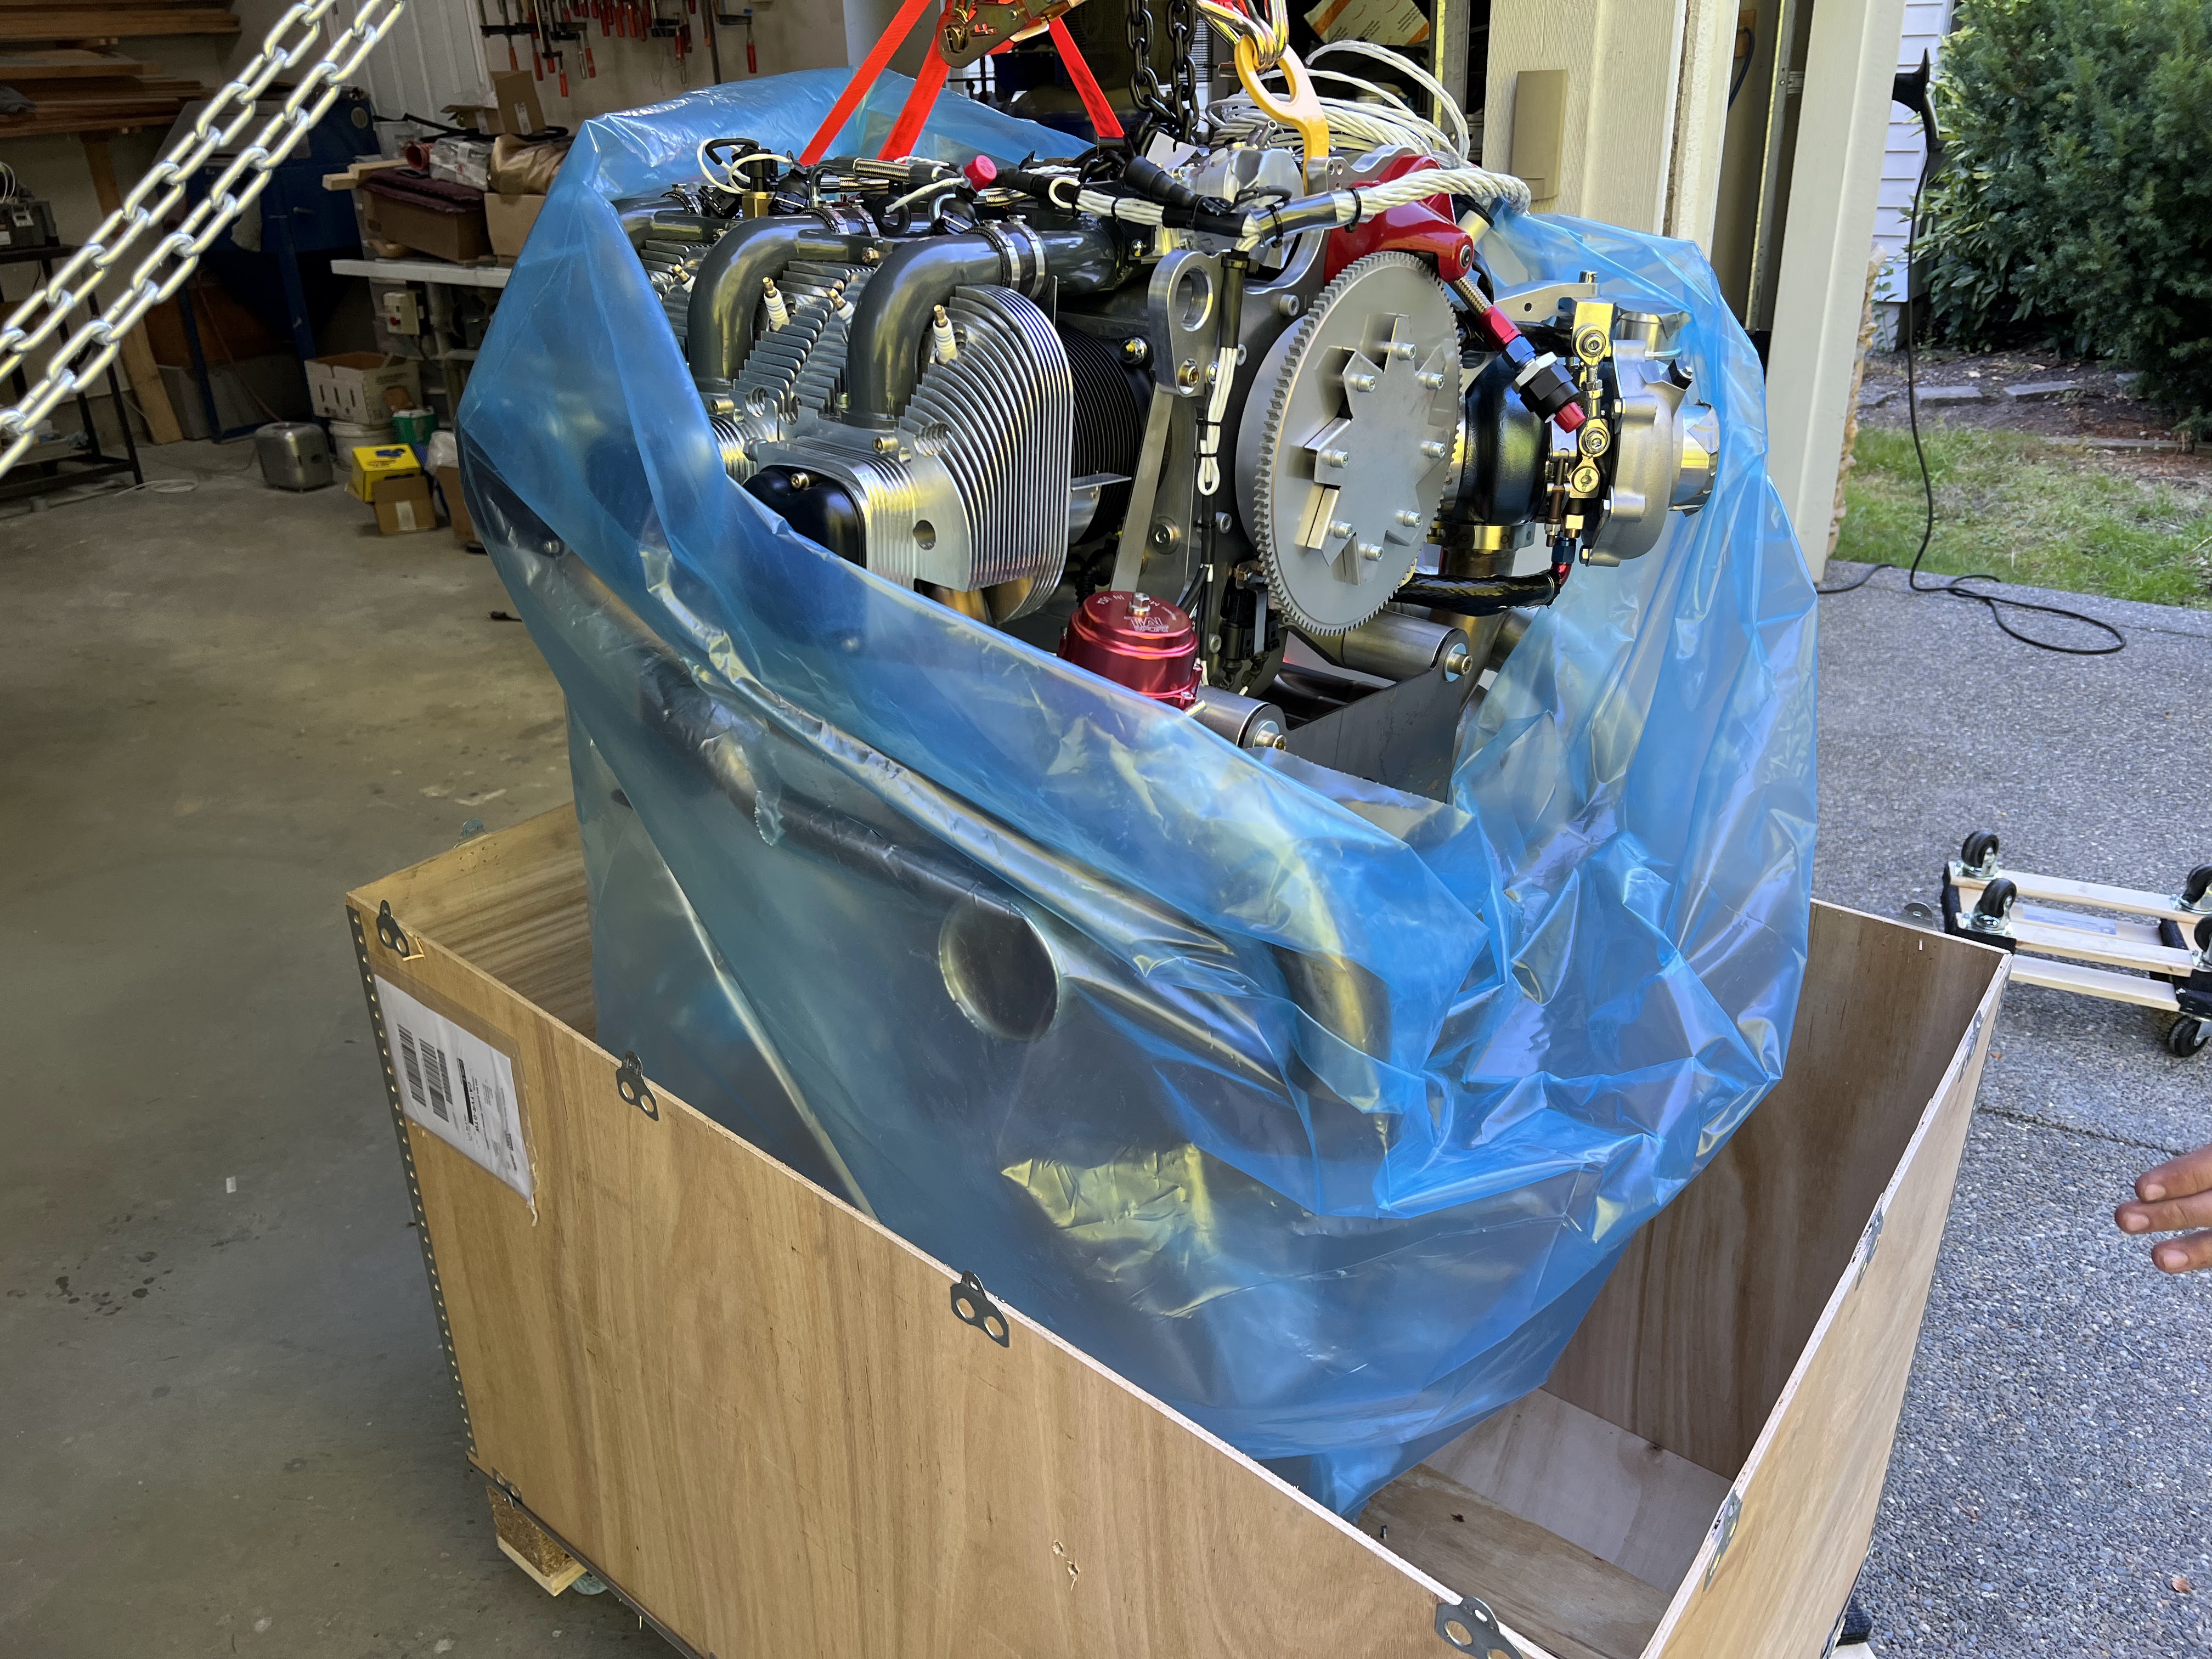
 Very cool evening.  My son and I installed the UL520T on the airframe.  Took around an hour between freeing the engine from the crate, lifting it, and assembling all the mount hardware.

No major issues.  The only thing that needs some follow up is an oil line either to or from the sump is too close to the engine mount washer.  Will follow up with UL and find a solution.

The engine wiring looks pretty straight forward.  2 large cannon plug connectors to the ECU, and various fanouts for power, ground, coils, regulator, etc.  That will be a project for next week.


Next challenge is fitting and extending the cowl.  Hope to start on that next week.  Waiting for the prop.  Has been ready to ship since late June, and paid for since mid-July.  But I know the required spacing, so I should be able to start.


Tuesday, 9 August 2022

Engine and Engine Mount

The engine (UL 520T) has shipped from the factory.  Ordered March 20, was ready to ship in late June.  Also, prop is ready to ship as well once they receive the funds.  Big steps coming.

Engine mount received from Francois C.


Engine received on July 15!


Going to be a month or so before the engine is mounted.  Targeting mid August.

Originally I had the pre-filters and pumps on the cage, under the header in the cockpit.  The new UL pre filters are much larger, and reusable.  I had to relocate to the firewall.  Also, the coils and regulator are now mounted.


This new arrangement makes header tank situation much easier to deal with.  Just a single 1/2" line from the output of the header tank to the firewall.  The firewall bulkhead fitting had to be increased from -6 to -8 (3/8 to 1/2")


The above is the required UL power capacitor.  According to UL, this allows you to shut off the battery during flight.  Not sure I would want to do that.