Glasair offers a rear seat kit. $5K with no upholstery. Luckily I have gotten some pics of the rear seat assembly and am going to 'roll my own'.
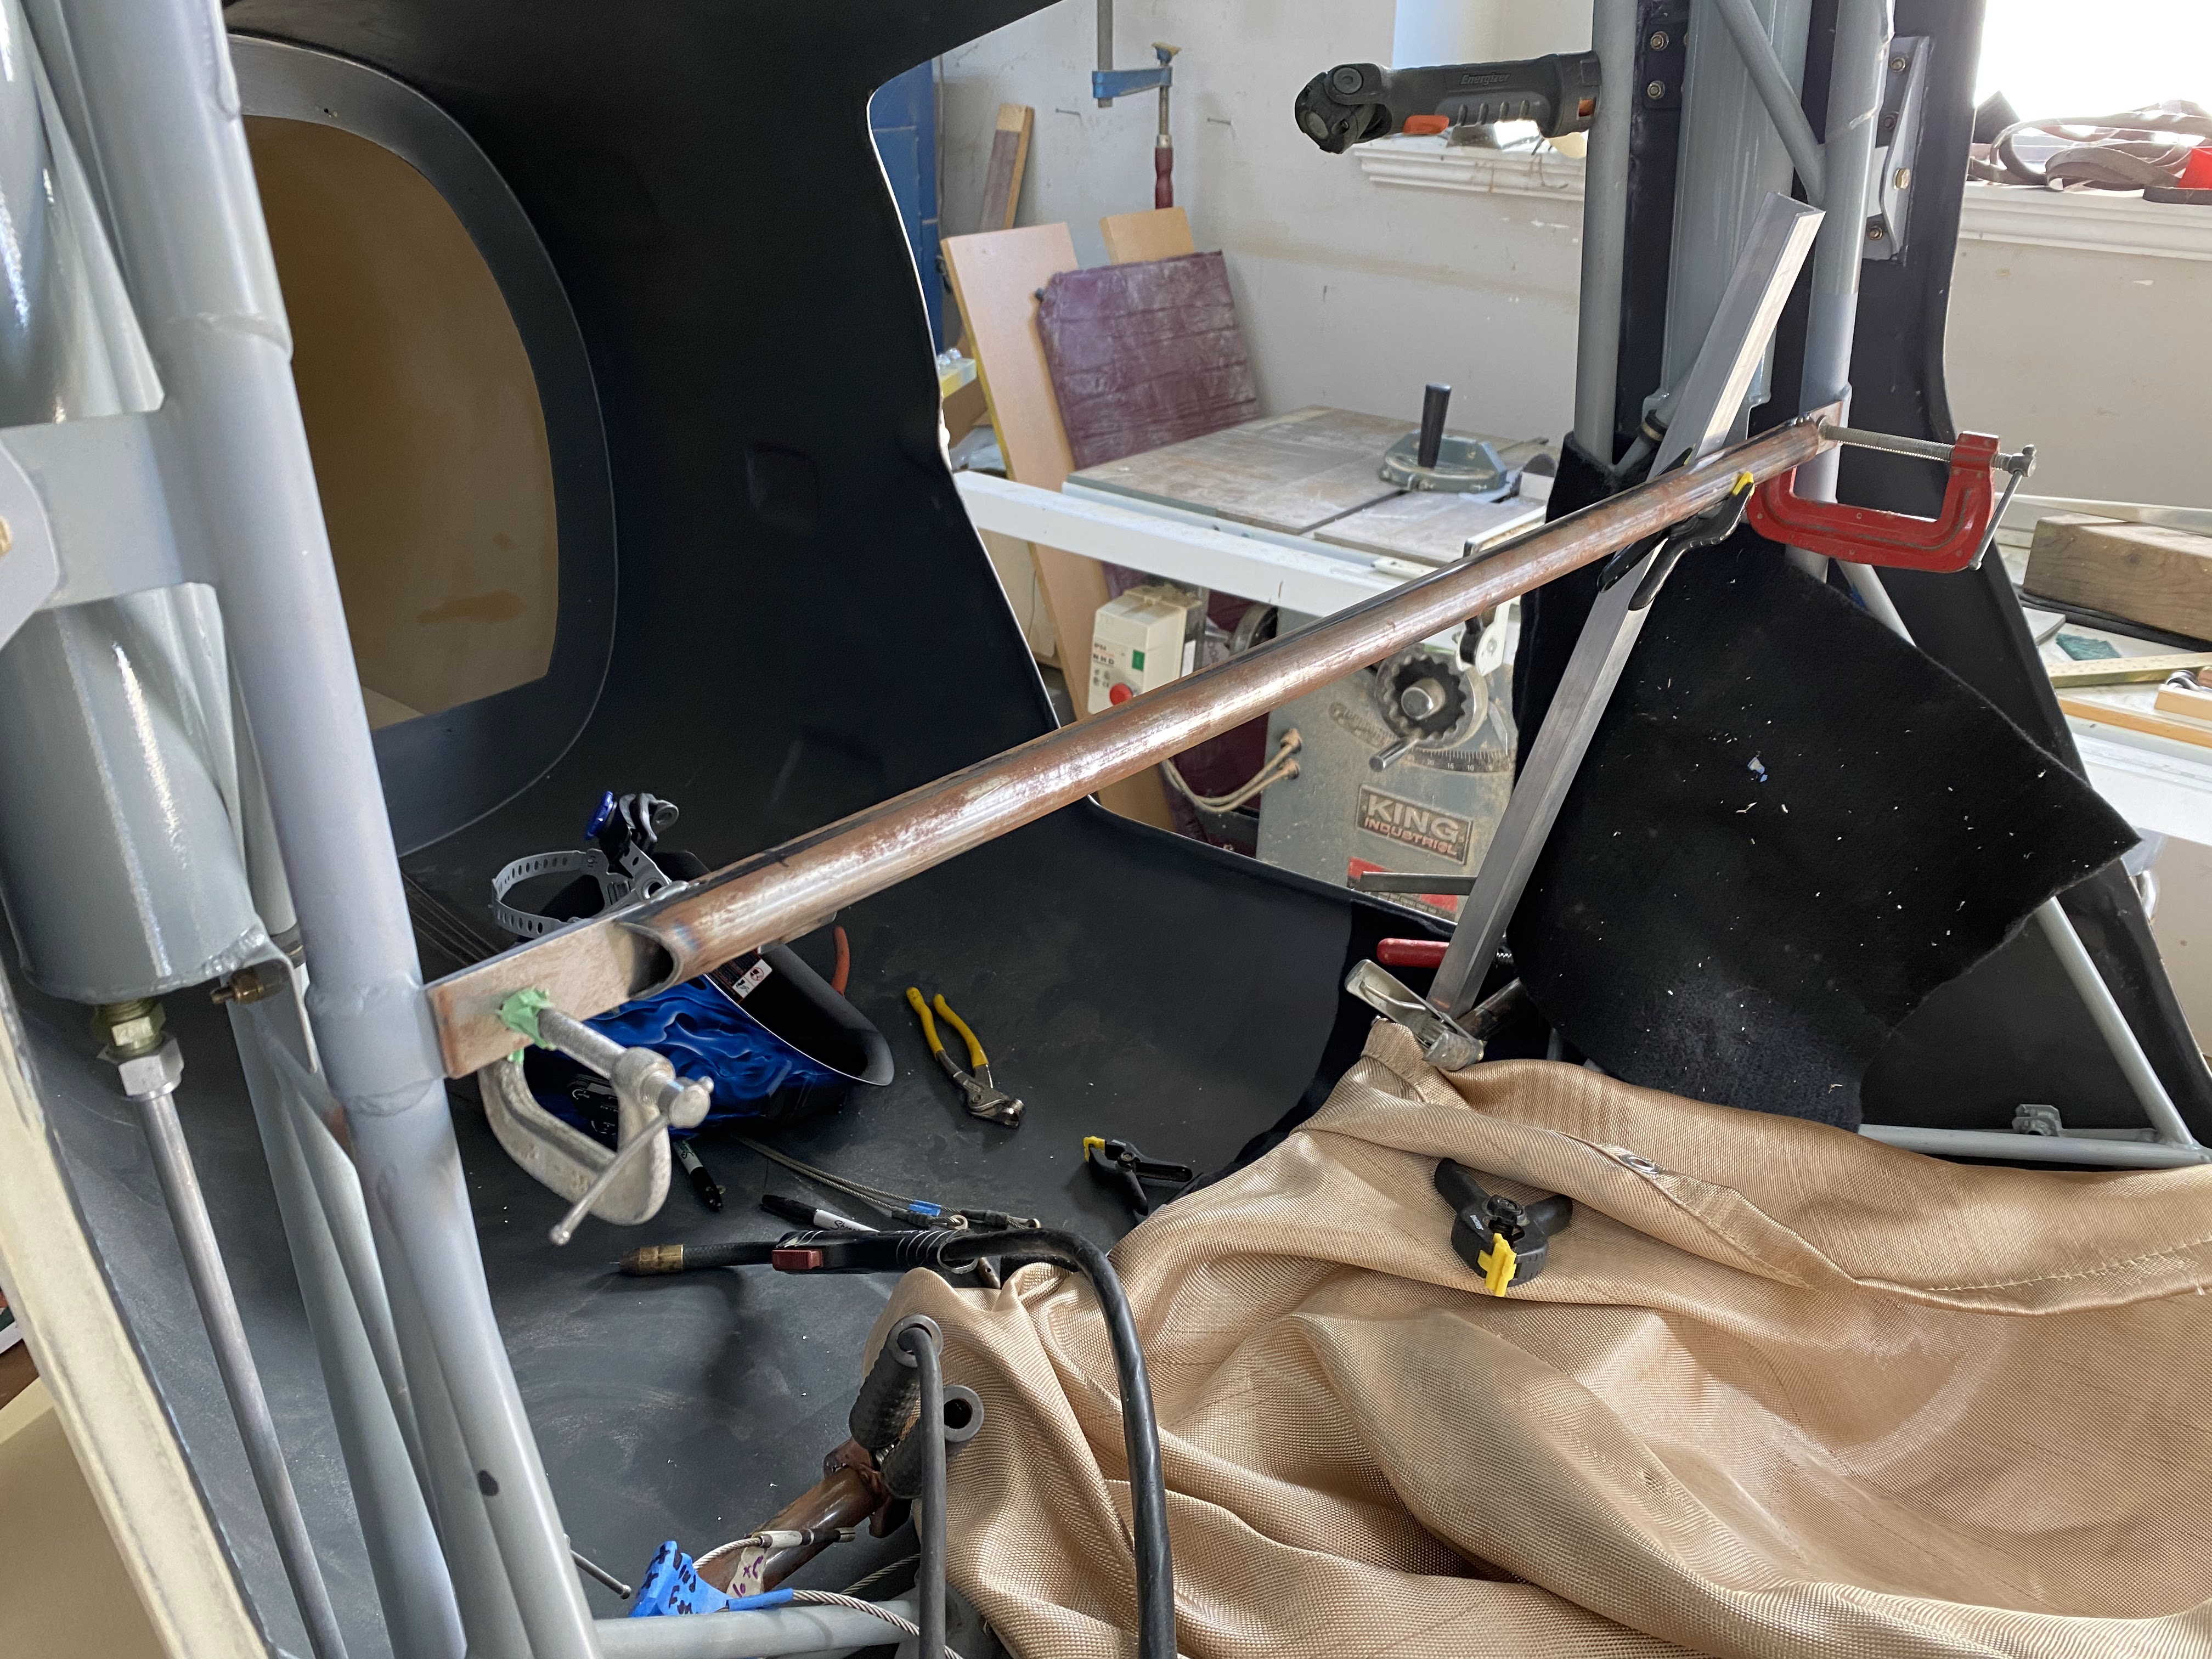
There are two horizontal tubes that attach to the vertical uprights on both sides that anchor the seat back. The seat bottoms are fastened to the back via a piano hinge, and lift up for storage. The cable / wiring tunnel has two brackets that the seat bottom rests on the INNER side, and then there are two outboard portions that are fiberglass and foam.
Plan of attack:
- Build upper and lower attach brackets to the cage
- Fabricate horizontal tubes that tie the cage uprights together.
- Fabricate the seat backs and bottoms
- Foam and Fiberglass
- Form the tunnel and outboard sections
- Aluminum
- Buy the bulkhead from Glasair (ordered)
- Fabricate the composite L brackets that the centre tunnel attaches to
- Finishing
- Bolt / rivet it all together.
- Upholstery (in combination with the front seats)
Cage Attach Brackets
The upper location is determined by the cutout in the truss cover on the forward upright. The bottom bracket is 16.75" centre to centre from the top, but on the aft upright.
I used weld through primer on the back of the brackets and cage where you can't get paint. I left the brackets long, and have not drilled them yet.
Cross tubes cut and tabs rough fit. Seat back tabs in process. Next is rear seat headrest mounts.
A fellow builder gave me dimensions for the placement of the rear bulkhead, and anything else I could not easily determine.
Measurements for the bulkhead measured from bulkhead A to the rear seat bulkhead
Bulkhead A to the bottom aft edge 30 1/4”
Bulkhead A to the top aft edge 29 5/8”
The bulkhead is angled back
Once I had the bulkhead placed, I marked it in key areas, then used aluminum tape on the entire area, then sanded down until I hit fiberglass.
The below drawings are not super high quality, but are close. They needed a bit of trimming after the fact.
Next is the composite angles for mounting the covers. I made angles using 2 pieces of MDF screwed together at 90 degrees, then covering with packing tape. 6 layers of cloth, with peel ply on top. Then I ran them through the table saw to get rid of the bad edges, then cut into 1.5" pieces. I went wider than how Glasair does it as I want room to put a either an 8-32 or 10-32 nut plate. I really dislike the self taping screws that GA uses.

Forward and aft tunnel covers needed a fair bit of tweaking. One of them turned out to be a throw a way. But they fit!
The covers are attached at the bulkhead with a screw in the Glasair design. I am putting 2 in for good measure. Each cover has a tab that ties them together.
Mounting the inner seat rails was interesting. I sketched out the sides with them in place, then drilled through on the mounting holes to double check. Then went back and drilled about another 15 holes per side to rivet them together.
Next step is foot rests.
In the Glasair design, the footrests mount over top of the aft cover. So to get the cover off, you have to take out the foot rests. I am going to try and invert that so you can get the cover out without removing the foot rests.
Finishing
Rear Seat Foot Rests
While I don't really grasp what exactly these are for (except keeping a rear facing passengers feet off bulkhead A), they do serve a purpose in hiding the wiring going aft, and keeping it out of the way of the control cables.
Made a paper mock up that is similar to the Glasair design.
Turned this into .040 aluminum, and then reversed the template for the other side.
The two sides are not quite symmetrical... probably because the tunnel is not perfectly centred, or the tabs are not perfectly centred.
The stock Glasair design requires that the footrests come out the remove the tunnel. I am changing that so they are independent. There will be a plate that ties the footrests together along with the tunnel, but it will be removed with the tunnel and tied in with screws. That is the theory at least...
Seat back:
The seat back attached to the two tubes shown below. It is one piece, and wraps on top of the top tube, and then drops straight down.
The angle from the seat back to the top flat piece is 75 degrees. From the seat back after the bottom tube in transitions down at 15 degrees.
Below is what a finished setback looks like...
So after a lot of figuring, I decided to make a mold. The foam will be cut and laid on the mold, and the whole thing will be bagged.
Making the mold out of leftover MDF from the tops of my wing jigs. Cutting the angles on the mold on the table saw, and then gluing it together
Gluing the top piece on. The bottom (in the picture that you cant see) was taped together with it laying flat with 4" wide aluminum tape, and pressed down with a wallpaper roller. Put epoxy in the slot, pull it up and tape it in place.
Same process for the bottom piece, but used ratchet straps.
The foam that came with the kit is not big enough. I added onto it by epoxy with tape lying on a flat surface.
Top piece of foam added (glued) using the form as, well, a form. Waxed the bottom and clamped the top in place while it set.
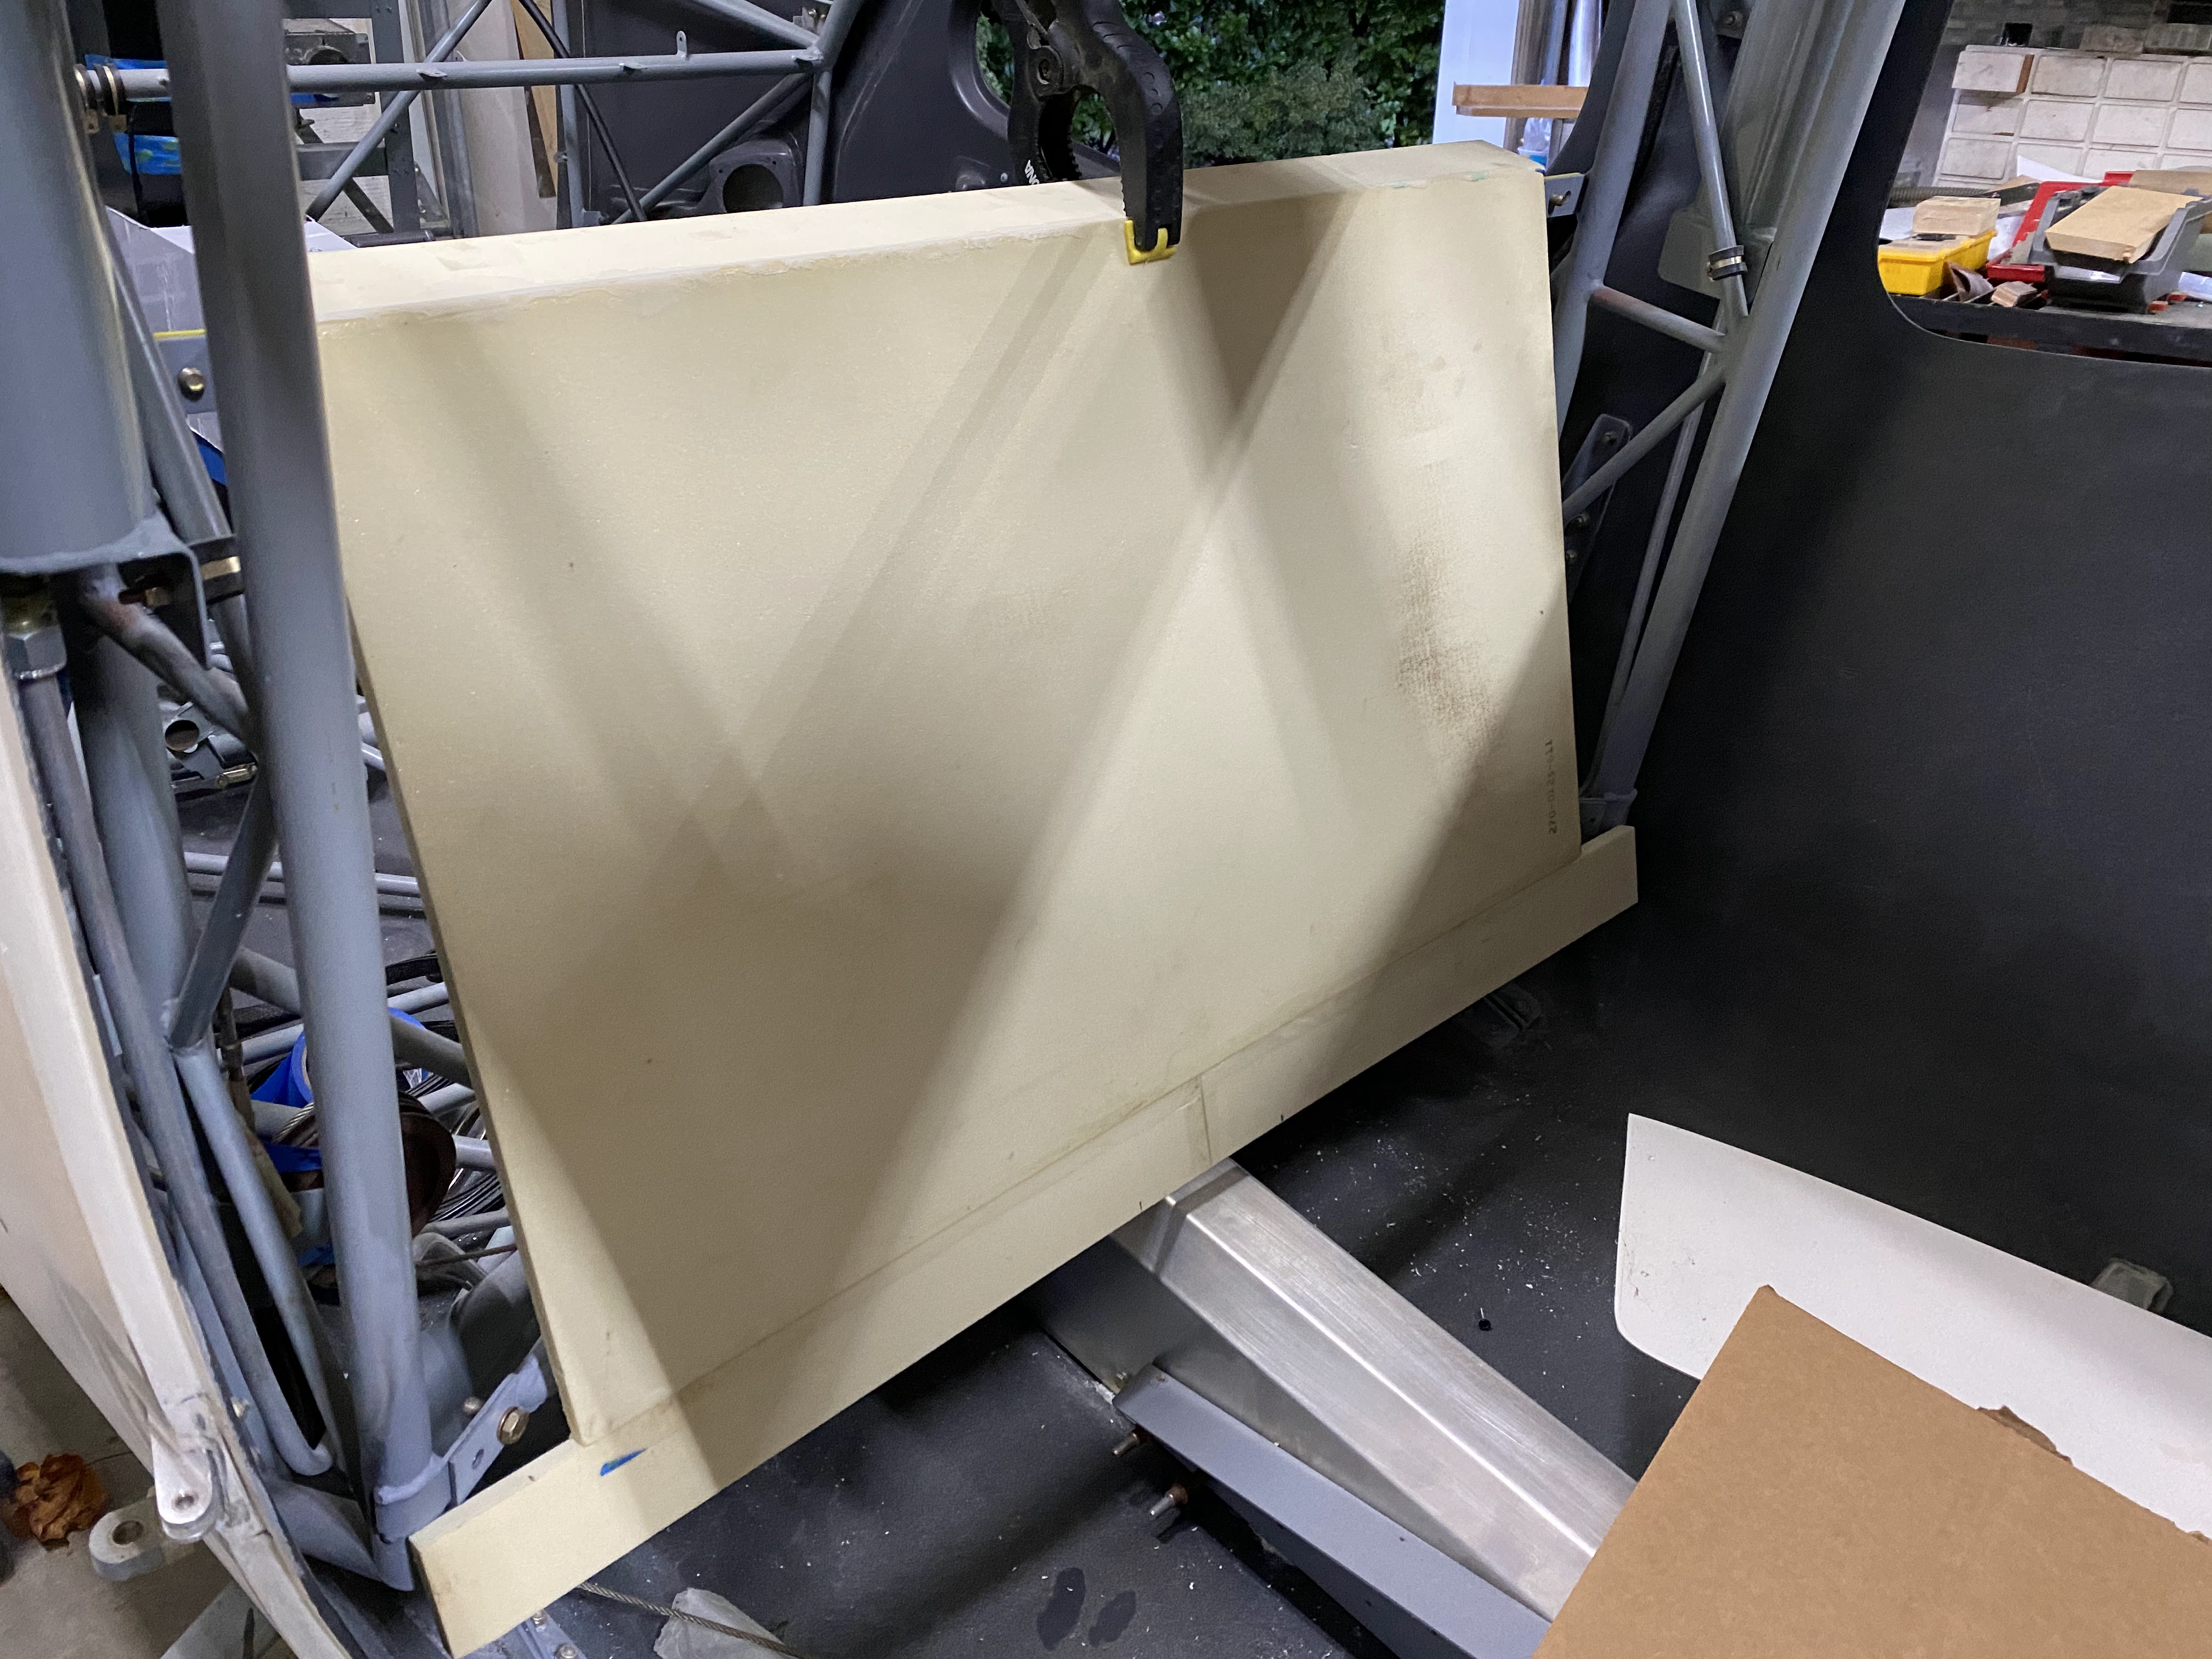
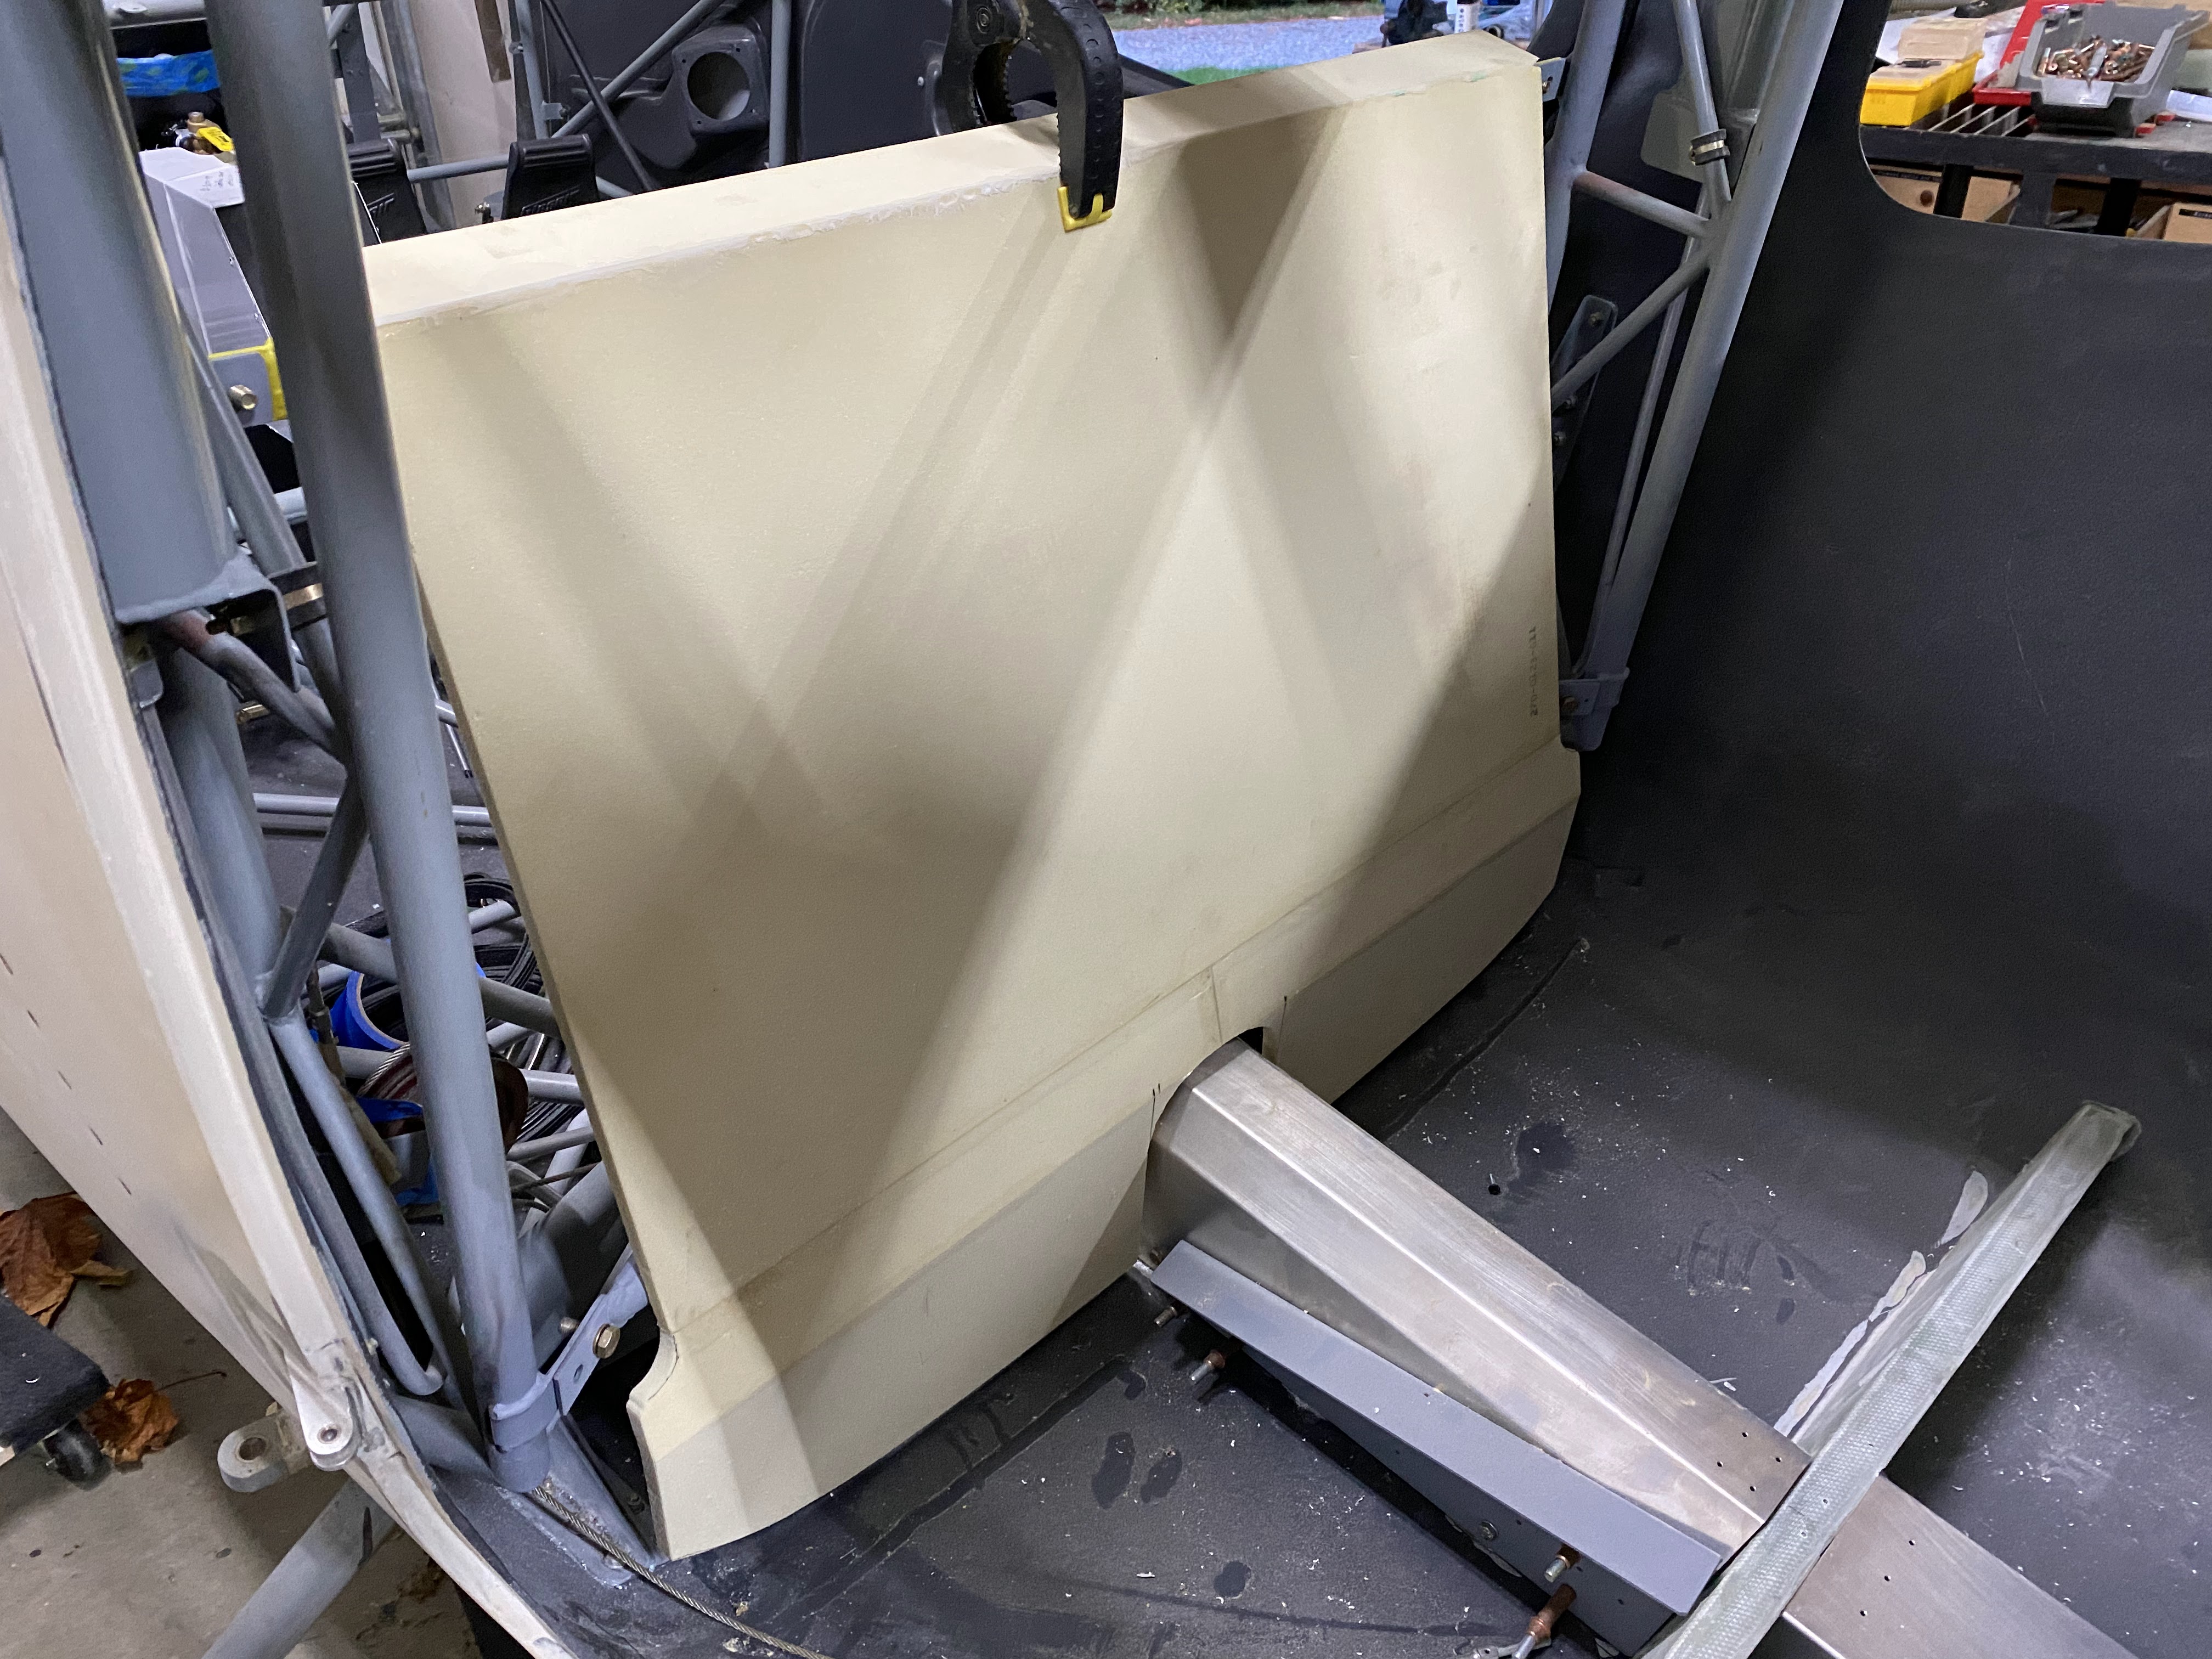
Clamped in place for first fit...
Added the lower portion of the setback, and cut the notch around the centre tunnel.
Cut the bottom contour and clamped in place temporarily.
Next will be lots of sanding to contour the corners and edges, plus filling any gaps...
Next is making the aluminum plates that the piano hinges will attach to. Two sets of piano hinges... one for the seat bottoms, and one for the baggage floor.... more on that later.
Composite angles / outer seat bottom rails.
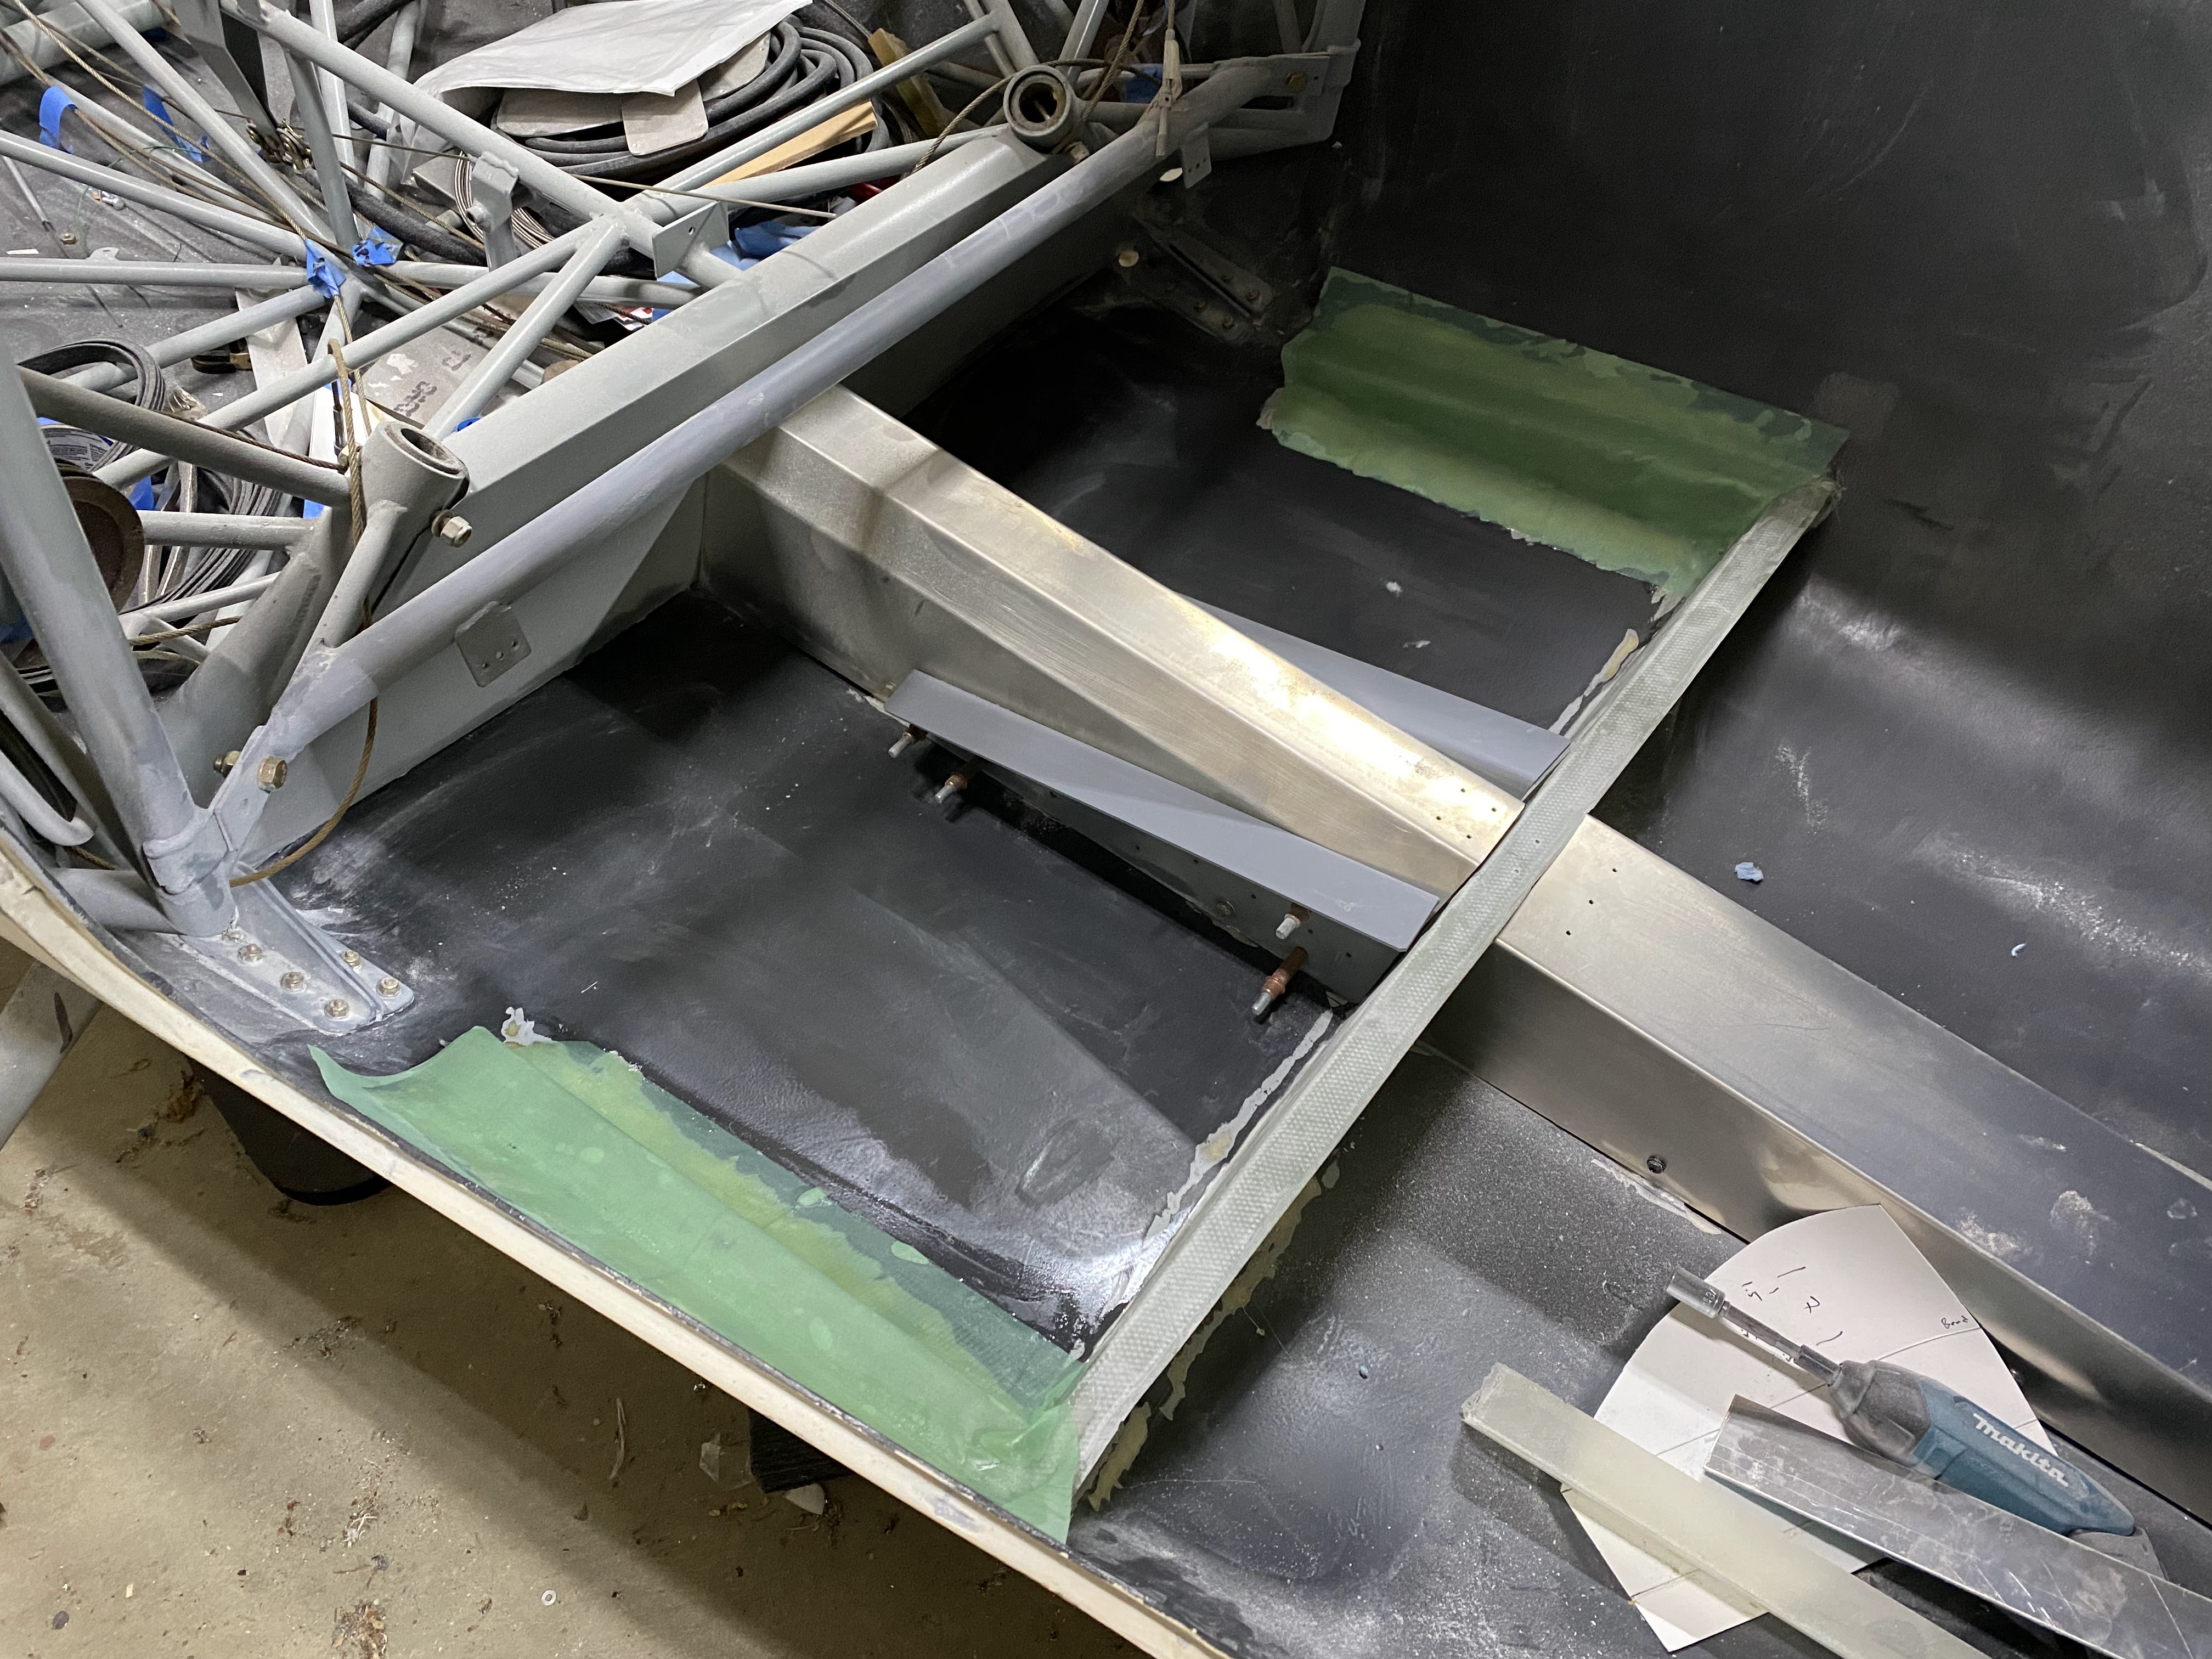
The inner seat rails are aluminum, and riveted (or will be) to the centre tunnel. The outer rails are composite, and there are two methods. Foam block with fibreglass on top, or composite angles. I went the composite angles route.
The angles where formed using an MDF L bracket, covered with packing tape and wax. 4 layers of glass laid down, with peel ply on top. Then ripped on the table saw to dimensions. This is how I made all the angles for the tunnel covers and overhead cable cover. Super strong, works well.
Lots of fitting takes place, as nothing is square. Once I got them to fit, marked the outlines and sanded off the paint on the fuselage, then bonded the angles in place with a resin, cabosil and glass fibre mixture. That is the picture below...
The peel ply just smooths out the bumps and leaves a nice finish I can glass on top of.
Next will be 2 layers of glass on top of the composite angles to bond them in place.
Getting the backboard ready to go. Aluminum plates are bonded in the bottom for the piano hinge rivets to have something to bite into.
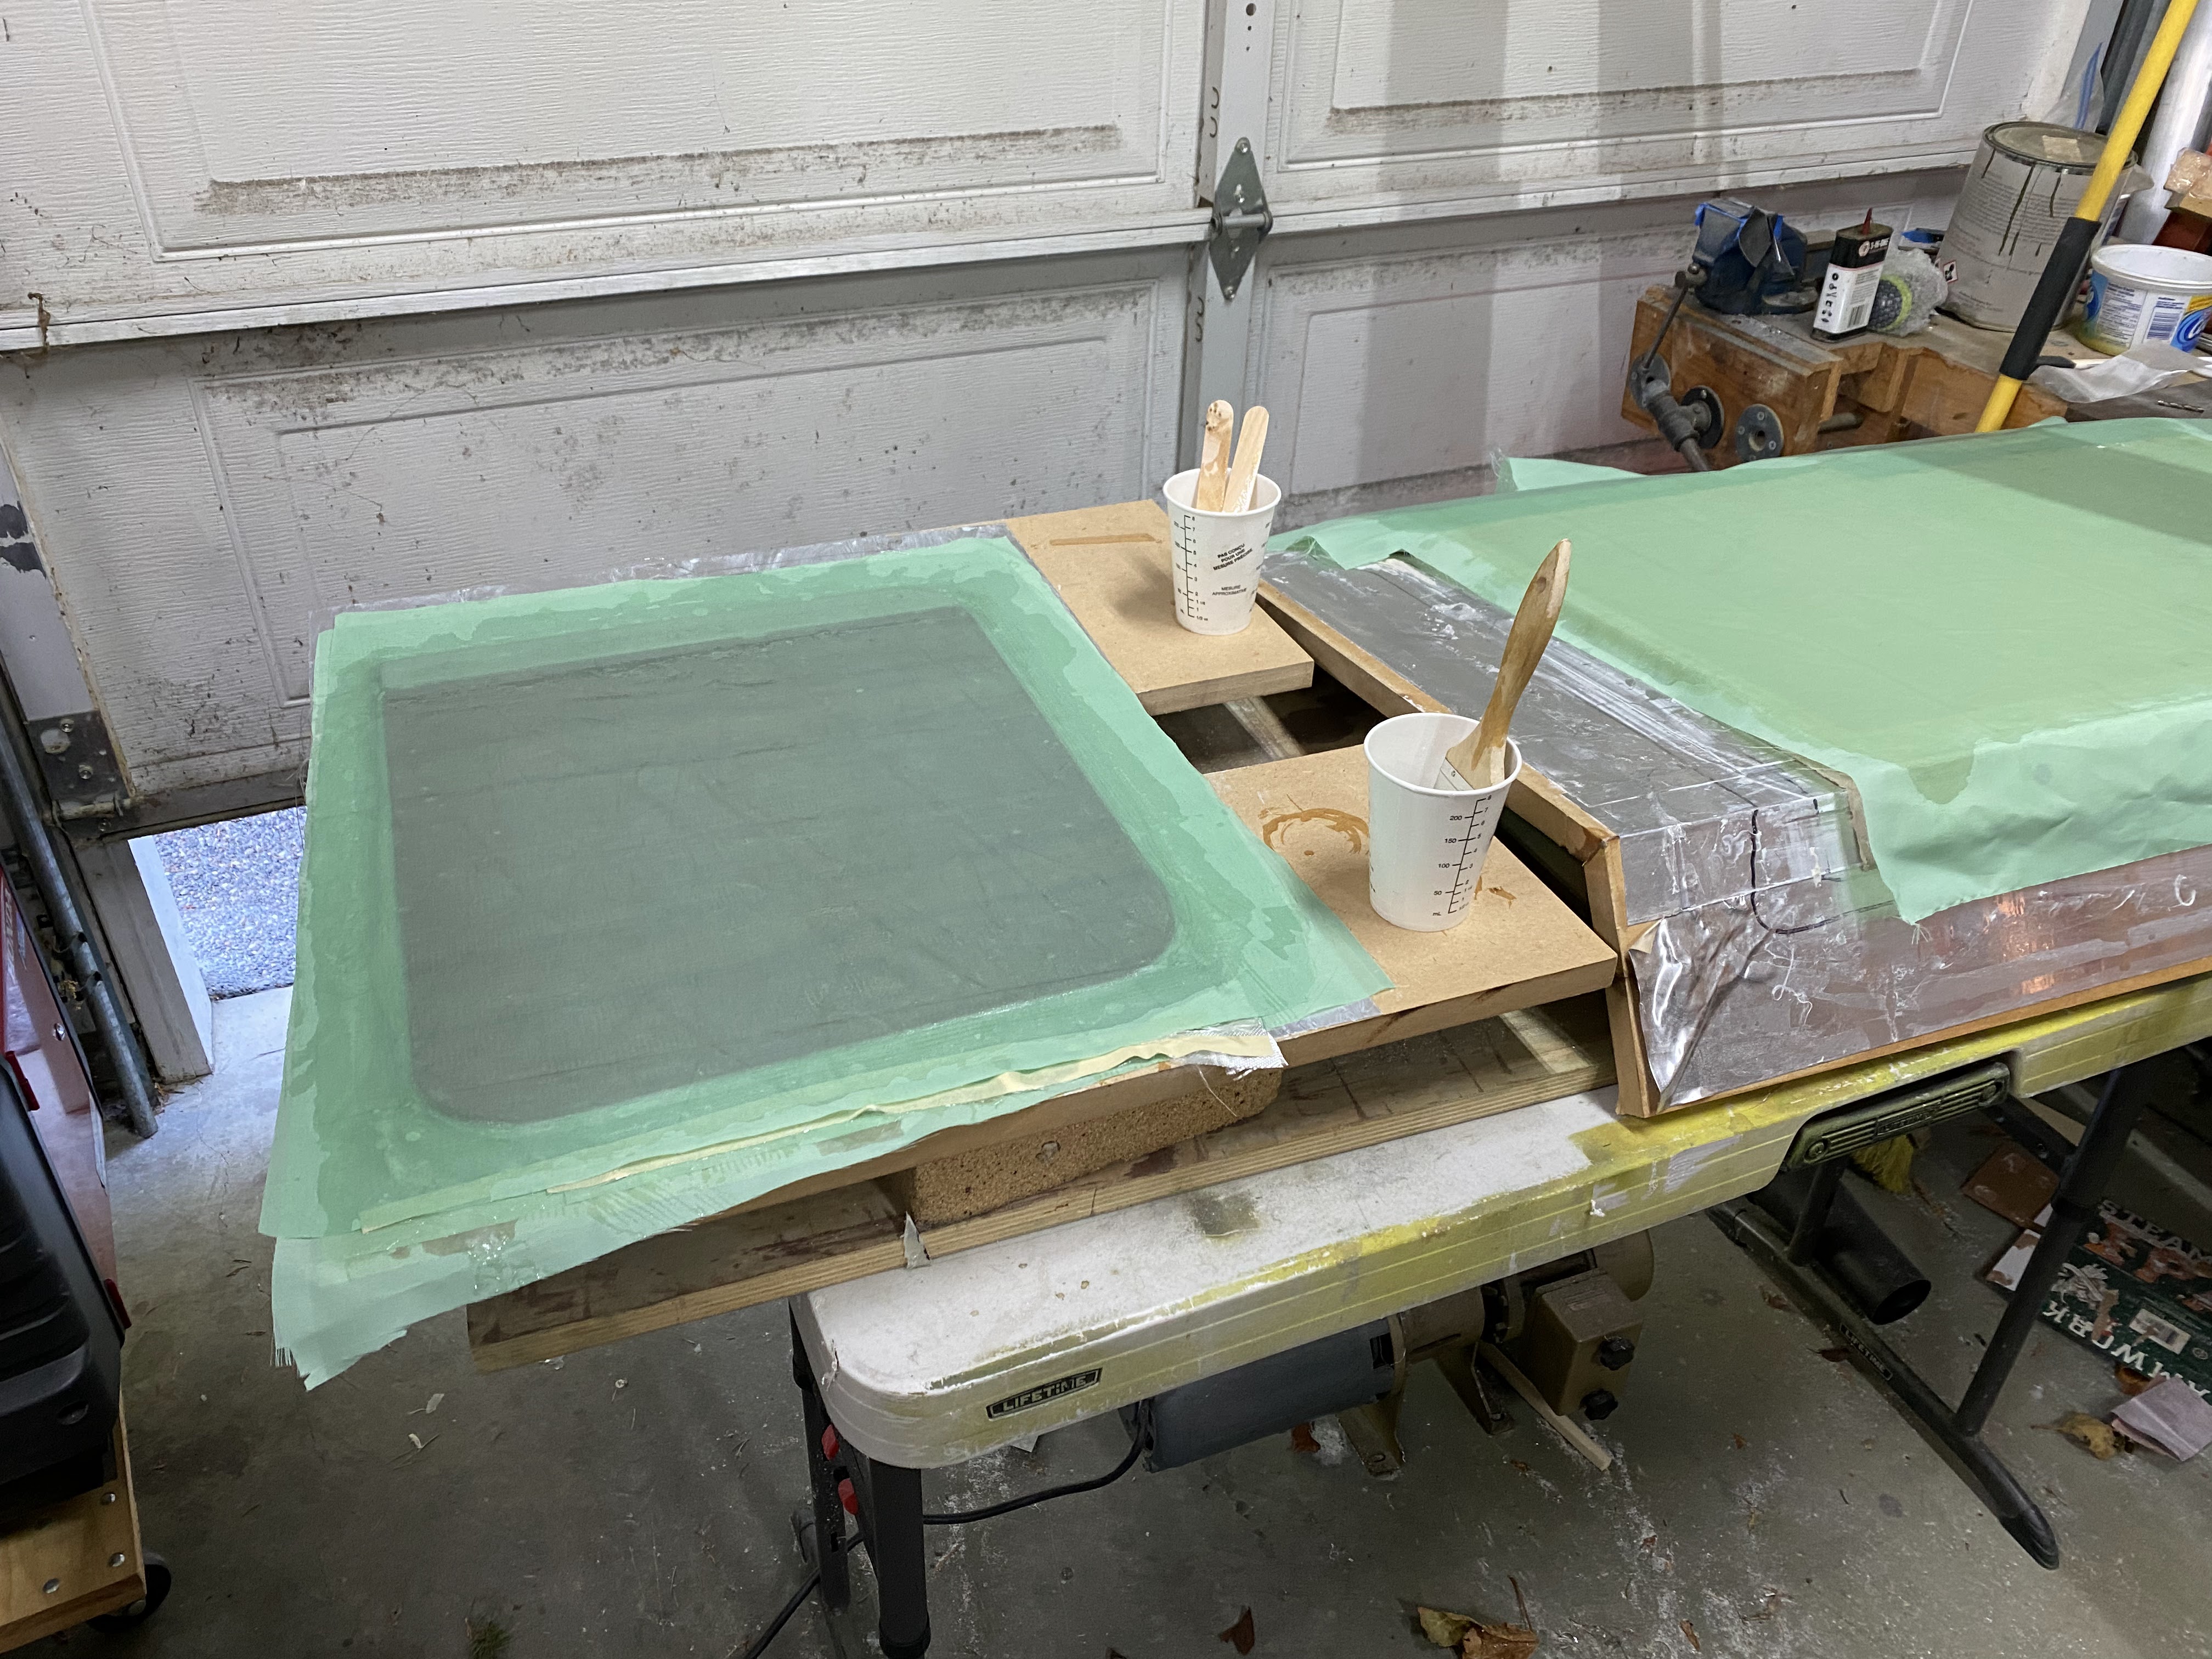
Then everything is laid up. From the bottom:- Waxed mold
- Peel ply
- 2 layers of glass
- Foam
- Peel ply
- Perforated sheet
- Bleeder
- Bag
The layup took over an hour going as fast as I could. Tomorrow will be the day of truth to see how well it worked.
After lots of filling and sanding, its getting close. Going to put an additional layer of glass on the top surface. The seat bottoms are thing plywood that I am going to layup with 2 layers of glass top and bottom, plus an aluminum plate to rivet the hinges to.
The footrests are drilled and tied to bulkhead A. This really stiffened up the rear tunnel cover.
First seat bottom layup.
Seat back after many hours of filling / sanding. Almost done. It is sprayed with FlexFill in this pic. Really does a nice job with all the really small imperfections.
Final fit of the seatback with actual hardware in place. Fits exactly like it should.
Next step is hinges for the seat bottoms, and repair the fuselage paint.
While waiting for everything to dry, I started the seatbelt mounts. The outer ones are easy... they just tie into the existing cage-to-fuselage mounts. The inner ones are a bit more.
Once the holes were drilled, and the foam between the glass removed, the bottom of the fuselage was taped and I used a syringe to get the epoxy / microballoons into the holes. Seems to have worked out good.
Seat back installed and initial hinge drilling.
Hinges installed. Last step is the seat belt mounts.
I actually hopped in and sat in the seat. Its actually roomy for my 6'2" frame.
Seat belt brackets are in, but not tightened down. They are going to have to be removed for paint / wrap anyway.
These rear seats were a lot of work. The tubing and welding started in July (along with the header tank tabs, battery tabs, etc). In September I started to figure out the vacuum bagging process, and designed / made all the rear tunnel covers, bonded in the fiberglass bulkhead, and did all the mounting tabs. October was the foot rests, and how I was going to mount them. In November I started on the composite backrest, along with the outboard seat bottom mounts, along with the actual seat bottoms. December was filling, sanding and finishing. Riveting in January.
This was not all back to back, worked on many other things alongside.
This one is done for now until I start upholstery.