Search This Blog

Wednesday, 12 January 2022

Tailwheel - Part II

Early in 2021 I decided to go with a Pekola 'Tundra Lite' tailwheel.  There are a bunch of reasons for this (some of which a lot of folks on the forum dispute).

  • Easier install.  No steering cables to pass through the fuselage, just a locking cable.
  • Less prone to ground looping (this is the comment that is in dispute on the forum.  The Sportsman is a very nice handling tail dragger, and the general consensus is a locking tailwheel is not needed)
  • Cheaper than a baby bush wheel
  • Looks awesome.
My tailwheel is installed on a Airframes Alaska T3 mount (which is also kick ass and awesome, and not in dispute).


The tailwheel has a locking mechanism that when engaged, locks the tailwheel aft.  This means two things (1) no steering when locked, and (2) you need a handle to lock/unlock in the cockpit.

So incorporating two mods into one, I am hoping to mount the lock in Zach's overhead console.


The cable exits the lock, and then goes into a plate with a grommet that is hose clamped to the overhead cross tube.  Then transitions back, through another grommet in the overhead console cover.  From there my plan is to use tie wrap mounts every 6 or 8", another grommet on Bulkhead A, and then to the back of the aircraft.

From Bulkhead A rearward, I marked all the locations where the tie wrap pads were going to attach, and cleaned the locations.


Pads where placed, then tie wraps inserted.  Then the difficult job of joining the tie wrap ends with the cable attached.  If I was smart, I would have formed the tie wrap loop when installing the pads.  Too late now.

Ended up having to crawl in feet first to attach the forward ties, then crawl out and reverse and go in head first to tie the aft.  Cable is in the loops now, but tie wraps not yet tightened.

Next is cable length and installation.

Control end:  This part is pretty easy.  The cable is attached to the control with 2 set screws.  The galvanized cable (cannot use stainless steel) that came with the tailwheel must be 'tinned' with solder by building a solder 'well', and dipping the cable in for ~10 seconds, then immediately wiping it down.  Luckily Jim Pekola does this on the cable that ships, but it must be redone when the end is cut.  I used a steel pipe coupling and and end cap, heated with a propane torch.

Tailwheel end:  with the control end connected and flush to the end of the cable, and the tie wraps tightened, the tailwheel end must be cut to fit into the sheath retainer.  The cable needs to extend 3 7/16" beyond the sheath.


All done, and it works.  Need to adjust the tension on the 'break free' mechanism, but that is for later on in the build.  


Monday, 10 January 2022

Front Seat Pans (and Seat Pan Inserts)


 The front seat pans are a fiberglass tub that sits in the tubular steel cage, and gives the upholstered seat bottom somewhere to sit.

The issue with the standard seat pans is removal for annual inspections.  To get the seat pan out, you must take off the seat back, and the floorboards.  This is not a big deal, except that the alignment of the seat back sliding rails is critical for smooth operation.

Zach @ Fibertech Composites has a seat pan insert that drops in over top of the full tub.  The bulk of the full tub is cut away giving access to wiring, control cables, autopilot servos, etc.  This greatly decreases the time required to do many tasks.  Very worthwhile upgrade.

Luckily for me, my seat pans were already rough fit.  There were a few places that needed some work, but for the most part they were already fitting nicely in the cage well they are installed in.


Full seat pan with insert installed and initial cuts outlines to fit around seat tracks, flap handle, TD gear socket, etc.


First cut / fitting.  Going to need lots of cleaning up.

I tried using a dremel oscillating tool (that I bought just for this).  Not a fan for this application.  I ended up cutting from the outside, and using a jig saw.  I pre drilled all the corners.


Both seat pans cut and inserts fit as well.  Seat backs clecoed in.

Done for now.  Onto the next problem...

Sunday, 2 January 2022

Header Tank

 A lot of this is covered in the 'Fuel System' post, but there are some additional details on the header tank - specifically the systems that measure fuel level in this post.

From a mounting perspective, the header is mounted on the forward tunnel just aft of the firewall.  Tabs have been welded on the top of the tunnel truss with captive fasteners (#10) in 4 places.

I mocked it up in wood to begin with to figure out the overall fit.


The pumps and filter fit under the header.

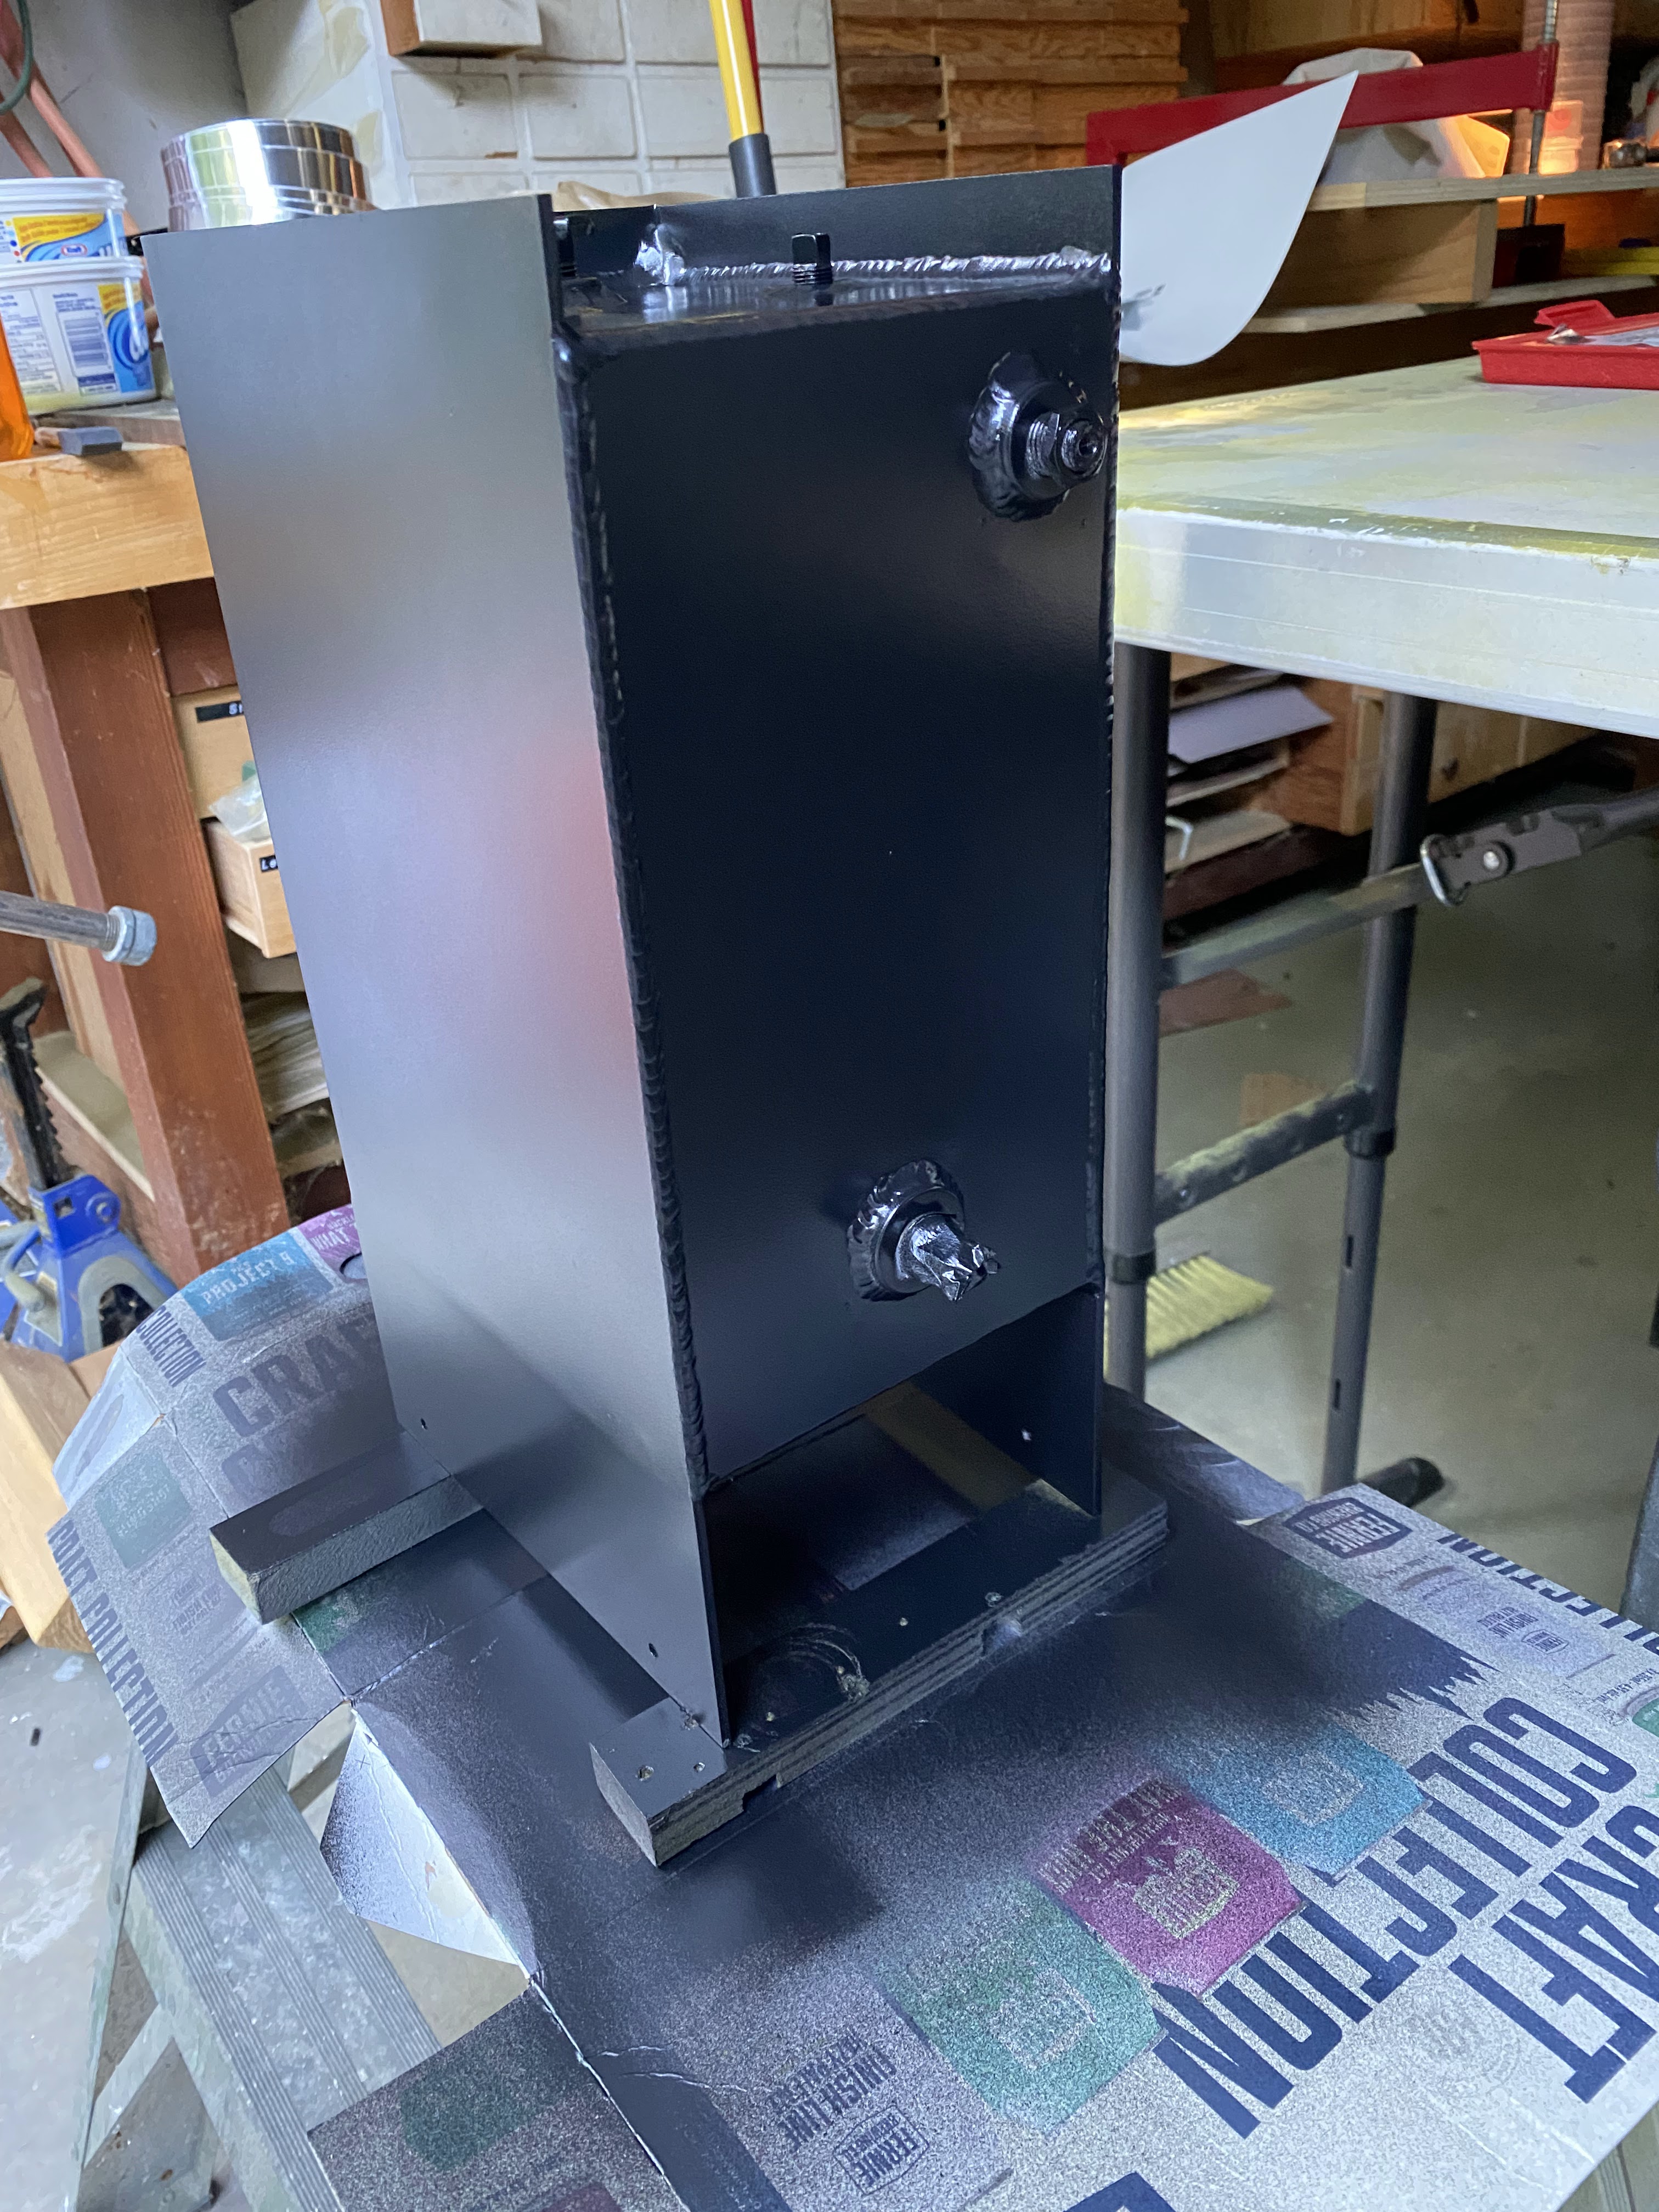
A friend of mine got the header made.  He had a shop bend the aluminum, and then he welded up the header.


Post tab welding


After finishing (tank was treated with Alumiprep and Anodyne, then primed, then painted).


My big concern with a header was knowing how much fuel is in it, and more importantly when it gets low on fuel.

In my panel design, my original plan was to have a capacitive probe in the tank to know how much fuel is in it.  Unfortunately, Advanced only supports 4 tanks (and I have 5 - 2 mains, 2 aux, and 1 header).  So I needed another solution.

Enter Radiant Instruments.  They have a number of innovative fuel probes.  My issue was I did not have room for a fuel gauge, so I decided to use fuel level senders (that basically say there is fuel at a given level, or not) with their LED indicator.  The indicator says "there is fuel, or there is not fuel".  2 of these mounted on the tank will tell me if I ever get the header too low.

So now the discussion goes to where to place them, which leads to fuel flow, header capacity, and time between warnings.

Current workbook with calculations:


Current sensor locations and indicator mess.


Bottom line(s):

  • From my calculations, the fuel system can deliver 63 GPH to the header.
  • At full power, the engine should draw about 22 GPH
  • If you get the initial low fuel indication on the header (which is right in front of the pilot), you have 1.66 minutes to correct.
  • When the 2nd sensor shows low, you have 1.44 minutes to correct.
  • The header has fuel for 4 minutes at full engine power (220 HP)
These are all calculations at this point.  Proof will come on the first flight.  But, based on these numbers you should NEVER see a low fuel indication on the header... ever.  Famous last words...


Panel header fuel level indication above the pilot side display.  Very simple.  Green = good, Red (flashing) = Bad.

Header tank in place with lock on the shutoff valve.  Also doubles as a mount for vertical fuel line.


So after a lot of messing around (and many months), it is finally in its (hopefully) finished configuration.  All fasteners are installed.  The only thing left to do is wire the fuel pumps, which I may do today assuming I have all the stuff.


Now it is onto the vent lines...


Tuesday, 28 December 2021

(One of the) Best Tool(s) Ever

 I have been dreading a lot of the adel clamps that I have to install.  I hate them, they are a pain, your fingers hurt, and then trying to get a washer and nut on is just not fun.


Available both at Aircraft Spruce and Amazon.

You put the awl through your adel clamp assembly, then the clamp (basically a vice grip with a notch cut in the duck bill) slips around the table on the clamps.  Lock it in place, remove the awl, then slip you bolt in.  Voila!  Done.

I no longer hate adel clamps quite as much...


Park Brake

I've always wanted a park brake.  The Emeraude doesn't have one, and I think it would be really nice to have.

On my ongoing quest to keep everything as far forward as possible... I have put the park brake under the centre tunnel, just aft of the rudder pedals.  I have been advised NOT to put it here, as it is a pain to get to (yes it is).  Usually this assembly is placed under one of the front seats.  I have a feeling I will be moving it one day...

McFarlane makes really nice locking controls, that can be custom engraved...


The park brake valve is from Matco.  Seems to be the standard valve that everyone uses in Glasair land.

When I was installing it, I pulled the cable out too far, and heard this tiny metallic 'bounce, bounce, bounce'... luckily I found it, a tiny ball bearing.  Without it, the lock does not work.  Luckily I am not the first one to do this, and McFarlane has a procedure to reinstall it on their website.  


Top down and side views.

This one is done...


Monday, 27 December 2021

Overhead Console

 Zach Chase (Fibertech Composites) builds a really nice piece that mounts to the ceiling of the Sportsman that allows for a nice spot to mount headset jacks, or whatever is needed.  I purchased almost all of Zach's stuff in 2021.

The Overhead Console is a molded fiberglass piece that mounts around all the various tubes - however, the cutouts are marked, but not cut due to many variations in the build.

After initial cuts and fitting, it is roughly in place.


A bit more tweaking, and it is 'loose' in place.  Next step is to drilling and fitting the aluminum inserts.


At first I was not going to bother cutting these open right away.... but if you don't, you have no way to gently pull the console cover away from the tabs after it has cured...

The composite L brackets come pre done from Zach, and with hardware.  Just need to mate them up...

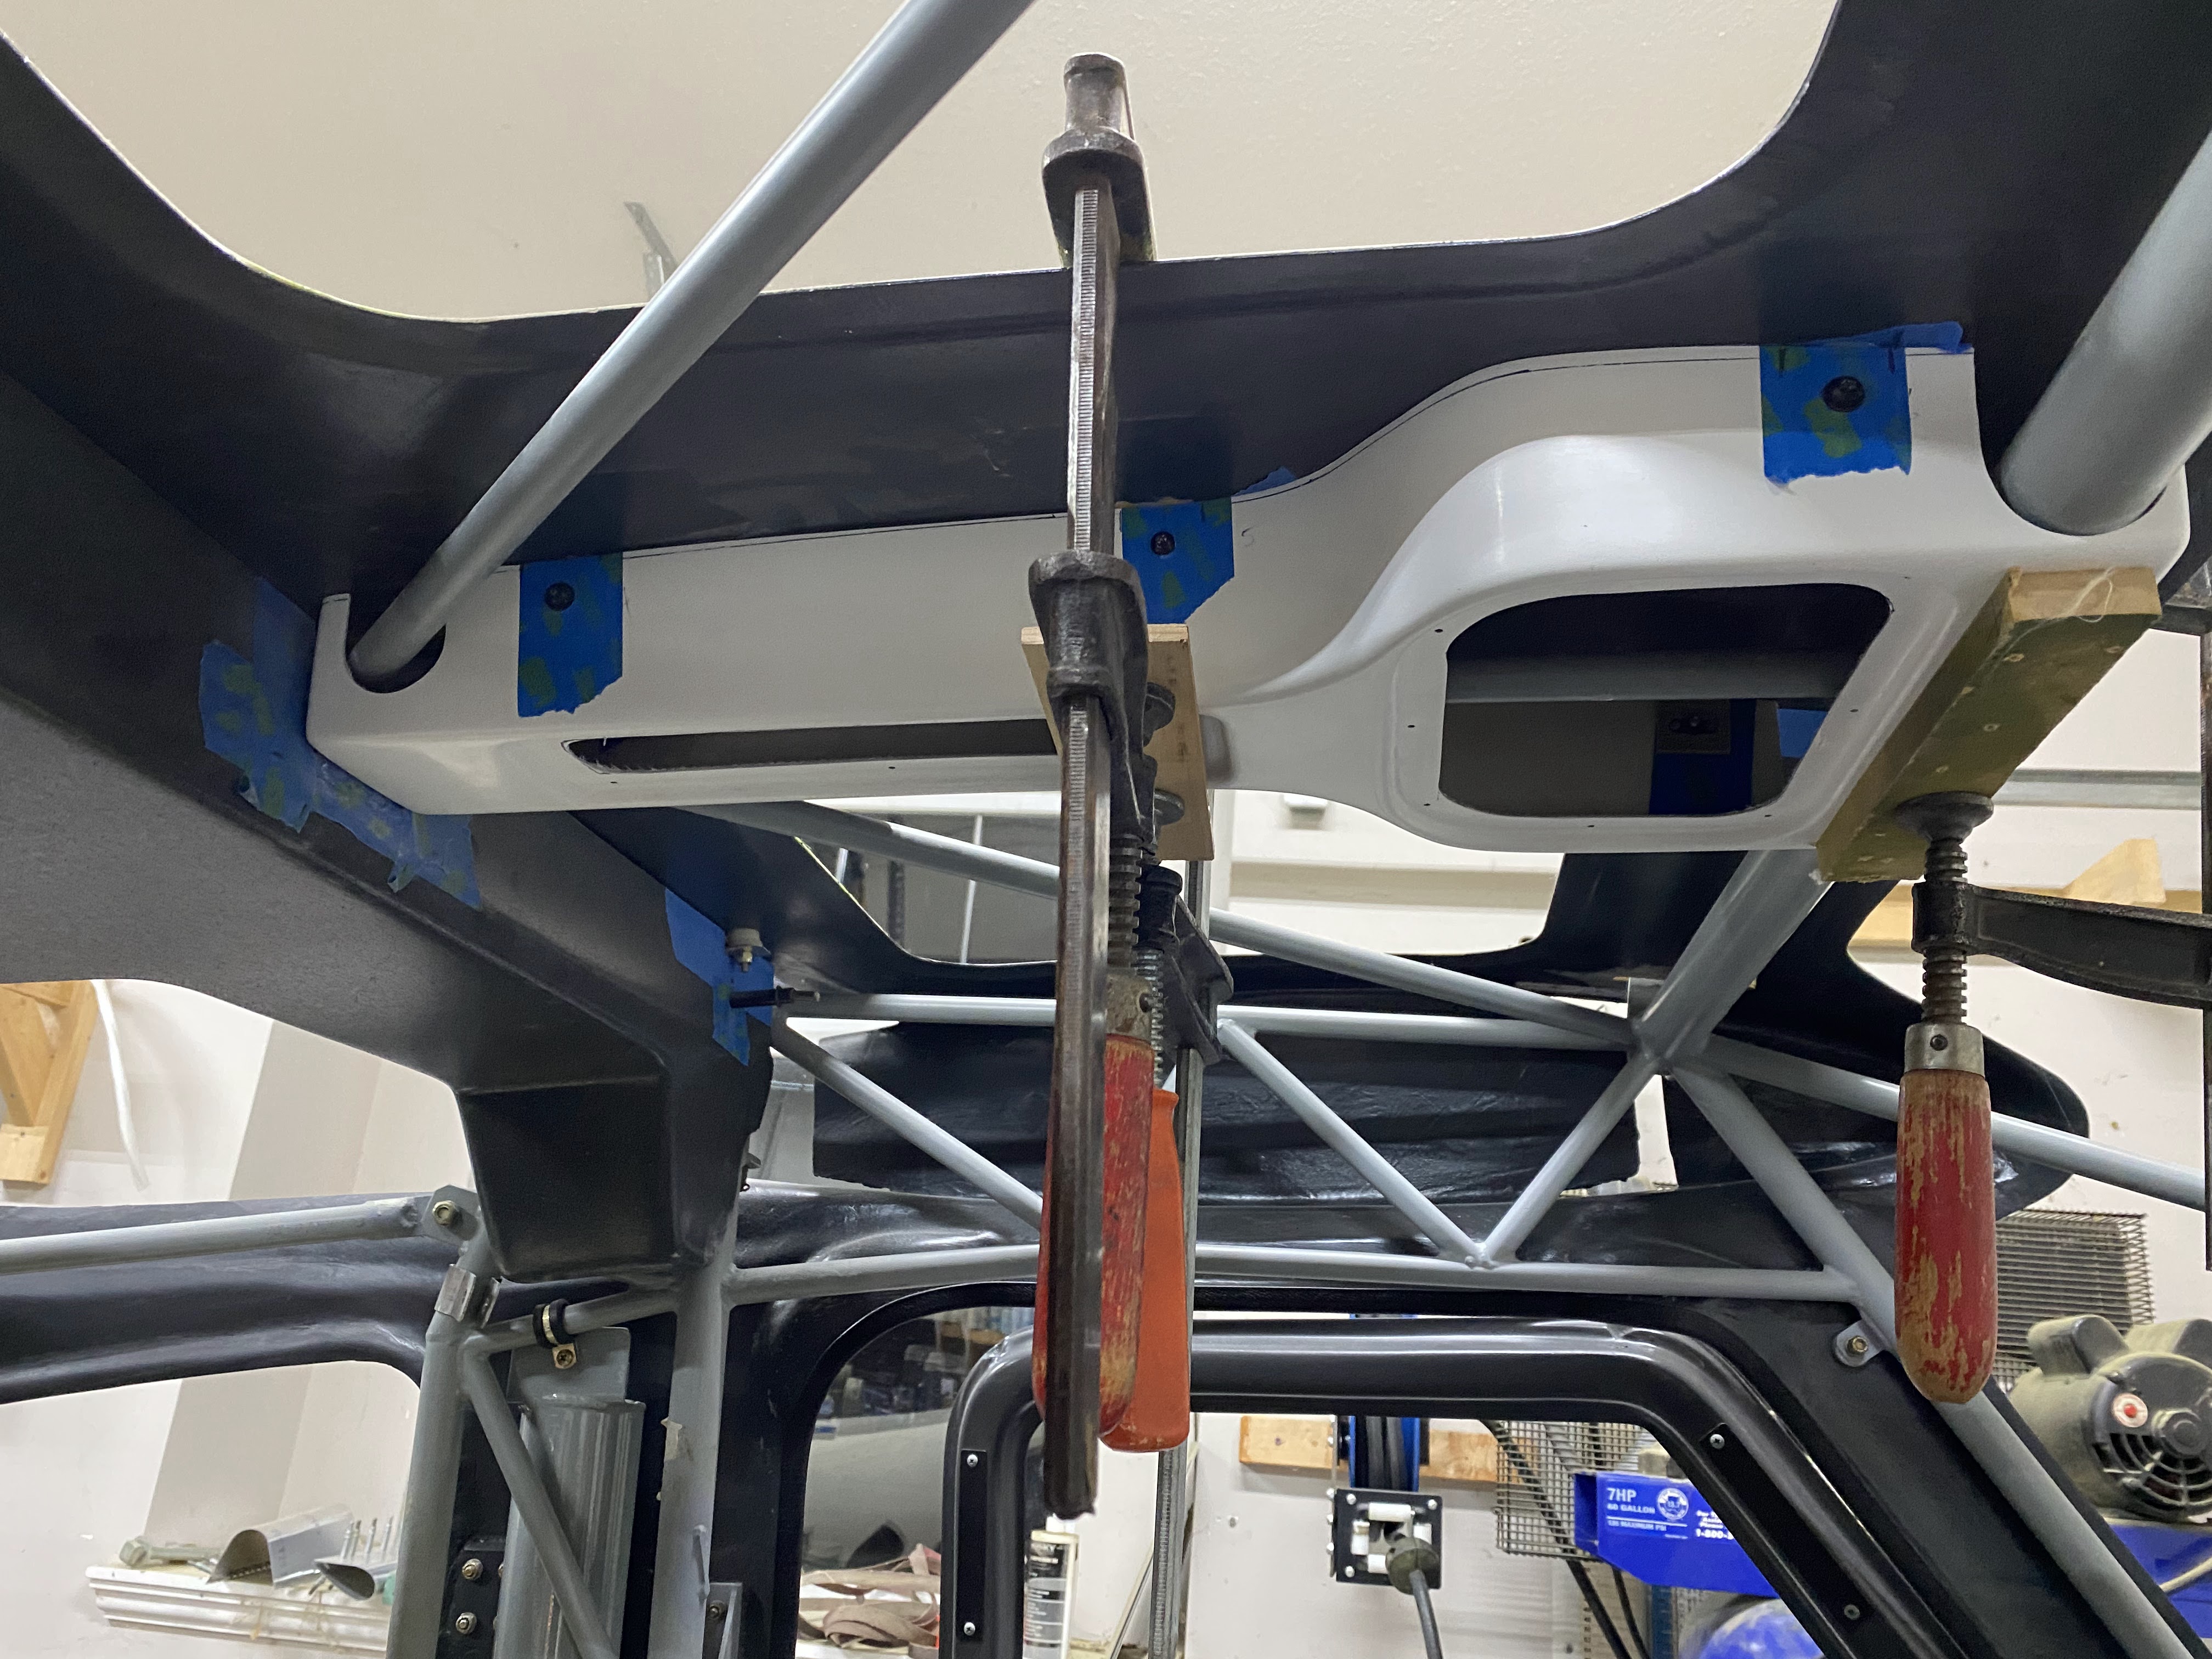
Roof sanded, adhesive applied, and console clamped in place.


Once cured, take the clamps off and remote the screws.  This is were I screwed up.... Zach's instructions say to cover the console cover around the tabs with packing tape.  I didn't, just used painters tape.  Bad idea.  If I was doing this again I would use packing tape, and then put a bit of wax on the inside.  You probably know where this is going...

Of the 6 tabs, 5 released cleanly (reaching up through the openings and popping the cover off the tab).  One did not...


Time to do some composite repair...

Repair finished, console painted.  Test fit of 'stuff'.


With the aluminum plates wrapped in vinyl


Drilled, fasteners installed, and temporarily mounted in the aircraft.


Need to do a bit of touch up on the roof, and route the cable back to the tail.  Other than that, this one is DONE.


Sunday, 26 December 2021

5 years in, and still going strong...

I started my Sportsman project at Christmas 2016... Xmas 2021 is 5 years.  I was hoping to be done in 5 years, but obviously not.

Here is the short version of what has been accomplished in 5 years:

  • Horizontal Stabilizer, Elevator and Rudder complete (including inspection) from standard kit.
  • Wings, flaps, and ailerons complete (including inspection) from standard kit.
  • Fuselage - quick build, purchased partially complete in 2019:
    • on its gear
    • tail dragger conversion
    • Service Bulletins
    • interior paint
    • firewall template, plus all firewall components fitted (fuel filters, batteries, cabin heat, relays, ground blocks, etc)
    • header tank
    • wing struts cut
    • instrument panel 'virtual' layout, components ordered
    • overhead console 90% complete
    • park brake
    • overhead cable cover cut and fit
    • rear seats 80% complete
    • baggage floor purchased, need to fit
    • battery box
Its a pretty long list.... the wings alone took me just over 2 years to complete.

'Life' did get in the way a bit.  
  • Built complete bedroom set for my eldest daughter (between finishing tail and starting wings)
  • Built breakfast nook for eldest son.
  • My youngest son started racing quarter midgets, which took up over half the weekends for a year and a half.  2018/2019
  • Building my son a new racecar, along with my father-in-law and son.  That has been ongoing from late 2020 through early 2022.
  • Plus work, kids, etc, etc.  COVID definitely helped with the build.  Prior the to pandemic, I travelled 1 to 2 weeks a month.  As of December 2021, I have not travelled for almost 2 years.
What I learned from the past 5 years:
  • The build never goes as fast as you planned.  Deal with it.
  • Building is a hobby, and is on the bottom of the list for the family.  Deal with it.
  • Plan the build, build the plan.  When you go out to the shop, you need an objective in mind.
  • It's a thousand little projects.  Do not treat it as one big one.
  • If you aren't happy with something, start over.  Trying to fix something will take longer, and be of lower quality.
  • Do something every day, even if that is just reading the manual or buying a part or tool.
  • "When you don't know what to do, do something".  If you are stuck on something, pick something you can do and do that.  Even if its just deburring a hole.  Then move on to the next thing.
  • Decide what your objective is.... building or flying.  As soon as you stray from the plans you have opened up a giant time suck.
    • Example:  I decided to build my own rear seats as I thought the $4K from Glasair was too expensive.  First off I had to design them, then build the metal components, then fit them, etc.  Then I had to learn how to vacuum bag, and get all the materials to do so.  Then there was all the fitting and finishing.  I have been at it for almost 3 months.  Now I know why the kit is $4K.
    • Example 2:  I decided to go with a UL power engine.  Modern, FADEC, lighter, etc.  However, there are no kits for this engine - so you are completely on your own.  UL power requires a header, which I decided to mount on the forward truss assembly.  The UL filters and pumps do not fit in the stock locations, not will they fit under the stock covers.  So all of that had to be designed, material procured, built, fit and finished.  On the 3rd go round, I finally got the top cover right.
  • I miss flying.  I have gone from flying 60 to 70 hours a year, to 15.  When everyone else is hanging out at the airport, I am going home to build.
It's been fun, but I am doing this to get an airplane.  I doubt I will build another one.