Search This Blog

Friday, 20 September 2019

Fuselage is home!

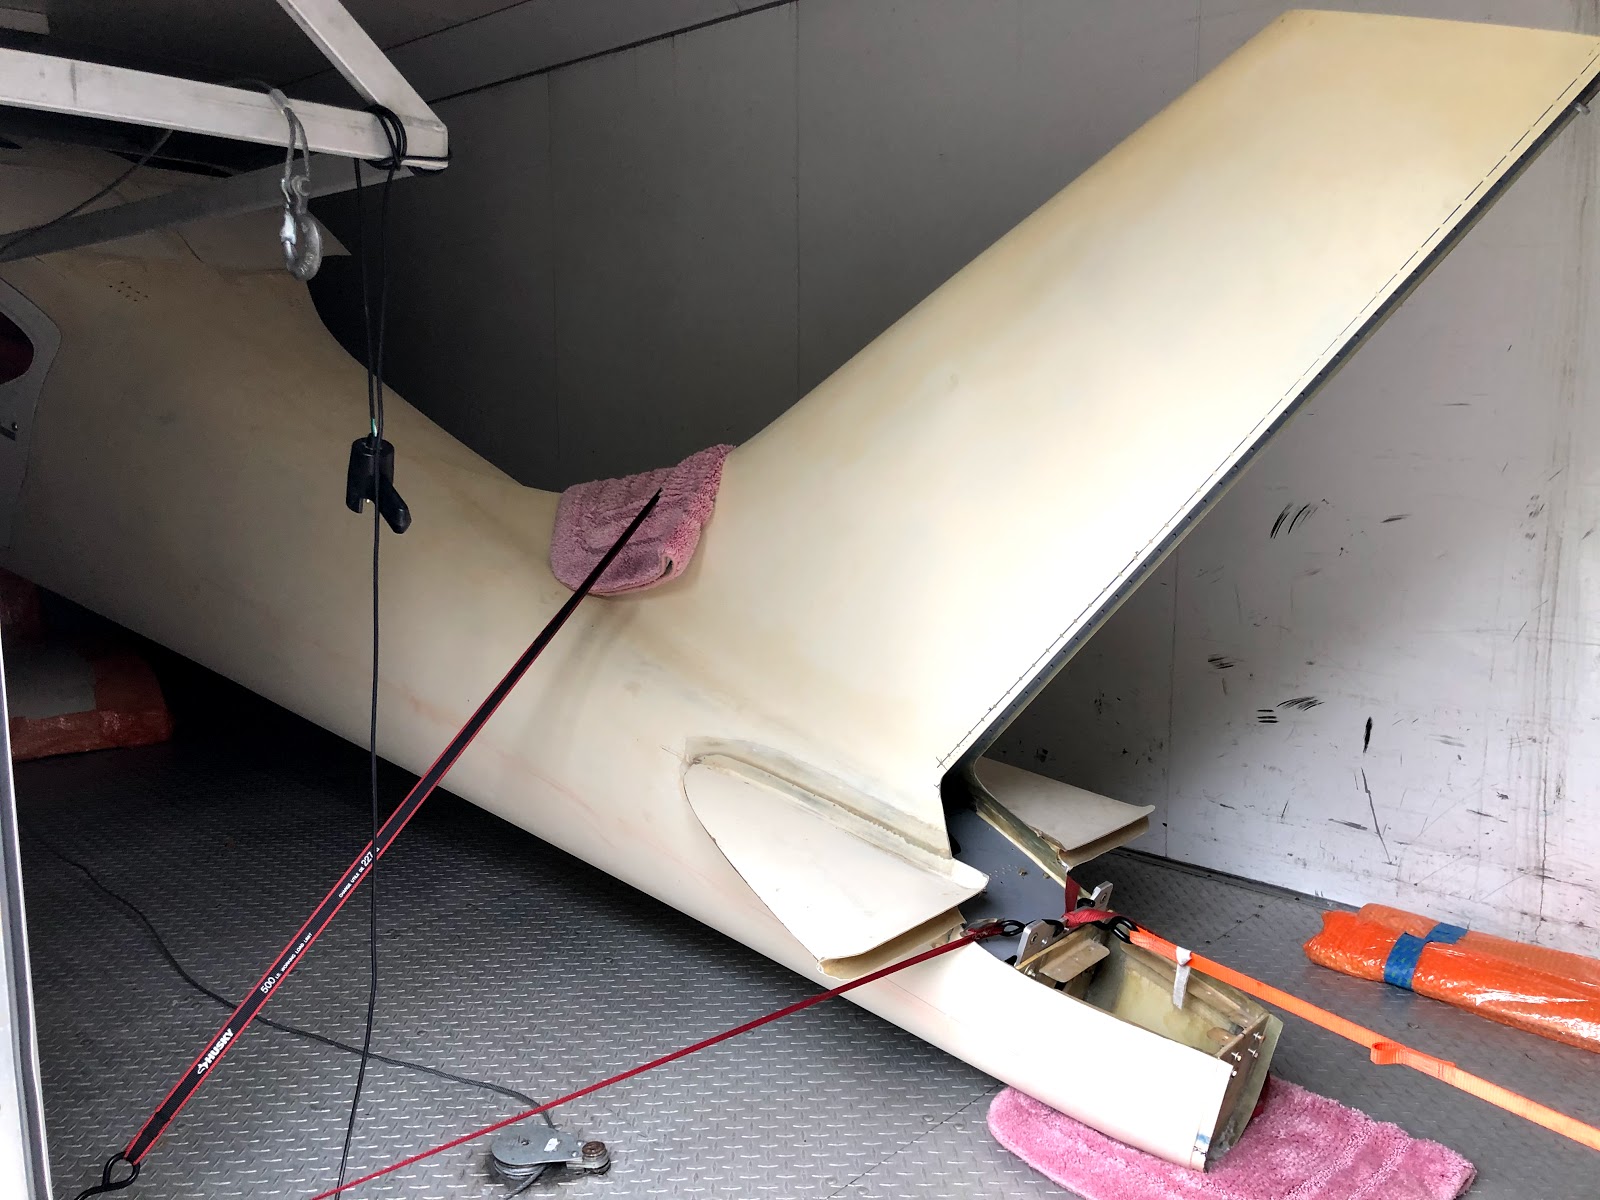
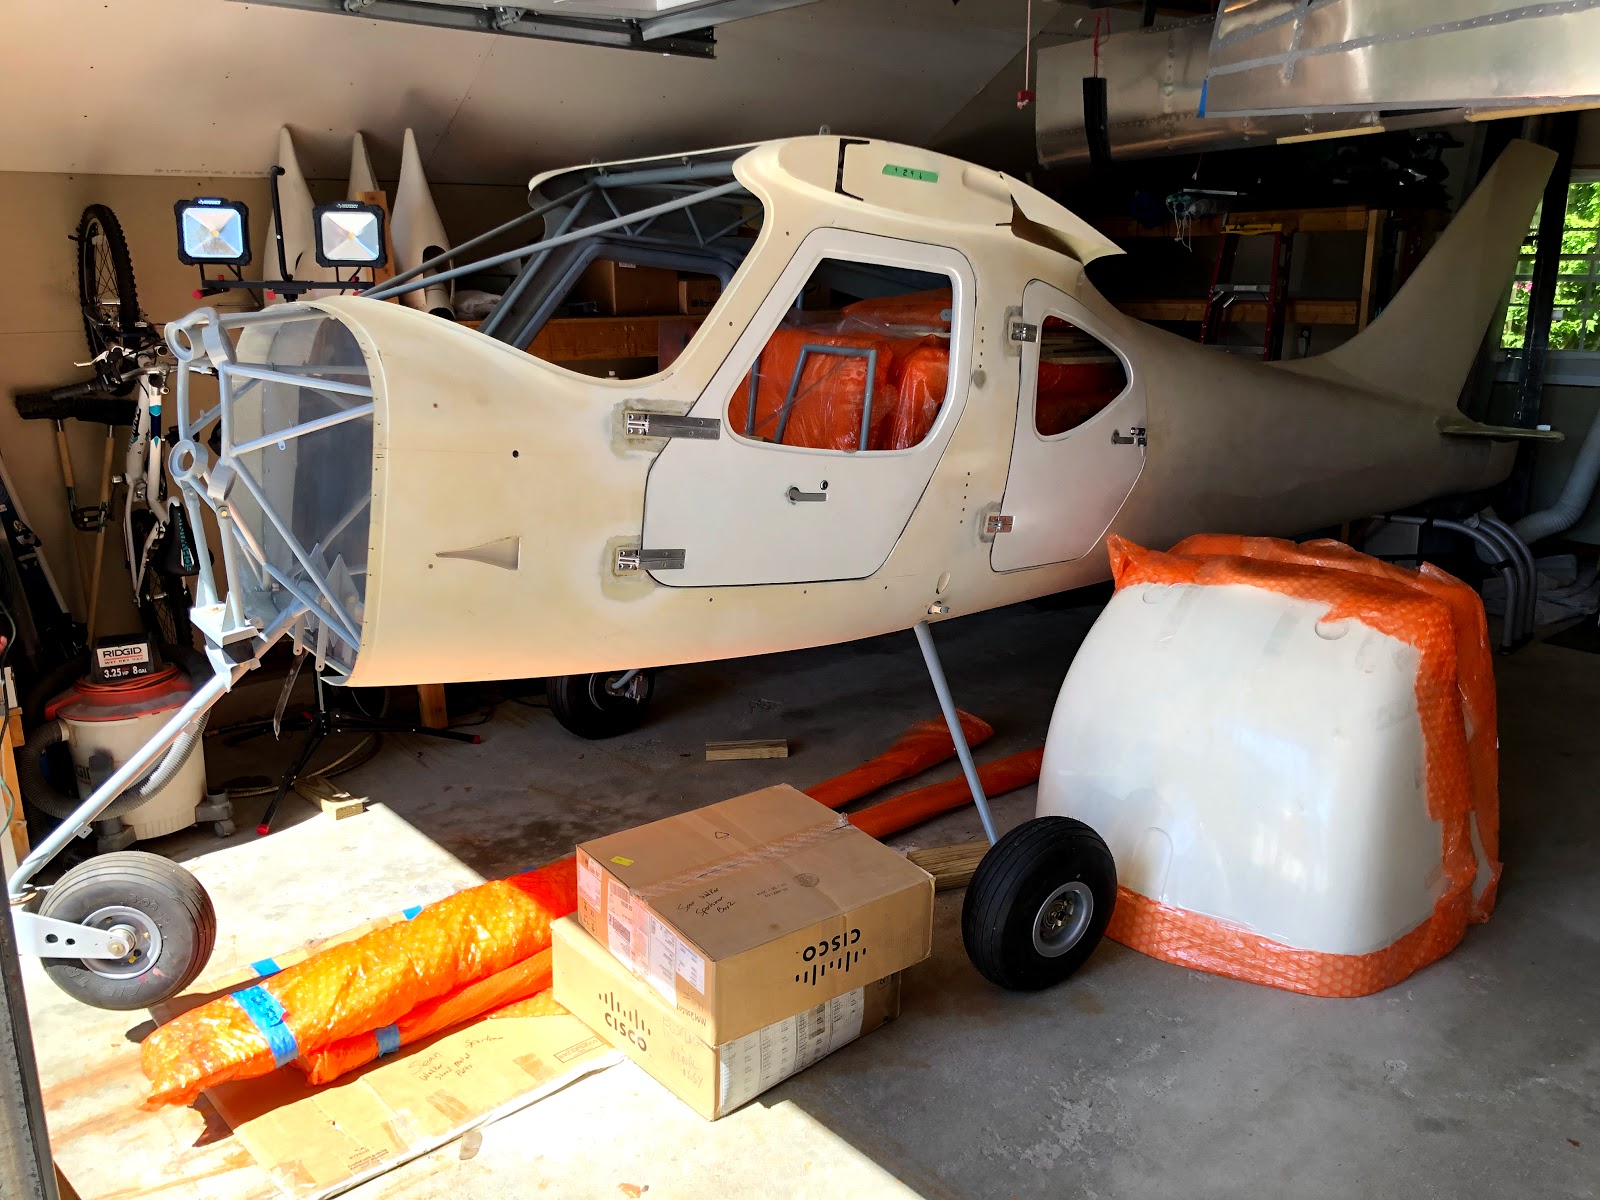
Yesterday was a REALLY cool day.  We met the truck bringing the fuselage from the east coast in Blaine, WA and transferred it to the race car trailer, and then brought it home the Canada!

Stewart Transport picked up the kit in New Hampshire, and 3400 miles later...


These guys were great.  No damage... only catch is they will not deliver to Canada...

Packed in the smaller race car trailer...


We had to take the nose gear off to get it to fit.  The fender wells on the inside kept us from moving the fuselage farther back... We only put the nose gear on for transport anyway.


The fuselage is very CAREFULLY placed in the hanger until the wings are done... hoping to have that done by Christmas 2019.

Wings - Part II

So the wings are trucking right along... all the long monotonous tasks... deburring, dimpling, etc.


Countersinking the spar and root ribs.


Checking the dimples on the nose skins and leading edge ribs.

There is about another hundred or so countersinks to go...

Have started priming all the wing components.  The nose ribs are complete, as are the stiffeners the go around the tanks.  Have to do the main ribs, flap cove ribs, aileron ribs, and the skins.  Lots to go.


Sunday, 1 September 2019

2006 Quickbuild Fuselage

I took a gigantic leap forward in the past couple weeks... I found a gentlemen on the east coast selling a 2006 quick build fuselage.  After a business trip / diversion I went out and took a look.  Well, I purchased it and it should be picked up by Stewart Transport (who specializes in moving kit aircraft and kit cars) around September 10, 2019 and delivered 7 to 10 days later.

We spent almost a full day packing everything and getting it ready for shipping.


We packed as much as possible (without damaging anything) inside the fuselage.  Mainly light bulky things...


This kit/purchase will push me forward probably by about a year.  It is a quick build, so the cage is hung.  The person I bought it from has upgraded the doors to the latest design including the rear door.   The header tanks are in, and most of the fuel system inside the fuselage is together.

However some modifications will be necessary.  As this is an older design, the cage tubing is smaller diameter.  Ted Setzer has developed an upgrade for taildragger configuration with extended gear that strengthens it by about 50%.  It also does not have the SB done for the seatbelts.

So now the priority is to get the wings ready to hang ASAP.  The fuselage is pretty much ready for the wings so the struts can be cut and fit.

Happy days!

Wings - Part I

Its been about a year since the blog has been updated, so this will be a length post... lots have happened on the wings.

Where the last post left off was getting the spars on the jigs, level and plumb.

Root ribs

First step is to FIND the root ribs (mine were mislabeled).  They then have to be modified to fit.  The root rib webbing needs to be cut and fit into the ribs.


Both root ribs cut and fit and ready to be drilled.  Doublers need to be installed on the rib flanges. 


Fully assembled root rib 


Once they are fit and drilled, corrosion proofing (both Alodyne and Zinc Chromate) and riveted, and finally placed into the jigs. 


Assembling the nose, main, flap/aileron cove ribs into the jigs.


The main ribs outboard of the inboard fuel tank are doubled up.  No real fitting required, but they have to be drilled for riveting later. 


The strut beam components are all pre cut and do not require much work.  Simply corrosion proof them and install. 


This picture shows the bracing I built to hold the jigs in place.  As I have garage doors to work around, I glued them to the floor of the shop and then braced them to each other, and then to the walls.  1 year in they have not moved at all (plumb bobs on each corner to monitor for movement). 


Nose skins going on.  You can see the wood block hot glued to the spar and rib to hold it square.  The outboard ones are easy to adjust through lightening holes in the spar, but the mid and root skins are not so easy. 


To hold everything in place and line it up to the lines on the spar I used strips of plywood and clamps to position everything and hold it in place while drilling.


Installing the spar spar caps was fun.  They double up the spar in the mid section of the wing on the top spars.  They help tie the nose and main skins together and add strength. 


Forward holes drilled in the spar caps. 


Main skins going on. 


One side done! 


Stiffeners for the fuel tanks. 


Pitot static mast going on the left wing.  Rather than purchasing the Glasair kit, I simple bought a mount from Aircraft Spruce and will buy all my own hardware.

This plate will go on the inside of the wing and ties into the  skin stiffeners.  


Moved to the inside to drill the holes. 


Pitot static mast installed.  Nothing is riveted yet, but all the holes are drilled, dimpled and deburred. 


Drilling the primary spar attachment holes to the root rib.  I made a little jig to make this a bit easier. 


Thursday, 6 September 2018

Wing Jigs

After a relatively long ~9 month break, back at it.  The wing kit has been invading the basement for far too long.

First step is the wing jigs - and man, these are a project on their own.

The manual calls for them to be constructed out of standard 2x4 or 2x6 lumber, but after reading the forums building the jigs out of solid commonly available timber will lead to warpage.  So my solution was to buy 3 sheets of D grade 3/4" plywood and rip into 16, 5.5" wide strips and laminate these together to make a 16' long, 1.5" wide beam.


With the beams all laminated up, the next step is to get them into a framework.  I used standard 2x6's for the lateral supports.


For the posts that support the spars, the manual calls for 4x4 posts.  I again used 3/4" ply and made some box spars - glued and nailed.

The top is just 3/4" MDF.  4x8 sheet ripped in half.

I made the framework of the table 20" wide instead of 24", which will allow a 2" clamping area around the jigs.


Once leveled, the outside table legs are bonded to the floor.  I used a heavy duty tile glue.  Then the spar mounting brackets are fabricated and mounted on the posts.  

used a water level to align the top brackets on each side of the jig.  The garage floor has 3" of slope from end to end.  The table is quite level, but not perfect across the entire 16' span.


Spars mounted on the almost perfectly aligned jigs.  I will do final alignment prior to drilling the wing skins which is the most crucial part.

Onto the ribs!


Tuesday, 7 November 2017

Elevator Part IV - and Trim Tab

The elevator is completely riveted, except for the trailing edge, forward spar and hinges.  This will be done once the inspection is complete, which will hopefully be scheduled in the next week.

Next is the trim tab.  Honestly, I stared at this for quite awhile trying to figure out the best way to approach it.  Turned out to be very easy and straight forward.

Some of the ribs had to be straightened as they were slightly deformed.

The control horn needed to be fabricated out of some aluminum T stock.  I sure wish I had a bandsaw for this - I used a die grinder with a cutoff wheel.


Center lines were drawn on each rib.  I focused on the left hand edge rib first to position it correctly inside the skins (the manual is not much help here).  Once it had that one positioned correctly, I marked the top rivet location on each rib and clamped it in place.  Once one hole was drilled, I then clecoed it and lined up the center line on the rib and drilled the remaining holes.

Once I had a gameplan it went together very fast.


Everything stripped down, alodined and zinc/chromated.


Riveting this worried the hell out of me.  I know from experience that when you F*** up a skin, it takes a very long time to fix, and it never looks right.  You are better off to wait.  And it all comes down to the jig you build to hold it in place.  even more so with the trim tab as it has so little structure - especially the top skin.

So I finally went with the below jig.  2 long pieces of 3/4" ply (~1" wide") on the bench for the flanges to rest on.  A small wood block on top, and clamped the whole thing to the table.  I fed the trim tab forward as I riveted each rib.  Rivet gun on top, bucking bar on the bottom.


Worked well.  Didnt screw up any of the solid rivets.  The top is all solid rivets except the ribs where the control horn goes.  The bottom is ONLY solid rivets for the control horn and corresponding ribs.  Everything else will be 1/8" blind rivets.

Now it is onto the hinges.