Moving closer to the end... Need an air intake for the turbo.
Lots of ways to do this. My preferred method is to mount the box to the starboard side of the cowl and have it captive. IE the filter and box and 'scoop' are all one.
UL has a part... which I was initially unimpressed with.
I bought a part from the US distributor, which initially I liked... but its very tight and restrictive.
So I am blending the two, and hoping for the best.
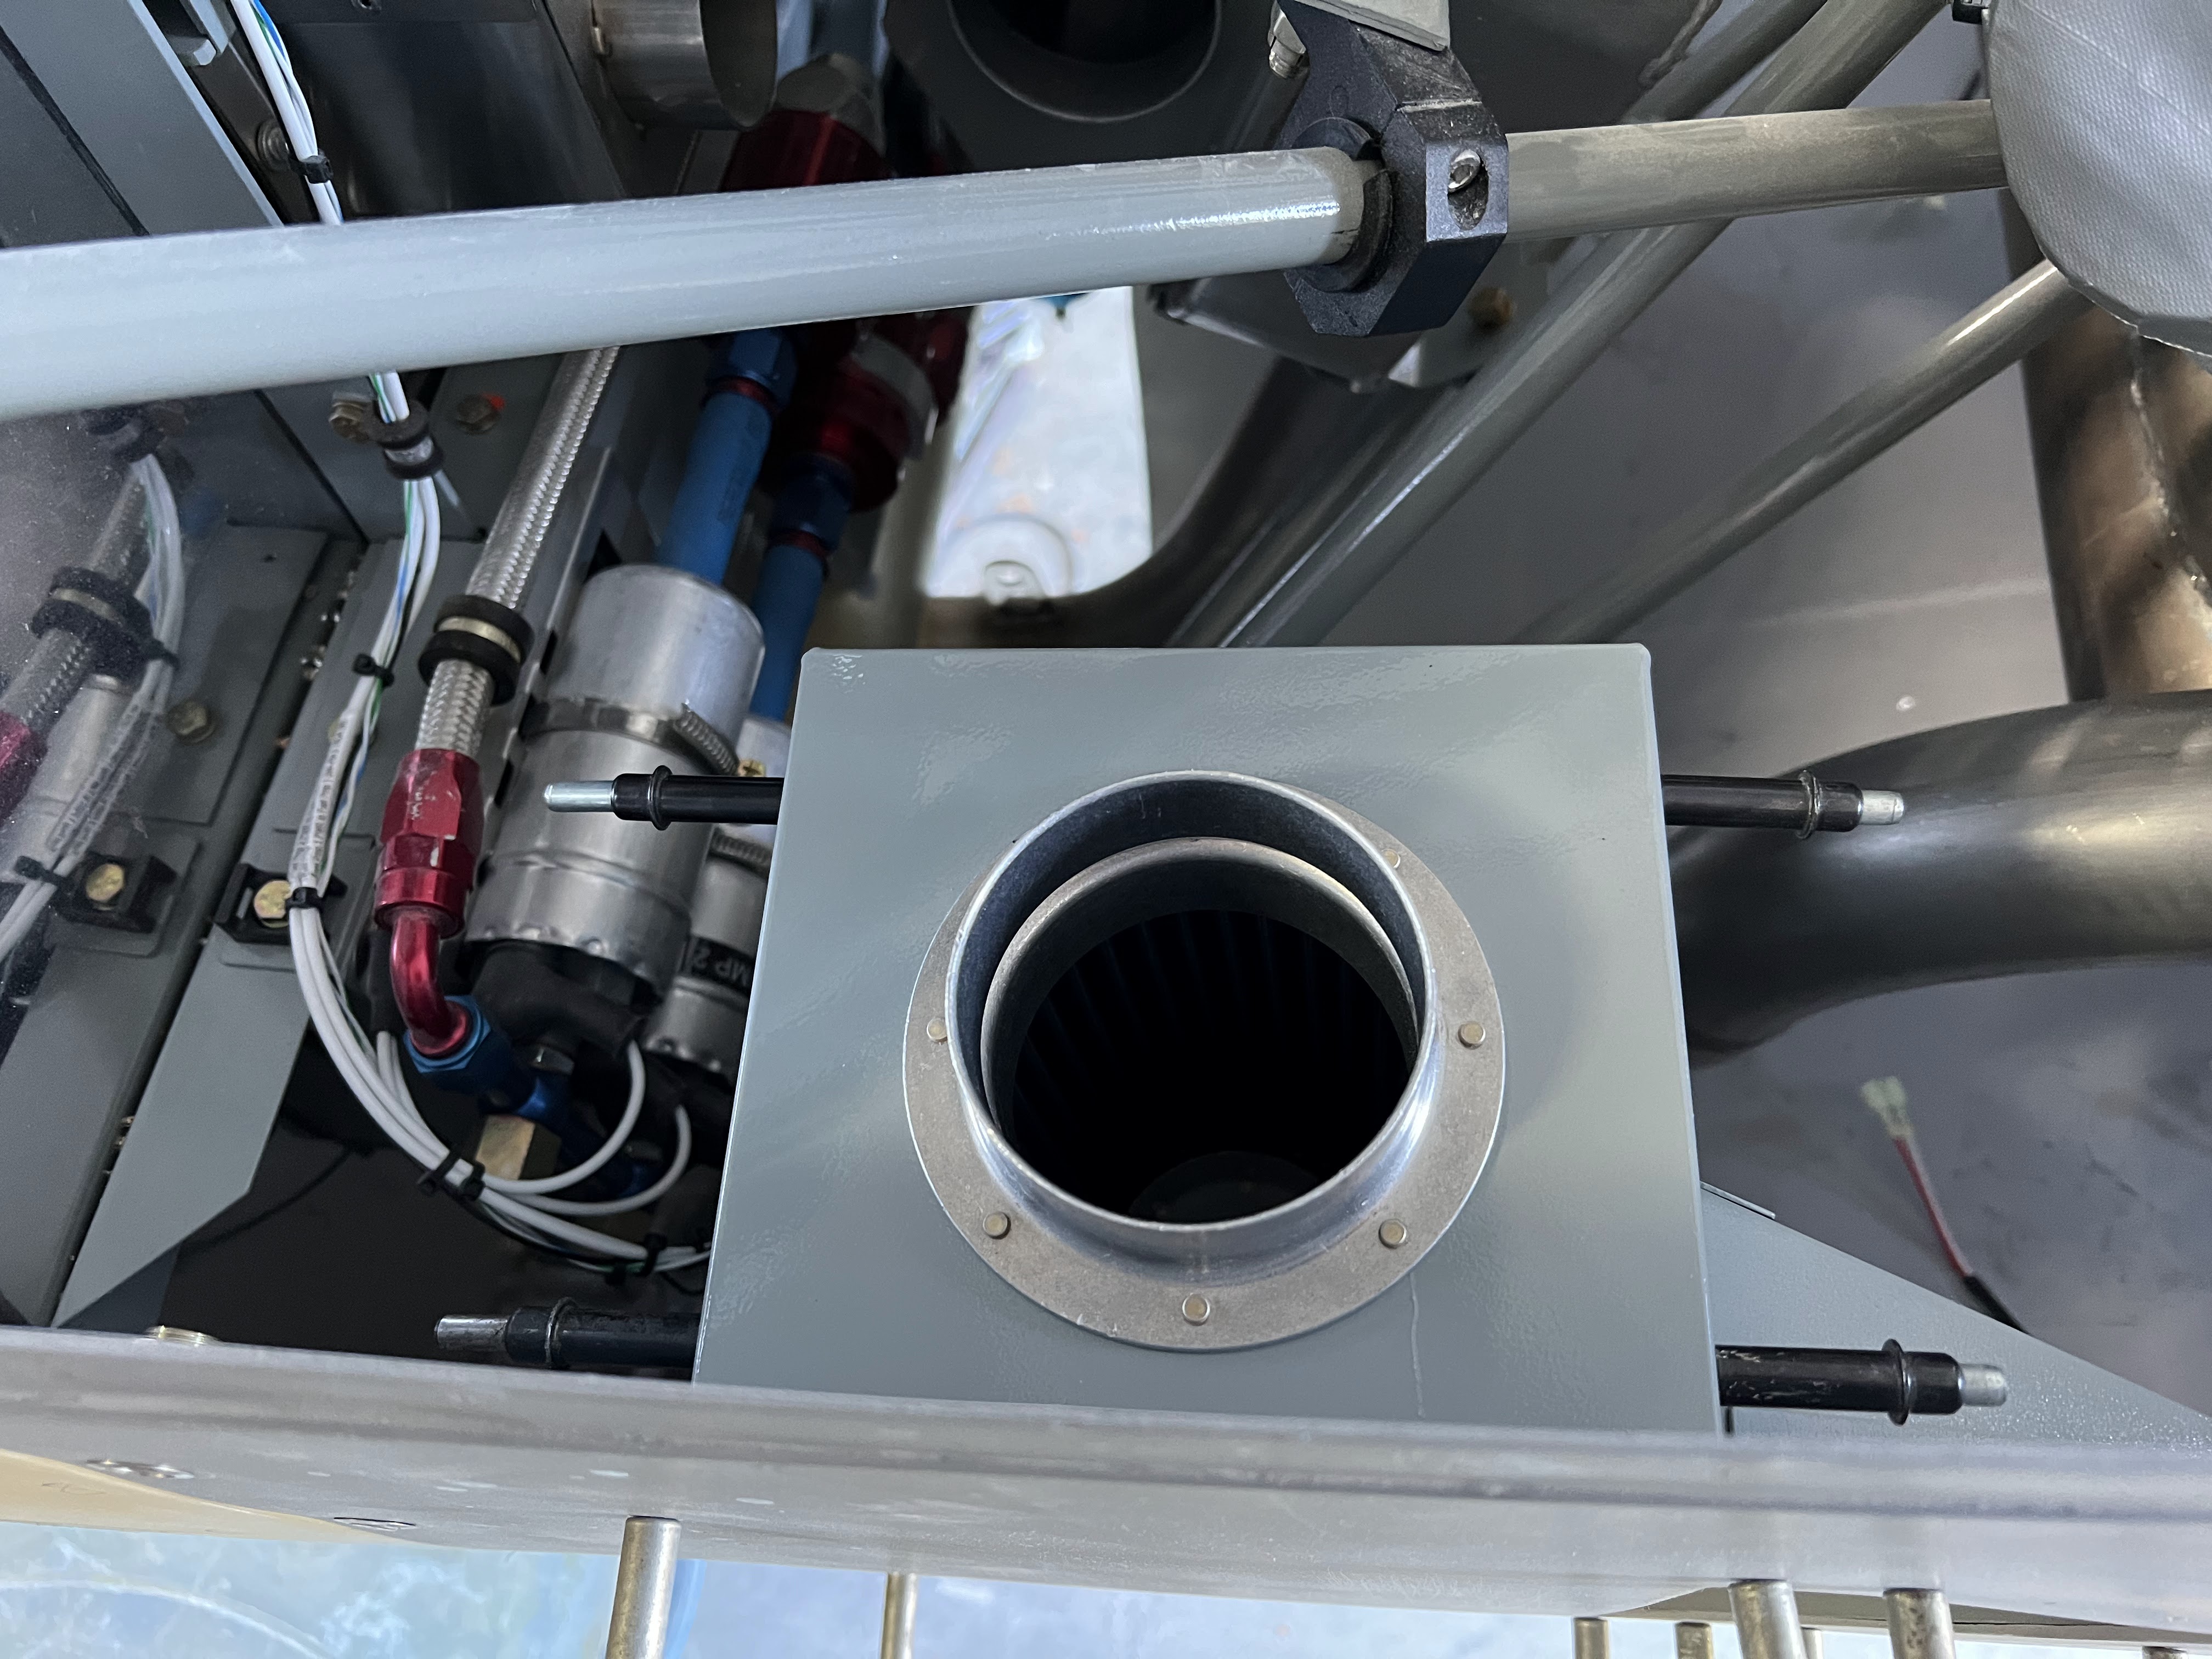
The box is the height of the filter that came with the engine, and I make it 6" square.

Drilled and clecoed. The plan will be to have the top removable for filter cleaning / replacement


Pretty basic design. I needed to tweak it a little bit, but now I need to mount it.


This is kinda sorta how UL does it... but I need to integrate in a alternate air source that bypasses the filter.


Next.... alternate air inlet...
The first challenge was to work out the angles... and not interfere with anything, and keep it away from the exhaust as much as possible.
I used a flange to get the size, and started with a paper tempate.
The 'door' is a 2 piece assembly. I want it to slide as nice as possible, so I used some high density plastic on the top that will contact the flange. The two pieces will be flush riveted together, and the flange on the box will be flush riveted as well.
Mock up below.

I bought a 2" linear actuator from Actuonix. Slick little unit. They also sell a lit push button, which looks really nice (standard switch used in custom hot rods, etc). BUT THE WIRING DIAGRAM IS WRONG. And all the colours on the wires are wrong. That was frustrating.

I am going to draw this up and it will be part of the electrical diagrams.
The best part is IT WORKS PERFECTLY.


This is done, except for riveting it to the cowl.
No comments:
Post a Comment