Search This Blog

Monday, 28 December 2020

Wings - Part XIV

 Cove skins part 2...

Cleaning and alodyne...


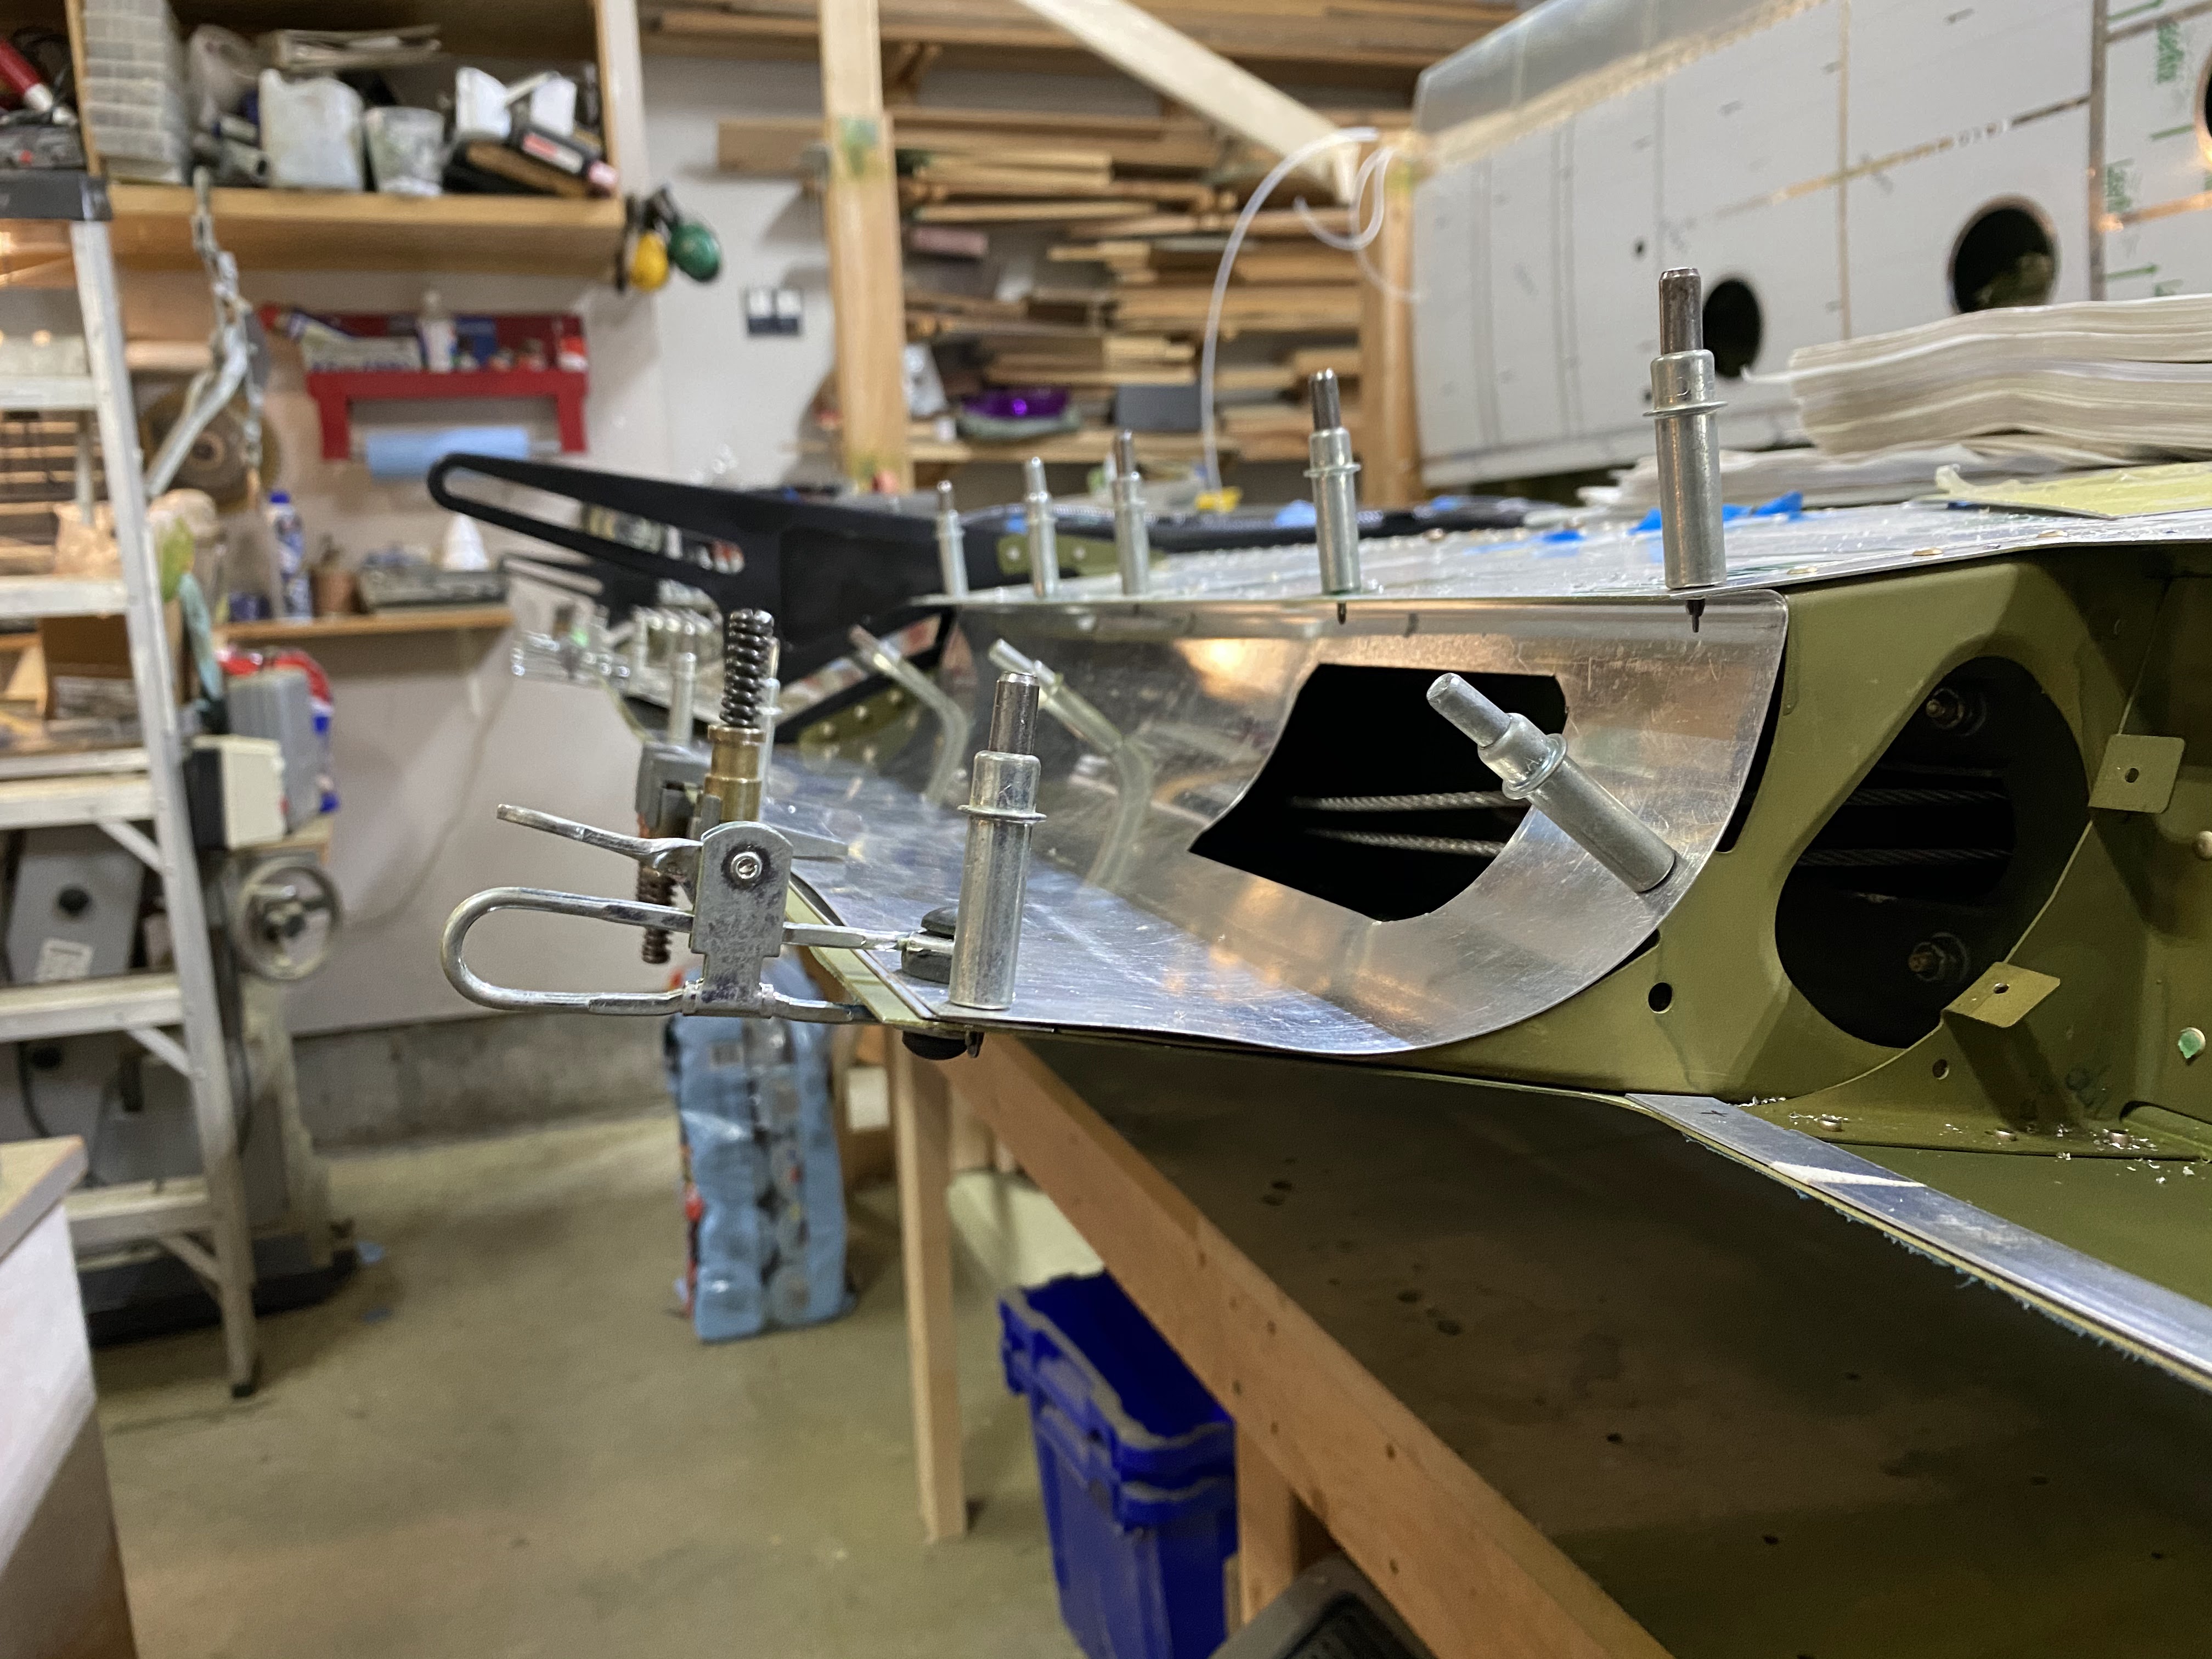
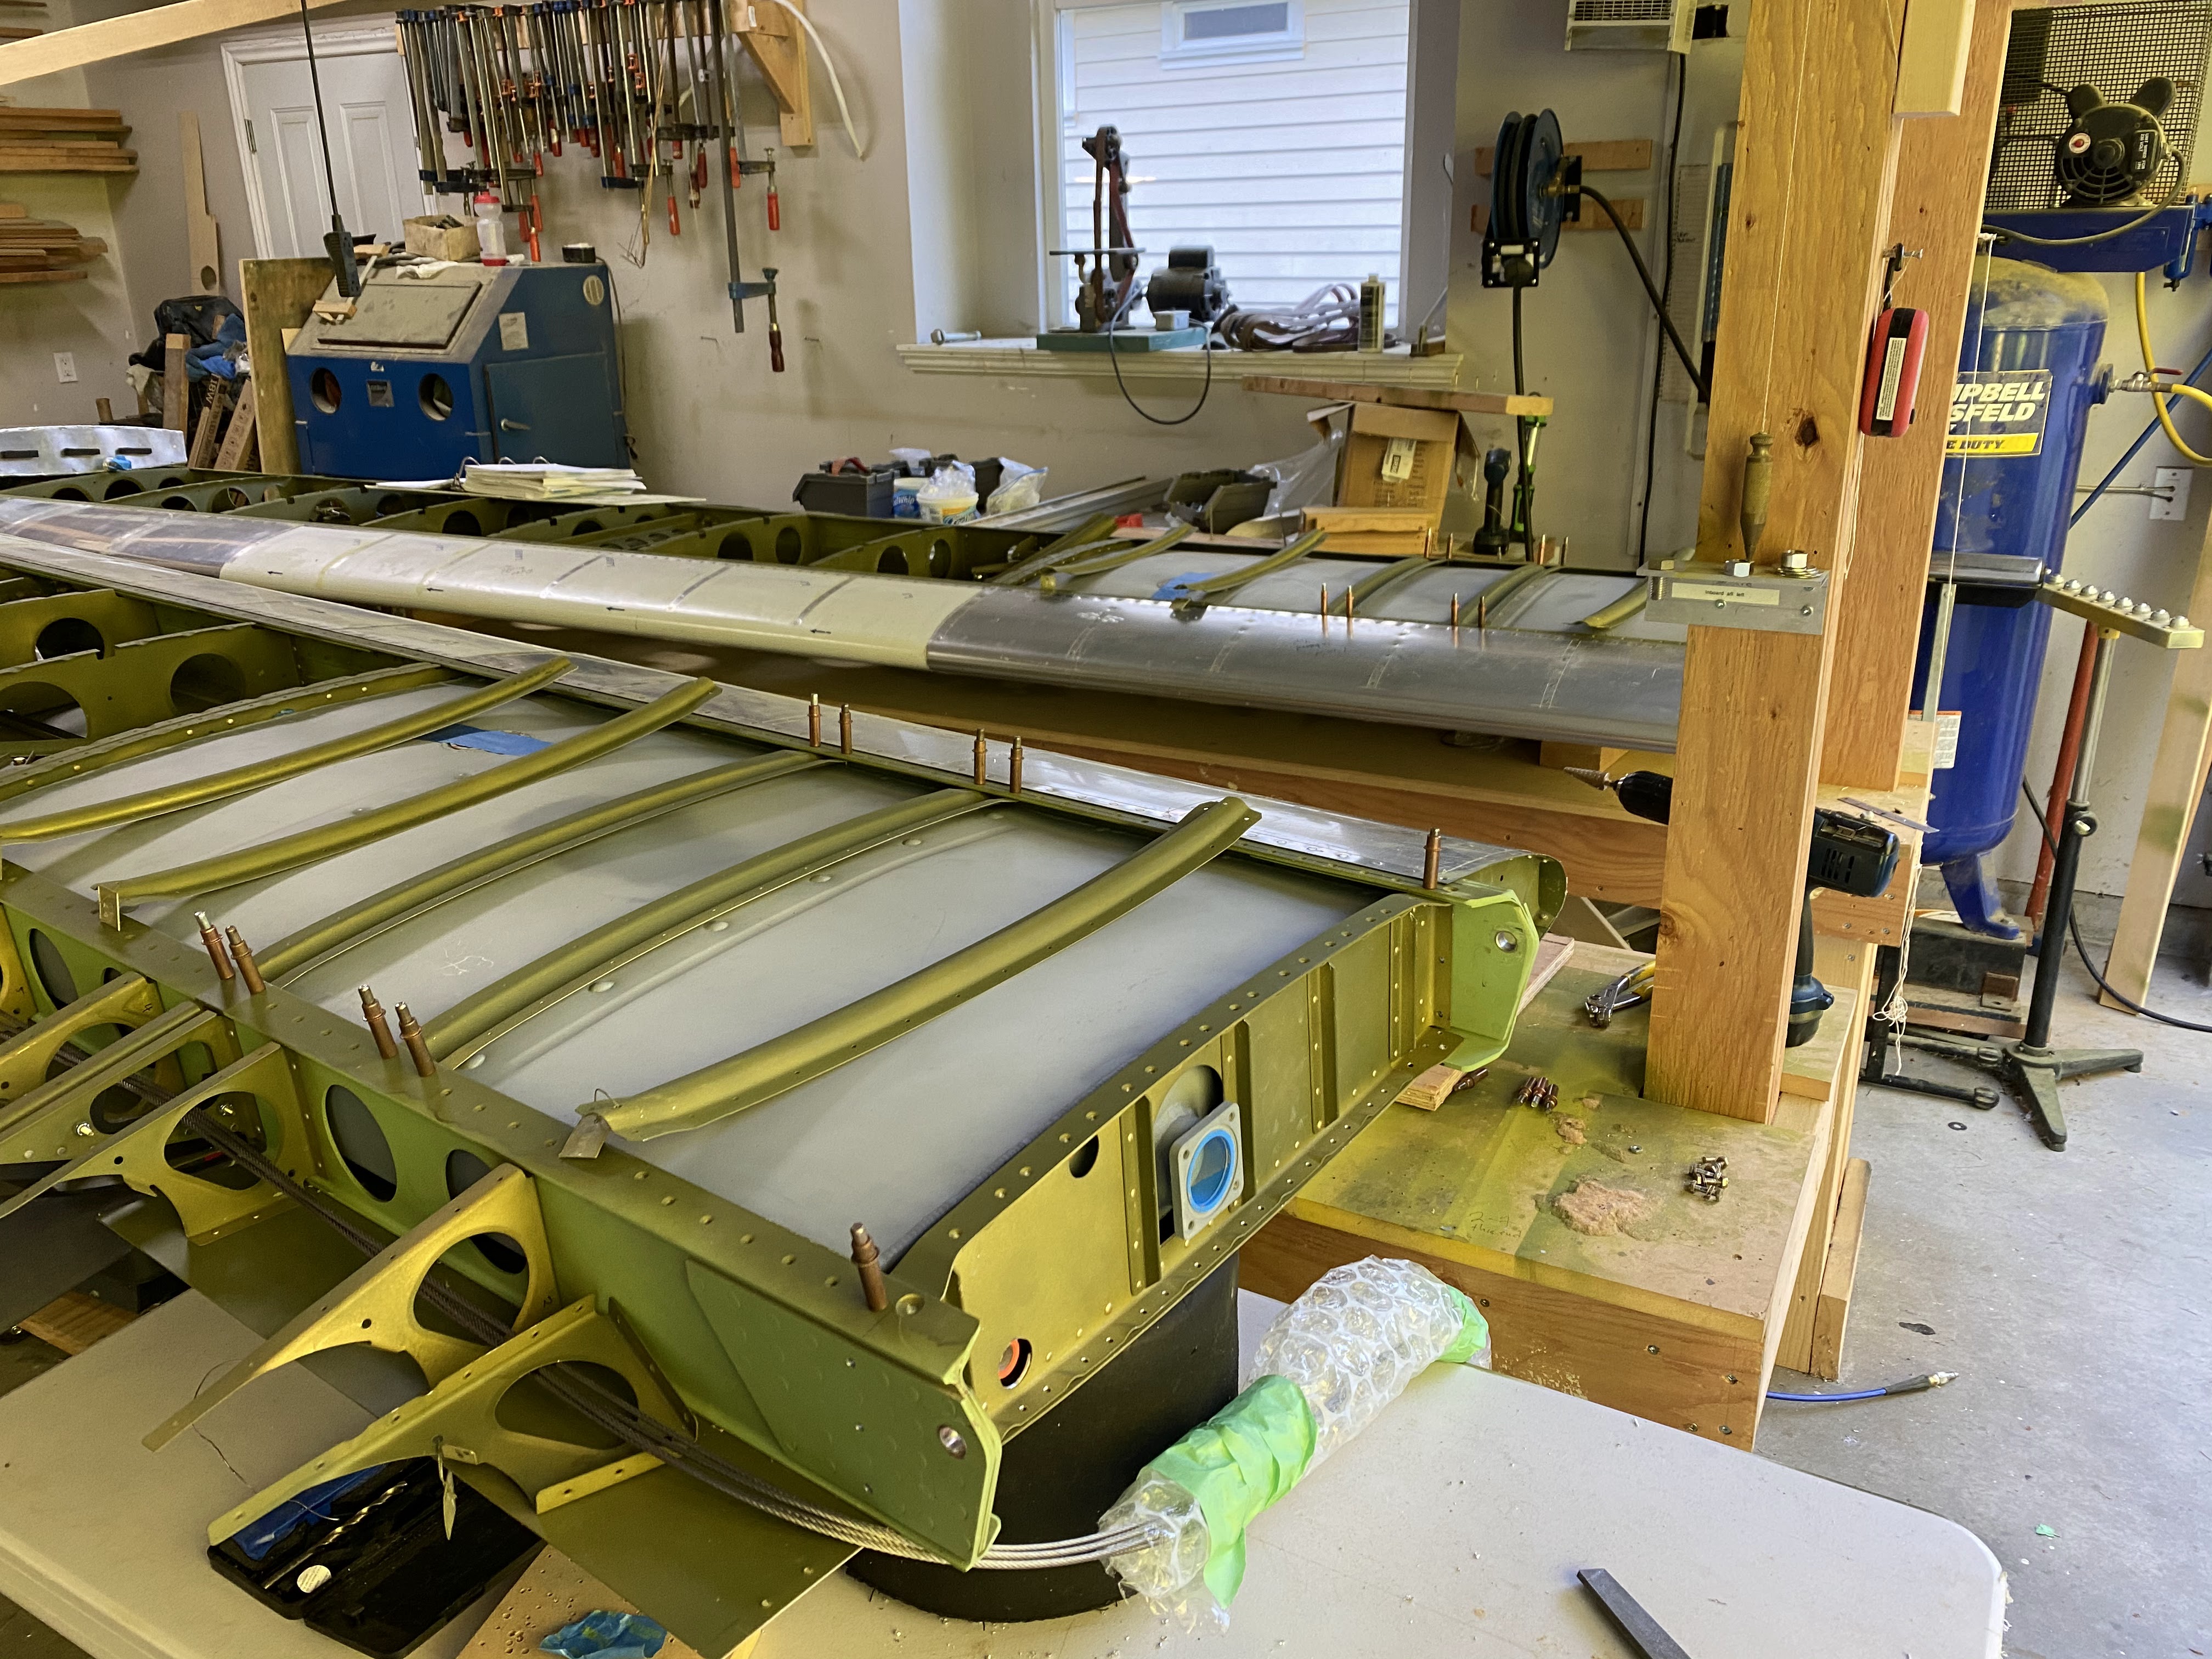
Drilling the angle aluminum to hold everything straight for bonding


Laying down the structural adhesive


Clamping it up.... 


And then waiting....


I like lists.  Write them all the time.... I started writing lists on the vinyl covering the wing skins - that way I dont lose it.

The goal is to have the wings ready to move by 1/4/2021.  But I need a nice day as the Emeraude has to come out of the hanger, move out the fuselage, put in the wings, bring the fuselage home, dismantle the benches that are taking up half the shop.  Weather forecast looks horrible...


It will be what it will be...

Sunday, 27 December 2020

Wings - Part XIII

 Tanks... 

Tanks welded for the 3rd time, no leaks.  Yay!

Tank support brackets mounted in outboard fuel tank bay.  These are REALLY HARD TO PUT IN.  Doesn't matter if they are laying down, or upright in the jig - the rivets farthest away suck.


Left Outboard tank installed.


Fuel sender.  Going to redo the wiring... not happy with it.


Inboard left fuel tank installed.


The big flip.... left wing back onto the jig, right wing onto the table.


Repeating the whole cove skin process.  The first set of coves took me what seemed like weeks.  These are going much faster because (a) Ive done it before, and (b) everything is already cut (but not fit).


All the coves and doublers need to be acid etched and alodyned, then can be bonded in place.

Once this is done, then the tanks go into the wing, the ribs get riveted and then off they go to the airport, and the fuselage comes home!

Friday, 18 December 2020

Wings - Part XII

Unfortunately the fuel sender flanges that were welded in the tanks are in the incorrect orientation... unless you was to measure fuel quantity when going vertical...


New flanges have been ordered and should be here any day.....

So I have moved onto the flap and aileron coves.  They have all been fitted, so next step is bonding.

Big shout out to Kyle for explaining what he did...

I needed to etch and alodyne the skins, and I figured I would take the opportunity to do the struts while I am at it.  The goal for the struts was to fully clean and protect the INTERIOR.... so I made a big trough...


It is 98.5 inches long.... 1.5 inches longer than the strut.  I bought a roll of poly from Home Depot and layed it in to hold the chemicals.  Prior to this, I put some Alumiprep in some poly in the shop and let it sit for a week.  No signs of deterioration...


Before and after


So with all the coves and doublers ready, I full assembled everything.... and then took it apart in order and laid everything out for rapid assembly when bonding the skins.


Order of operation:
  1. Put adhesive on top skin
  2. Lay down doubler
  3. Put adhesive on doubler
  4. Lay down cove skin
  5. Cleco bottom edge (which is up in the pic)
  6. Cleco inside coves
  7. Put down aluminum angle
  8. Cleco aluminum angle through cove, doubler, skin, and 2nd doubler (makes a big sandwich)
  9. Clamp the whole thing together...


The finished result...


Now to fit the flap and check clearance...


Overall I am pretty happy.  They are not perfect, but are pretty good.

Onto the 2nd wing.... hopefully the flanges arrive and I can get the tanks welded, then install.


Wednesday, 9 December 2020

Wings - Part XI

 Have made some progress, but also ran into some snags...

Finished riveting the right inboard top skin (with my son's reluctant help).


Fuel tanks:  I spent a bunch of time researching how to leak test the tanks

  1. Pressurize the tank with air (2.5 to 3 PSI), use soap and water on the seams and look for leaks
  2. Pressurize the tank with air, submerse in a tub and look for bubbles
  3. Put ~1 L of Varsol in the tank with a dye, which around, and look for leaks
All of these come with some challenges.  The filler neck on the tanks needs a sealant to be water/air tight, and I dont want to do that until the tanks are installed.  The dye that is recommended (Gentian Violet) is not available in Canada, and someone decided it is cancerous.

So after much debate and time wasting I went with option 1.  I used tape to seal up the filler neck, and put plugs in everywhere else.  The only place that leaked was the tape...


Started with the outboard (aux) tanks.... no problems.

Then onto the inboard (main) tanks.  The fuel level sender I have does not match up with the flanges on the tanks.


Luckily the fuselage kit I bought came with the new flanges that match up with the fuel senders... however, they are not attached to the tanks.    So the new flanges are going to be welded this week...


New flanges installed on an outboard tank...

While the tanks were away, I cut and fit the aileron and flap cove skins...


Not a super fun job, but they are all cut and inspection holes completed.  At this point, they need a little bit of trimming then off for etching / alodyning.  Due to the size, I am going to build a trough long enough to do the wing lift struts, and do all the cove skins at the same time.  At least that is my current plan.

What comes next (left wing):

  1. Install tanks
    1. Need to figure out wiring for senders.... especially the outboard tanks
  2. Rivet inboard / outboard ribs
  3. Etch / alodyne cove skins, covers, and left struts
  4. Bond cove skins
  5. Fit flap / aileron and check clearance
  6. Rinse and repeat for right wing


Friday, 27 November 2020

Wings - Part X

Wings are moving along nicely.  All the top skins are on.... just a few rivets to go on the right wing.  Left wings is complete.


All of the wiring has been tidied up and tied down.  Pitot was installed (and removed again).  Fuel pumps installed and tightened.  All 6 wing skins are on, and 5 are completely riveted.

Nut plates installed for the folding wing supports


One wing complete!

Up next...
  1. Finish right wing inboard panel
  2. Leak test tanks (I have started this, working on methods currently)
  3. Install tanks and filler necks
  4. Attach fuel and vent lines on all tanks
  5. Install root and tip ribs in both wings
  6. Cove skins
  7. Wings done!
Goal is to have all of the above done by end of year...


Thursday, 15 October 2020

Wings - Part IX: Wings back home, fuel lines / pumps, wiring, etc

 So the wings are back home.... in this episode:

  • Fuel lines
  • Fuel pumps
  • Vent lines
  • Wiring
  • Cable guards
  • Aileron stops

The wings came back from the airport, and I laid them down on the jigs.  I think the theory is this would be easier to install the wires and lines.  It wasn't.  But I did complete all the tasks with the wings laying down.  The tank install is a must laying down, but everything else would have been easier I think.


The fuel lines were a pain.  How to get them from A to B, through ribs, under the strut truss, etc.  Shortest possible distance, yet ascetically pleasing.  I started with a 50' piece of tubing, and have about 6' left.  Lots of waste.


The fuel pump doublers were missing from my kit... I tried to order some and they were missing, so I made them (not hard).  

The vent line was the easiest.... however it would have been easier if I hadn't already installed the C channels for the outboard tanks.  I placed the vent as high up as possible.


Fuel thanks slid in as they should.  However my pre punched root rib had all the locations in the wrong (or slightly wrong) spots.  Required fiddling.

The wiring was pretty straight forward.  Wiring provisions for:
  1. Fuel transfer pumps
  2. Landing / taxi lights
  3. 3 in 1 tip lights (position, strobe, nav)
  4. Heated pitot
  5. Aileron trim
  6. Spare wires

The wiring is half done as I am missing connectors for the Seal-All plugs.  But the wire is all placed, just not dressed it as I would like.


Cable guards fabricated and placed.  The cables accidentally crossed after I installed them (or maybe before, I dont know) but after they were installed with cotter pins in place I had to take everything apart again - both sides!


Aileron cable stops finally installed.  I started these (per the manual) when I had the wings on, but I cut them wrong and had to start over.  Finally finished.


What comes next:
  1. Cotter pin cable retainer for the lower flap pulley.
  2. Finish up mounting the cable tie mount points for the wiring in right wing (left already done)
  3. Rivet fuel transfer pump doubler
  4. Drill and install nut-plate for wing support (folding wing option)
  5. Rivet nut plates for inspection ring doublers
  6. Install pitot
  7. Rivet top skins (multiple steps)
My plan is to essentially complete the wings now while the jigs are still here.  I made the decision to build both wings simultaneously (on 2 jigs), which take up a lot of room in the shop.  I dont have room for both the fuselage and both wings / jigs.  So the plan will be to finish them completely and then take them to the airport for storage and then bring the fuselage home.