Search This Blog

Friday, 27 November 2020

Wings - Part X

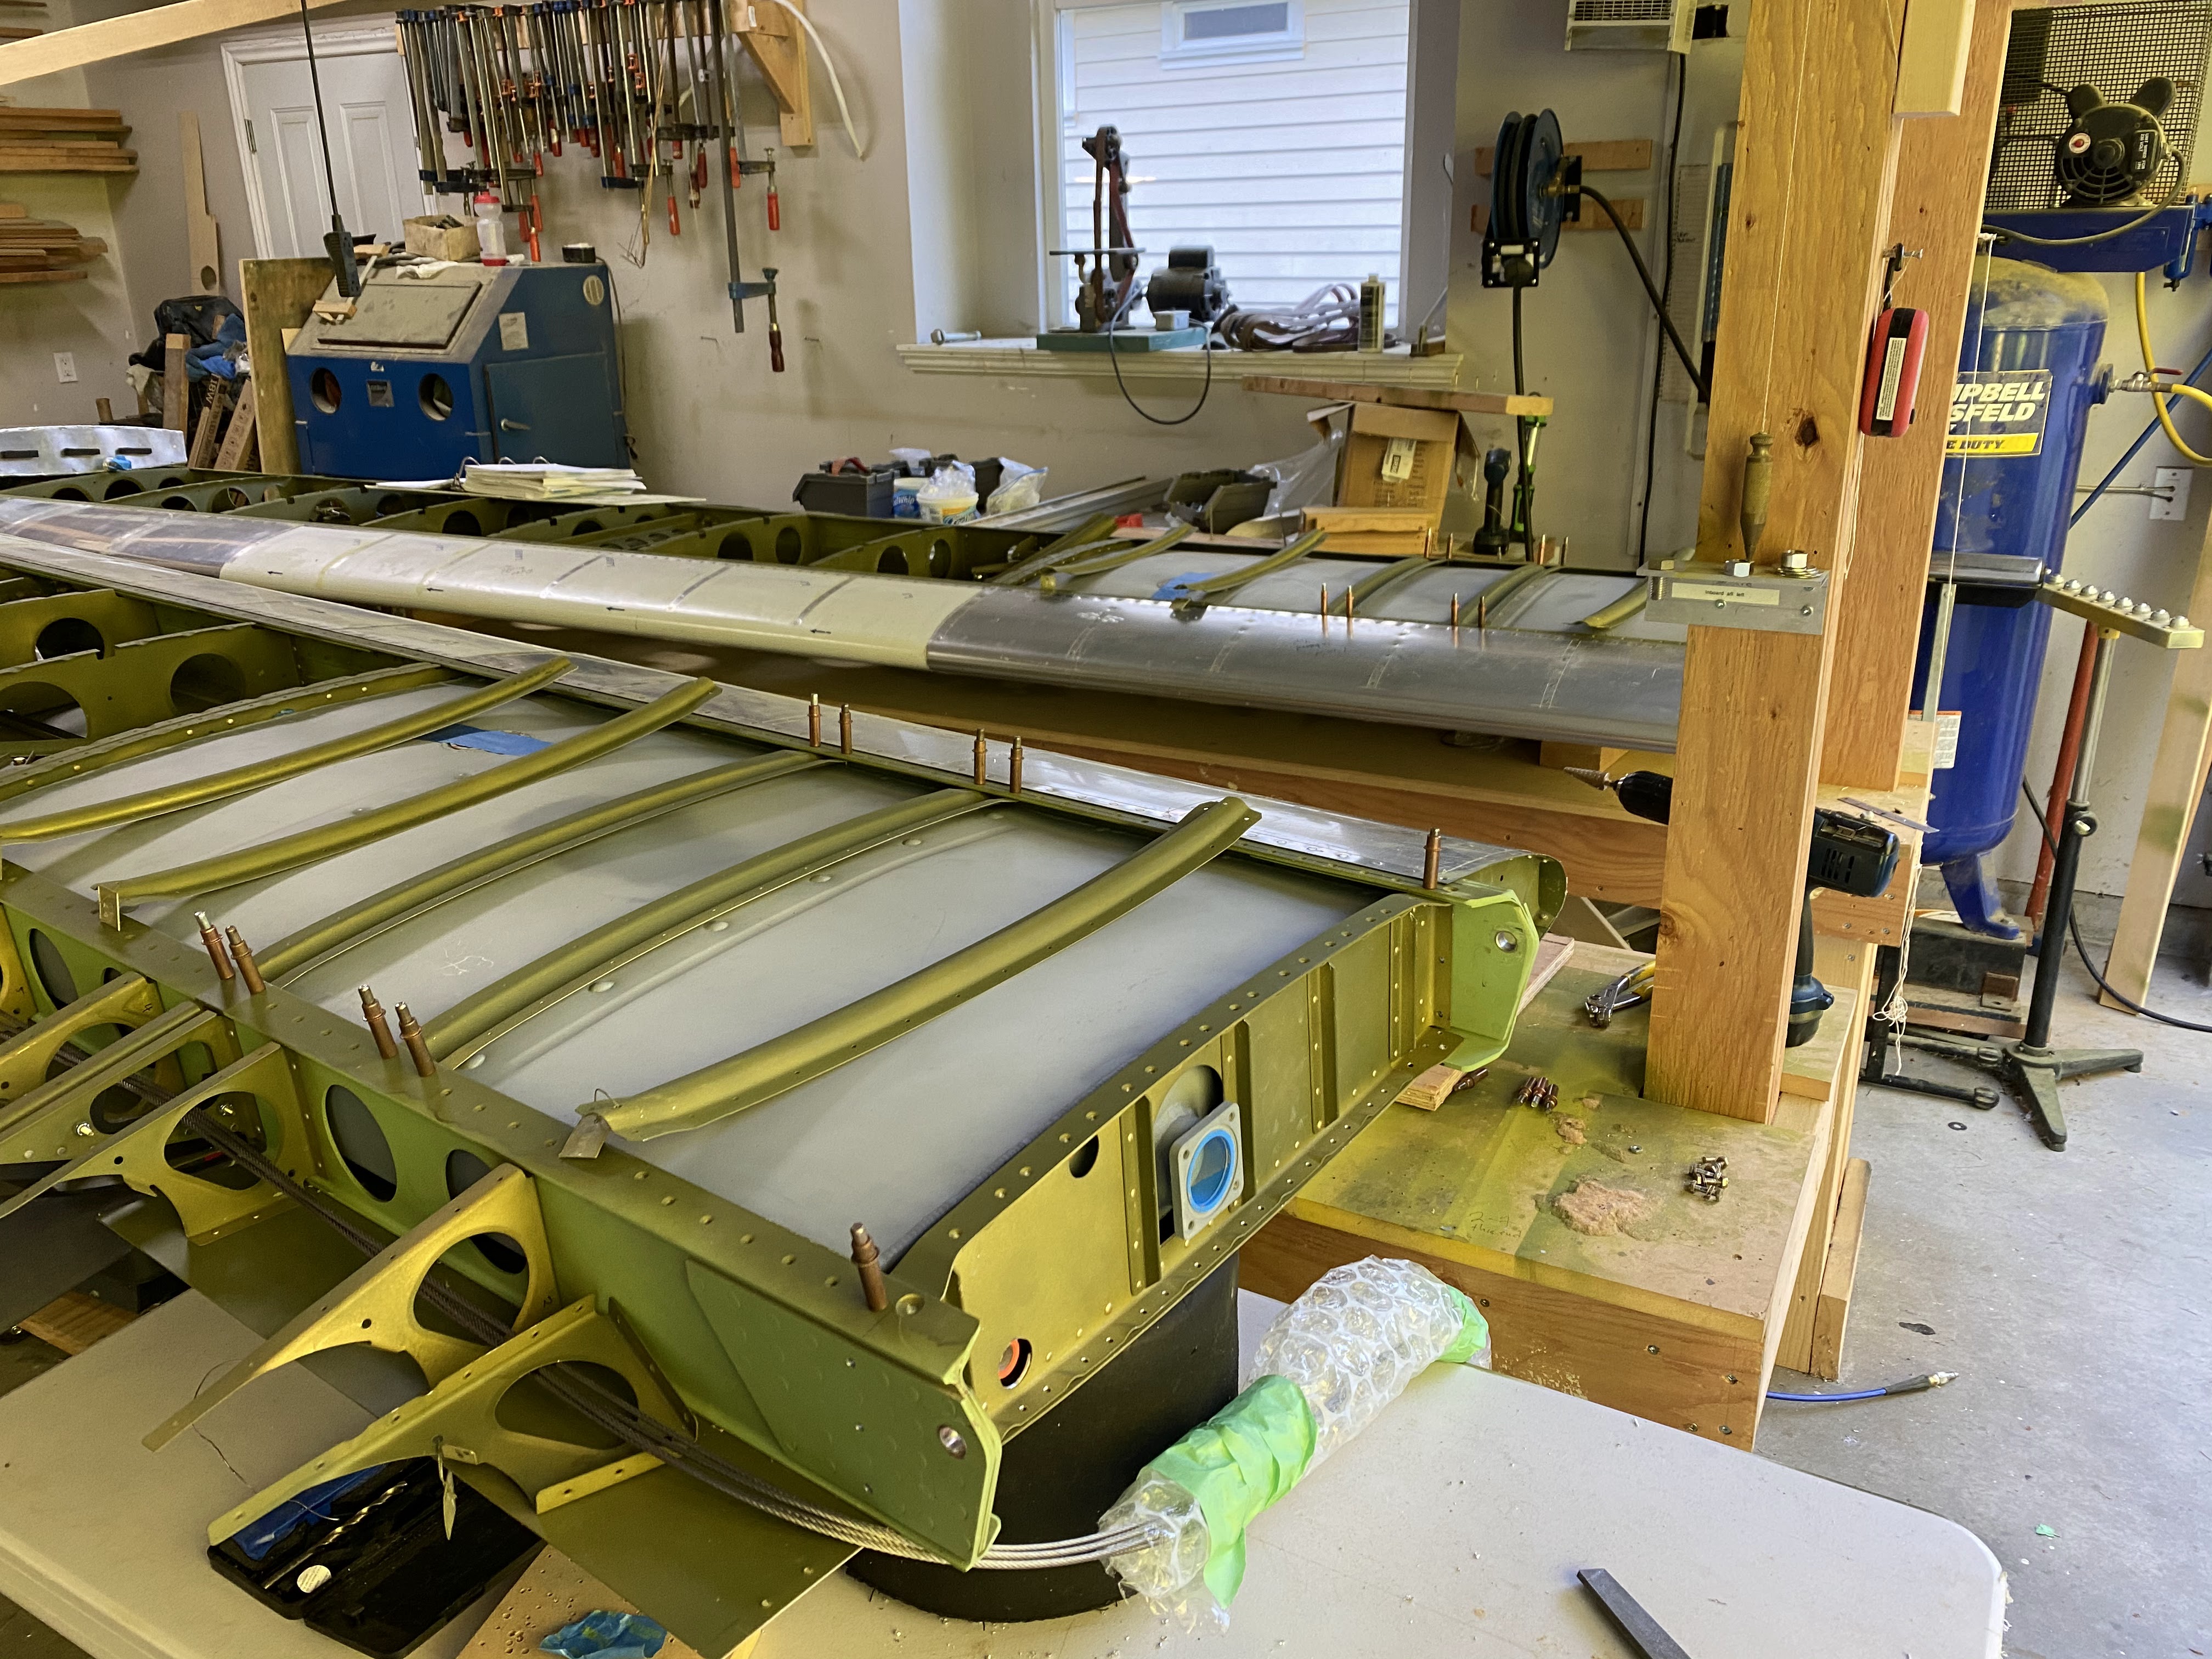
Wings are moving along nicely.  All the top skins are on.... just a few rivets to go on the right wing.  Left wings is complete.


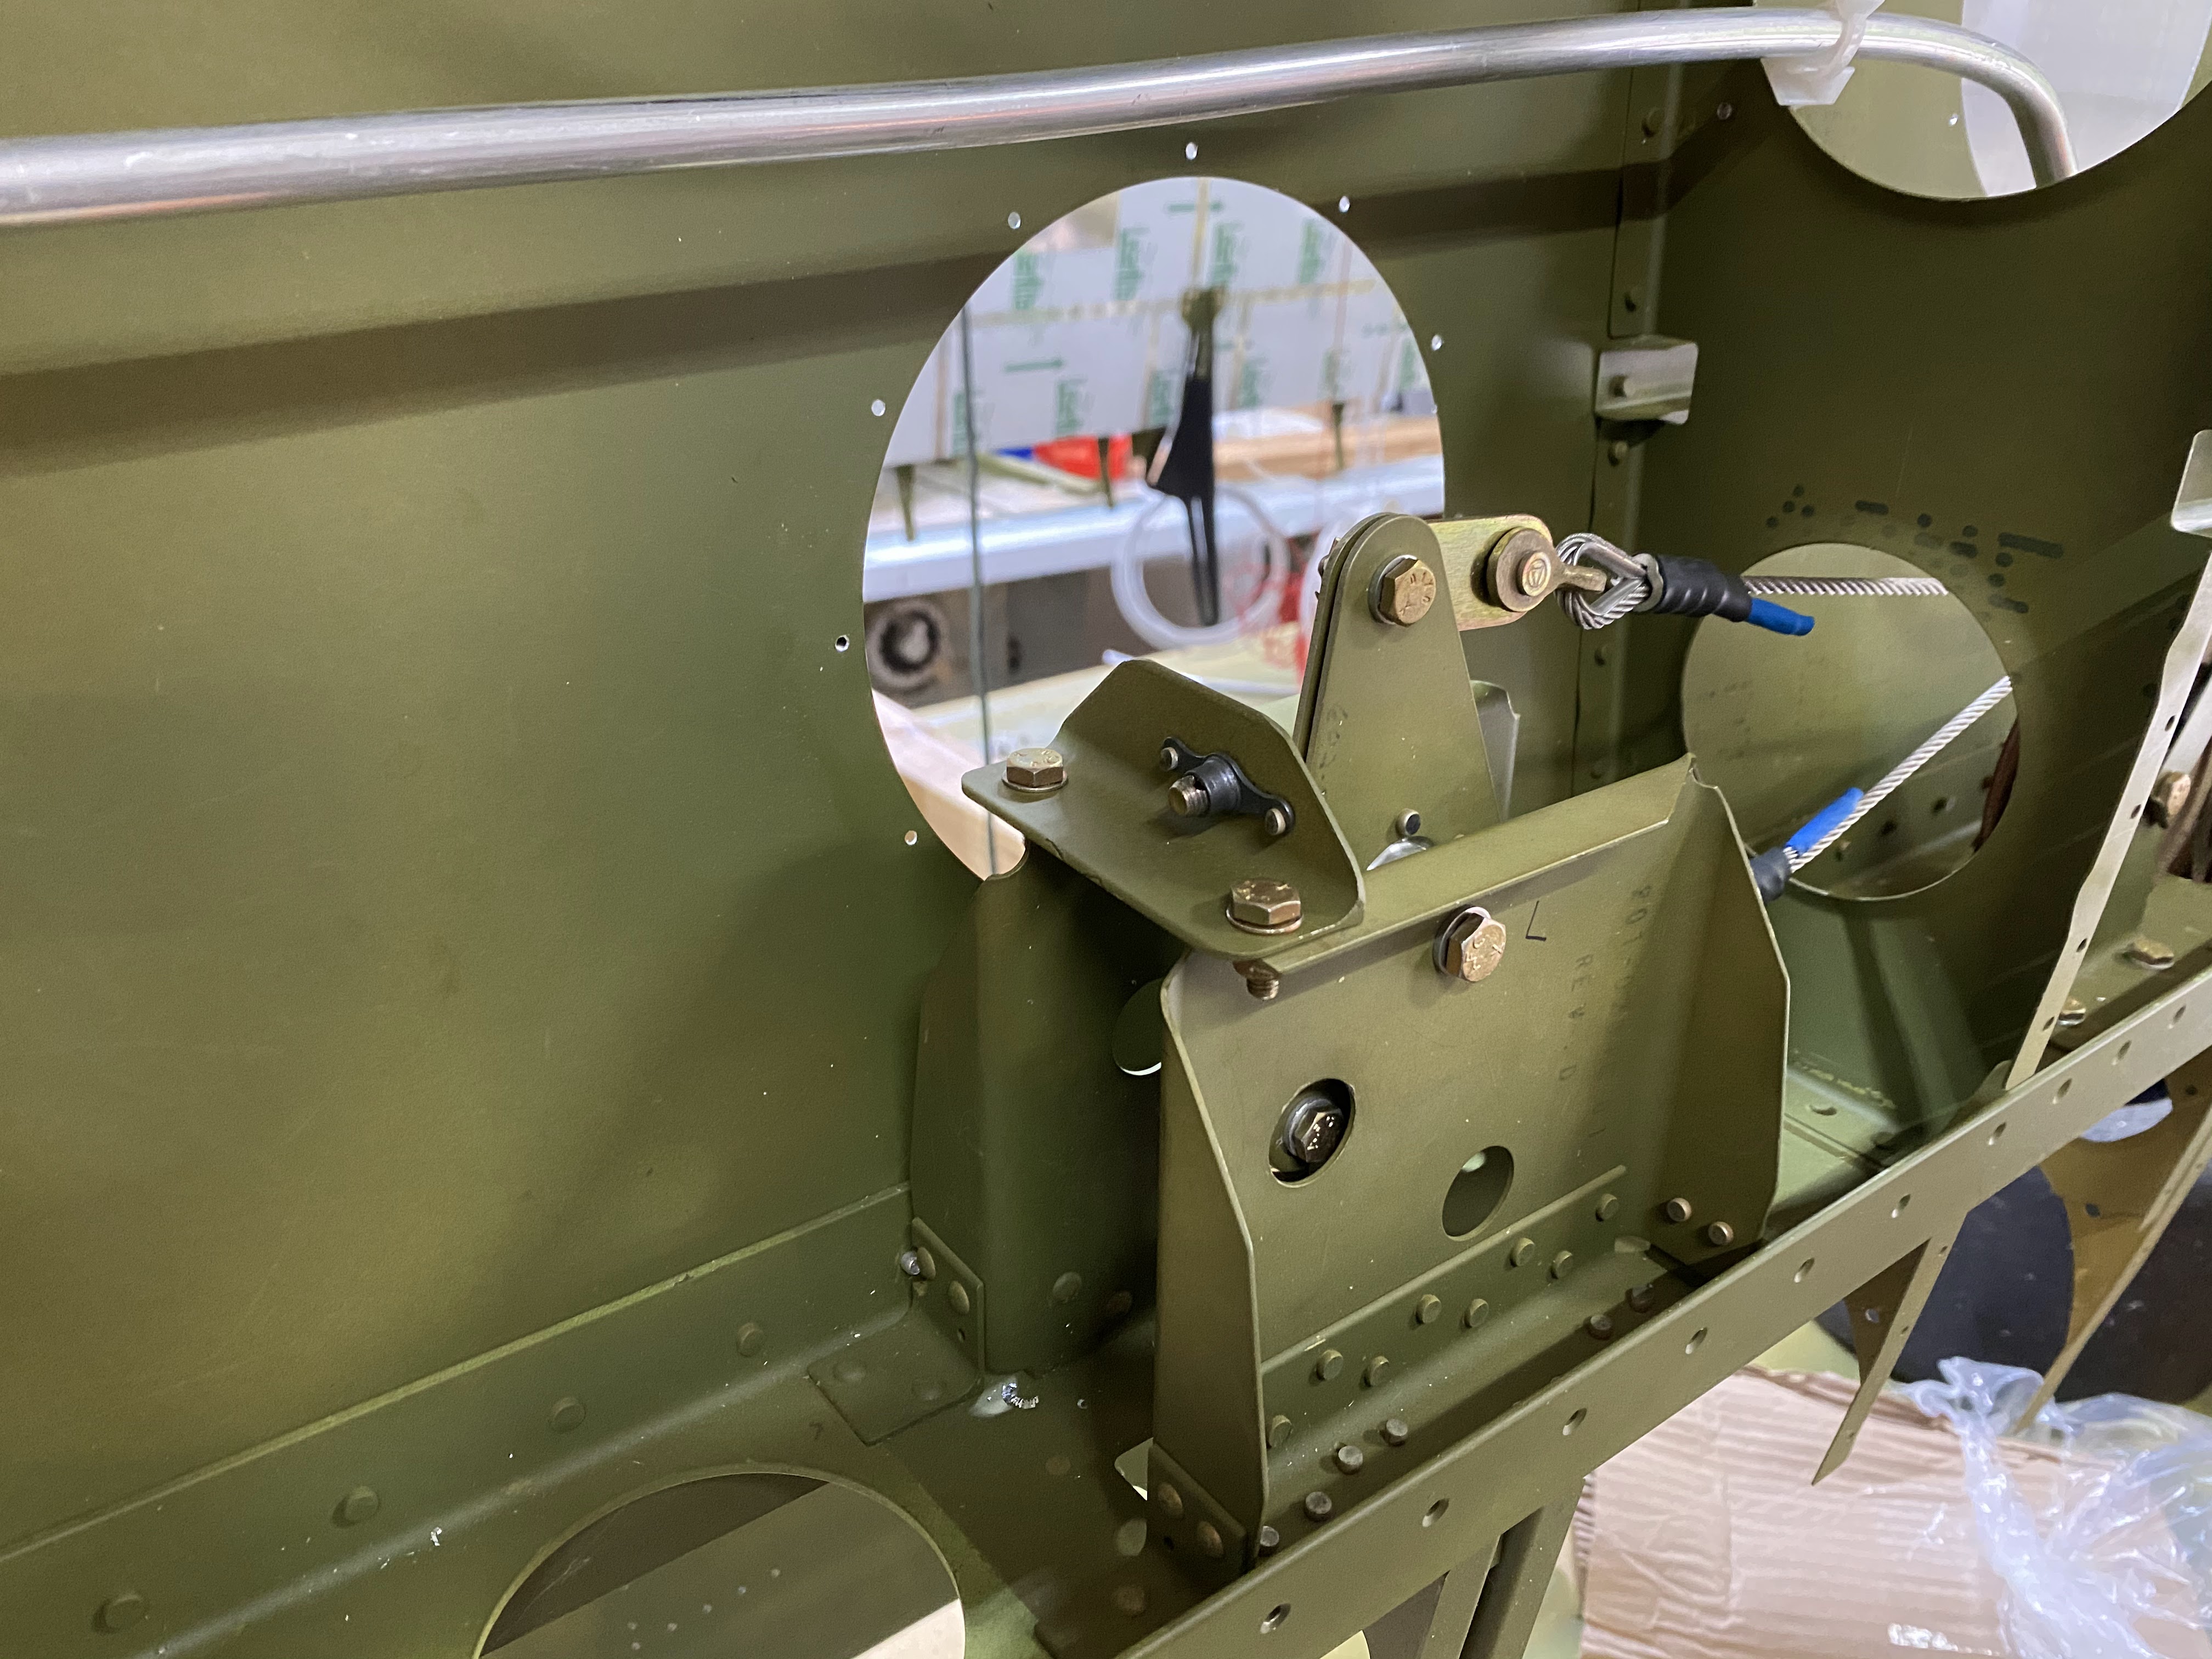
All of the wiring has been tidied up and tied down.  Pitot was installed (and removed again).  Fuel pumps installed and tightened.  All 6 wing skins are on, and 5 are completely riveted.

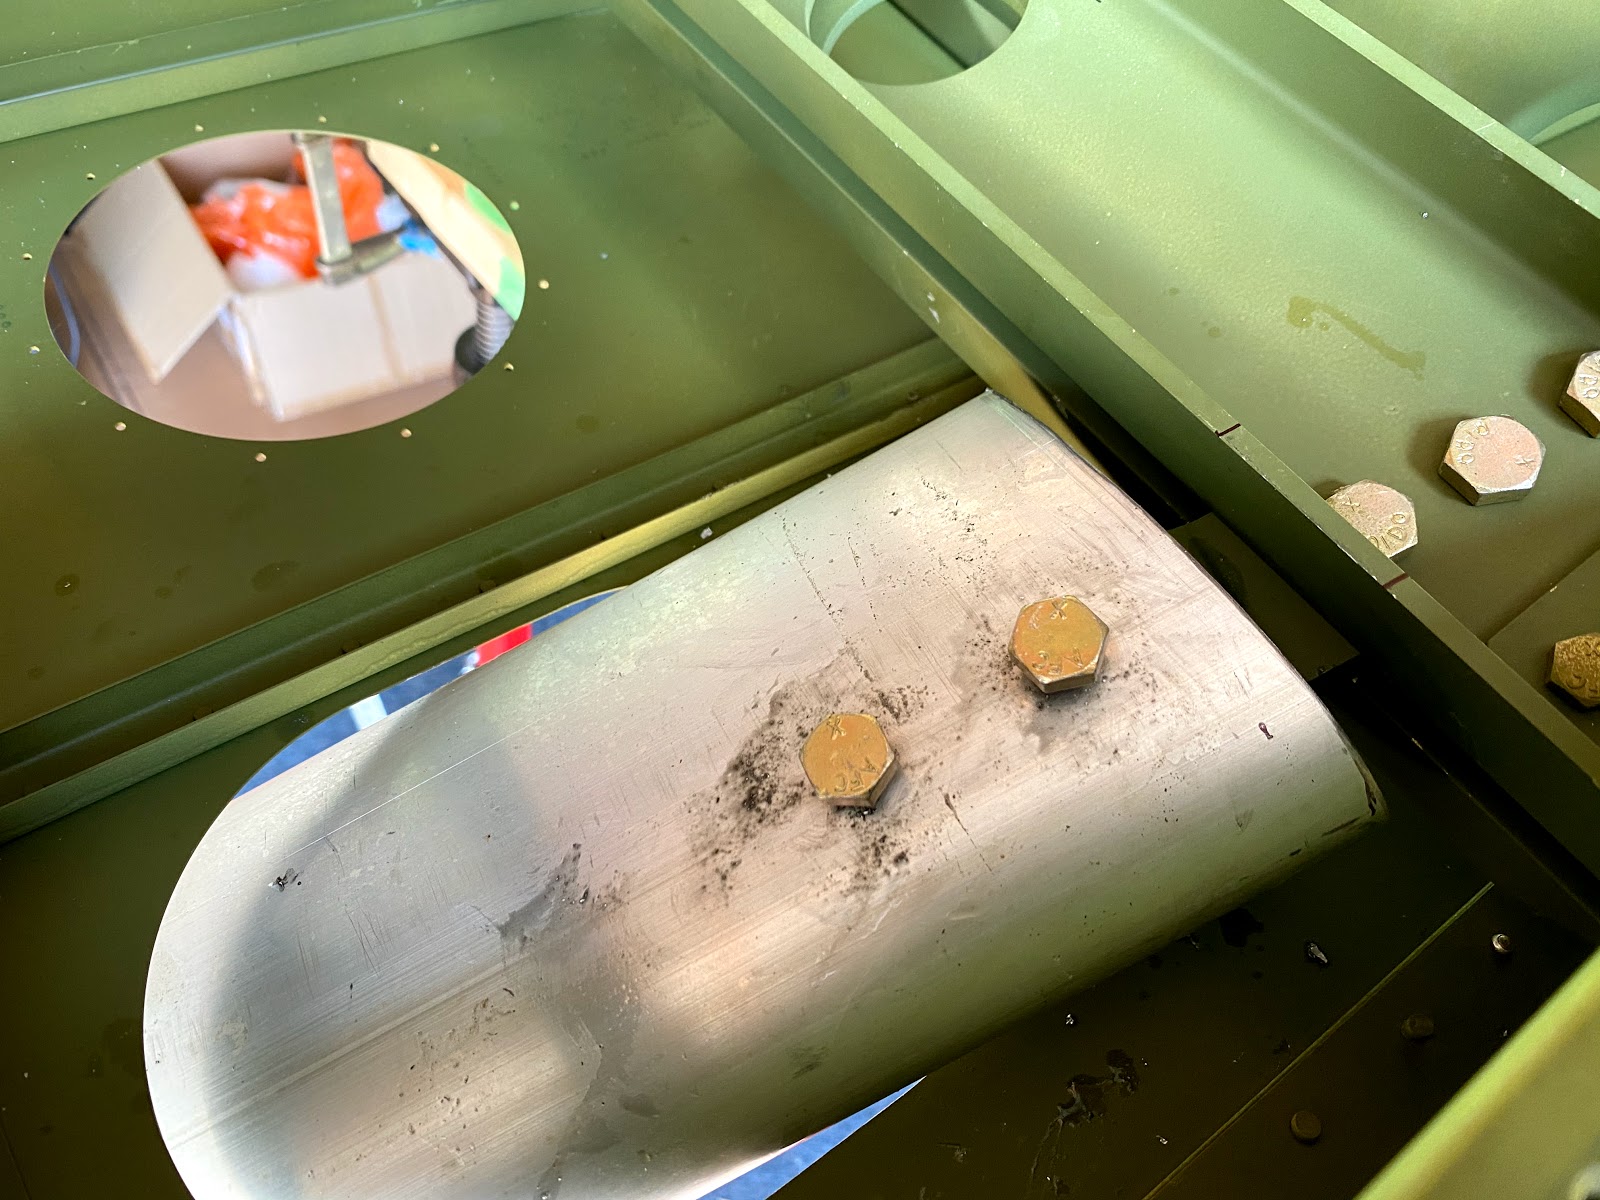
Nut plates installed for the folding wing supports


One wing complete!

Up next...
  1. Finish right wing inboard panel
  2. Leak test tanks (I have started this, working on methods currently)
  3. Install tanks and filler necks
  4. Attach fuel and vent lines on all tanks
  5. Install root and tip ribs in both wings
  6. Cove skins
  7. Wings done!
Goal is to have all of the above done by end of year...


Thursday, 15 October 2020

Wings - Part IX: Wings back home, fuel lines / pumps, wiring, etc

 So the wings are back home.... in this episode:

  • Fuel lines
  • Fuel pumps
  • Vent lines
  • Wiring
  • Cable guards
  • Aileron stops

The wings came back from the airport, and I laid them down on the jigs.  I think the theory is this would be easier to install the wires and lines.  It wasn't.  But I did complete all the tasks with the wings laying down.  The tank install is a must laying down, but everything else would have been easier I think.


The fuel lines were a pain.  How to get them from A to B, through ribs, under the strut truss, etc.  Shortest possible distance, yet ascetically pleasing.  I started with a 50' piece of tubing, and have about 6' left.  Lots of waste.


The fuel pump doublers were missing from my kit... I tried to order some and they were missing, so I made them (not hard).  

The vent line was the easiest.... however it would have been easier if I hadn't already installed the C channels for the outboard tanks.  I placed the vent as high up as possible.


Fuel thanks slid in as they should.  However my pre punched root rib had all the locations in the wrong (or slightly wrong) spots.  Required fiddling.

The wiring was pretty straight forward.  Wiring provisions for:
  1. Fuel transfer pumps
  2. Landing / taxi lights
  3. 3 in 1 tip lights (position, strobe, nav)
  4. Heated pitot
  5. Aileron trim
  6. Spare wires

The wiring is half done as I am missing connectors for the Seal-All plugs.  But the wire is all placed, just not dressed it as I would like.


Cable guards fabricated and placed.  The cables accidentally crossed after I installed them (or maybe before, I dont know) but after they were installed with cotter pins in place I had to take everything apart again - both sides!


Aileron cable stops finally installed.  I started these (per the manual) when I had the wings on, but I cut them wrong and had to start over.  Finally finished.


What comes next:
  1. Cotter pin cable retainer for the lower flap pulley.
  2. Finish up mounting the cable tie mount points for the wiring in right wing (left already done)
  3. Rivet fuel transfer pump doubler
  4. Drill and install nut-plate for wing support (folding wing option)
  5. Rivet nut plates for inspection ring doublers
  6. Install pitot
  7. Rivet top skins (multiple steps)
My plan is to essentially complete the wings now while the jigs are still here.  I made the decision to build both wings simultaneously (on 2 jigs), which take up a lot of room in the shop.  I dont have room for both the fuselage and both wings / jigs.  So the plan will be to finish them completely and then take them to the airport for storage and then bring the fuselage home.


Wednesday, 19 August 2020

Wings, Ailerons and Flaps - putting it all together

Wings, Ailerons and Flaps

Its a really cool point in any project when you start merging components into assemblies.  Always has been my favorite part of any project...

Flaps.... in hindsight, the flaps were easy :-).  The hardest part is mounting something that is 10' wide by yourself.... however, the wing stands worked really well for this.

At first I really struggled putting all the hardware together.  Bushing, bearing, end caps, washers bolt and nut.  Once I figured out that you take the bushing, bearing, and caps and get them in the track, roll them into position on the flap bracket, drop the bolt and washer in and you are done.  Makes it way easier.


The videos of the ailerons wont load unfortunately.... but they do work.

The hardware for the ailerons is quite complex.  Spacers, washers, all 'stacked' together using super glue.  I used a sacrificial bolt to stack everything, and kept the actual bolts for 'good'.  Again, using the wing stands to hold everything in place.

NOTE:  I had zero luck trying to adjust the aileron push rod while installed.  It has to come out, and that is a PAIN.  Also, both ends are right hand threaded, so you cannot adjust the length with both ends installed.

Because of how I purchased the fuselage (already on its wheels), I decided to do all this work with the trailing edge about 5' up.  For me being 6'2", not a big deal (I still did whack my head a couple times... cannot wait for the extended gear and big tires).  Having it at this height does make it easier to get under the wing and through the inspection holes.  Some people have the fuselage sitting about 1' lower - this means you dont need a saw horse to work on the top of the wing, but it would make getting under the wing a lot harder.  Personal preference obviously.... I liked doing it at this height personally.

So once all of the control surfaces are in, then its onto control cables.  Well, this has taken me a week (of weekends and evenings).

Need to make the cable guides.... not hard, except you cant get a pull rivet gun in to pull the rivets.  So, I used #6 bolts and lock nuts.

Keeping the cables organized is a big deal... and I have failed at that.  Its better, but still not 100% right.  But I do know that everything is going to clear, which is the intent.


The actual rigging was interesting.  There are a lot of variables:

  • Cable Lengths - and more specifically, how long do you want them?  There are multiple cables that make up each flap / aileron cable, and at least one of them per function are not terminated
  • Starting point of turnbuckles
  • Desired cable tension
  • Obtaining correct amount of bell crank arc and starting / ending position
Flaps:

I started with the flaps.... because that is what the manual said to do.

The flaps are easier and harder all at the same time.

First off, you need a method to hold the unterminated ends together while going through this whole process.  I decided on these from Home Depot :


You need to use the 3/16" size.  The 1/8th cable wont fit nicely.

First off, put on the heat shrink that will eventually go on the nicopress sleeve.  Next ensure you have a thimble on your connection point, then put on the sleeve, and get some tension on it.  Then use the cable clamp and lock it into position.

For best results, butt the cable clamp RIGHT UP against the nicopress sleeve.  If you can get it nice and tight, it makes crimping easier later on.

Once you have all off the places to be crimped held in place temporarily, then comes to fun of getting the cable lengths and tensions correct.

For the flaps, the goal is full RETRACTION.  Right up against the flap track.

Tension the retraction cable so it pulls up against the forward edge of the track.  Then add in the deployment cable.  You will need to add / remove tension to get everything just right.  I think I did  it no less than 12 times.

So if you think that is bad, the ailerons are worse...

What I found worked:
  • Set the aileron neutral position.  I did so using jack stands.
  • Put in the crossover cable, and set some light tension
  • Add in the left / right aileron cables.  Center the control yoke.
  • Adjust cable lengths, apply tension.
  • Verify aileron travel
  • Make stop plates.
So at this point I have a bas rigging setup on both the flaps and ailerons and everything works.  I am jumping ahead and making the crossover cable guide pretty quick and will put in all of the final hardware and cotter pins and lock everything down for the trip back home.

2 things left to do, and then it all comes apart.


Monday, 3 August 2020

Wings Part VIII

Sunday was a good day.

Left wing strut drilled.


The Glasair supplied drill jig did exactly what it was supposed to do.

Once the fuselage is level and twist removed and angle of incidence set, drop the jig in and put in the alignment pins.  Clamp in place, draw witness marks on the strut beam.  Put the strut in place, center in wing hole, drill the first hole.  Put a pin in the hole you just drilled, drill 2nd hole.

Go SLOW.  Real slow.  Use a corded drill, and use lots of drilling fluid.


Look ma - no stands!


Same deal for the right wing.


Finished product!

Next is hanging the ailerons and flaps....

Sunday, 2 August 2020

Wings Part VII

With the ailerons and flaps complete, just need to finish the last of the riveting on the bottoms.


So now its onto book #2!  

I am lucky enough to have a fuselage that is ready to hang the wings.  

So I rented a hanger for the Emeraude, and moved the wings / ailerons / flaps.  I built a dolly that will hold everything.  We moved everything to the airport in my father in laws big enclosed trailer.


Really simple design.  After consulting the forum, the trick seems to be where the weight sits.  I decided to go leading edge DOWN.  Each of the 3 sections on the dolly are an 8' 2x6 with a 8' 2x4 screwed to it on edge, creating an upside down T structure.  Should not warp badly enough to cause any issues.  All 3 of these T structures were fixed together with 2x6 outriggers for the wheels.  2x6 uprights to hold them up.  Then I added 2 more 2x6's for the flaps and other bits.

Moving day...


Arrived at the airport (less than 20 miles) with no issues.

The hanger is really tight however...


I decided to buy a couple adjustable tripod stands from Pricness Auto (Canadian version of Harbor Freight).


Getting the fuselage level...


For the 'wing raising', I solicited a bunch of friends.  I thought 4 including me would be enough, but 6 showed up - and that was a very good thing.  We needed all 6.  I had wing stands ready for both sides, fuselage roughly level, struts assembled (but not cut on the outboard sides).


Took us 1.5 hours to get both on.  The only issue was on the right side had to open up the fiberglass a bit.


The adjustable tripods worked awesome.  Remove the twist, dial in the angle of incidence, done.

I had the strut marked out already, but we put it in place and measured.  96.4" was right on the money with an 82 degree angle.

Rented the wing strut drill jig from Glasair.  Thanks Brian!

Ready to drill...


I am going to add another clamp and check everything again before committing.

What comes next:
  • Drill the struts for the left wing
  • Check length on right wing, cut strut and drill
  • Hang ailerons and flaps
  • Run control cables and nicopress.
  • Wings back to home, install fuel tanks, run fuel lines, install transfer pumps, wiring, pitot/aoa plumbing, etc.
  • Close wings (top skins)
The cool part - its starting to look like an airplane!


Ailerons and Flaps - Part III

Progress has been good.... 

Flaps are complete...


Riveting bottom of right aileron and wiring for servo


Last thing on the aileron is to cut the slot for the counterweights.  That will be done later on, after they are hung and the control cables run.


Friday, 3 July 2020

Ailerons and Flaps - Part II

Progress.... gotta love it.  With everything that we normally do it a year being cancelled, I have gotten a LOT done on the Sportsman.  Coronavirus is obviously a tragedy, but having time to build is a side benefit.


Drilling the bottom skins of flap #1


Flap flipped over, and lining up the top skins for drilling


And drilling


And more drilling...


All drilled - top and bottom.  I used 4 x 4 blocks to raise it up, because I had a bunch of ends left over from my son's woodworking project.


Everything primed or being primed after cleaning and alodyning.


Structure on the jig, ready for skins.


Getting ready to rivet the flap bottoms.


All riveted, ready for inspection.


Riveting the top after inspection.


Top al riveted, except the trailing edge - which I glued in place prior to riveting.


Glue and aluminum angles in place, drying.


After dry, without the angles.  Rivet time... There are almost 100 rivets just on the trailing edge.  As the surfaces to be riveted are not parallel, I took a flat die and angled it to match the difference, then used a pneumatic squeezer (very carefully).  Only screwed up 1 rivet, which was replaced.


Left aileron post inspection, ready to close!


working from the nose ribs back, plus around the inspection cover doublers.


Top all riveted except along the trim tab.  Checking to make sure it all fits before riveting.


Riveting completed.


Glueing the trailing edge of the anti-servo tab prior to riveting.


Glueing the trailing edge of the left aileron prior to riveting.

What's next:

  • Need to finish riveting the trailing edge of flap #2 and left aileron.
  • Rivet bottom right aileron
  • Wire servo tab and route wires (prior to riveting)
  • Finish riveting right wing, plus a couple on the left wing
  • Plan is to finish all the above before the end of July, and everything goes to the airport in early August (assuming I can get a hanger) and mount the wings and set the angles, cut and drill the struts, push rods, control cables, etc.

After all the above is complete, wings will come back home and work on systems.  Fuel tanks, plumbing, fuel pumps, wiring, pitot static, etc.

Progress is good...