All UL engines come with what I call 'baffle blanks'. They fit the engine, have sides and a back. They are cut down to fit the specific installation.
Current plan will be to trace and cut the outside (cylinder head side) out of a scrap piece of aluminum, fit it small, and use the paper clip trick (big paper clips along the top, put the cowling on and push the paper clips down using the top of the cowl) to find where the two meet. From there, leave somewhere between 5/8" and 3/4" of gap, and cut the blanks to fit.
From there, make a top that screws into the blanks and forms the plenum.
Then the trick will be to go from the baffle blanks to the air inlets. Tentative plan is to use multiple pieces of MDF to bridge the gap between - shape and form, and then use them to make fiberglass inlets that meet up with the cowl.
To make it more interesting... the UL engines dont need as much cylinder cooling as a Lycoming. I do not want to change the profile of the cowl, so the plan is to use the excess inlet area to feed the intercooler plenum by running scat hose down the outside of the plenum and down into the intercooler. I want to use as big a hose as I can - hoping for 3".
That is the plan. Now to see if it is valid.
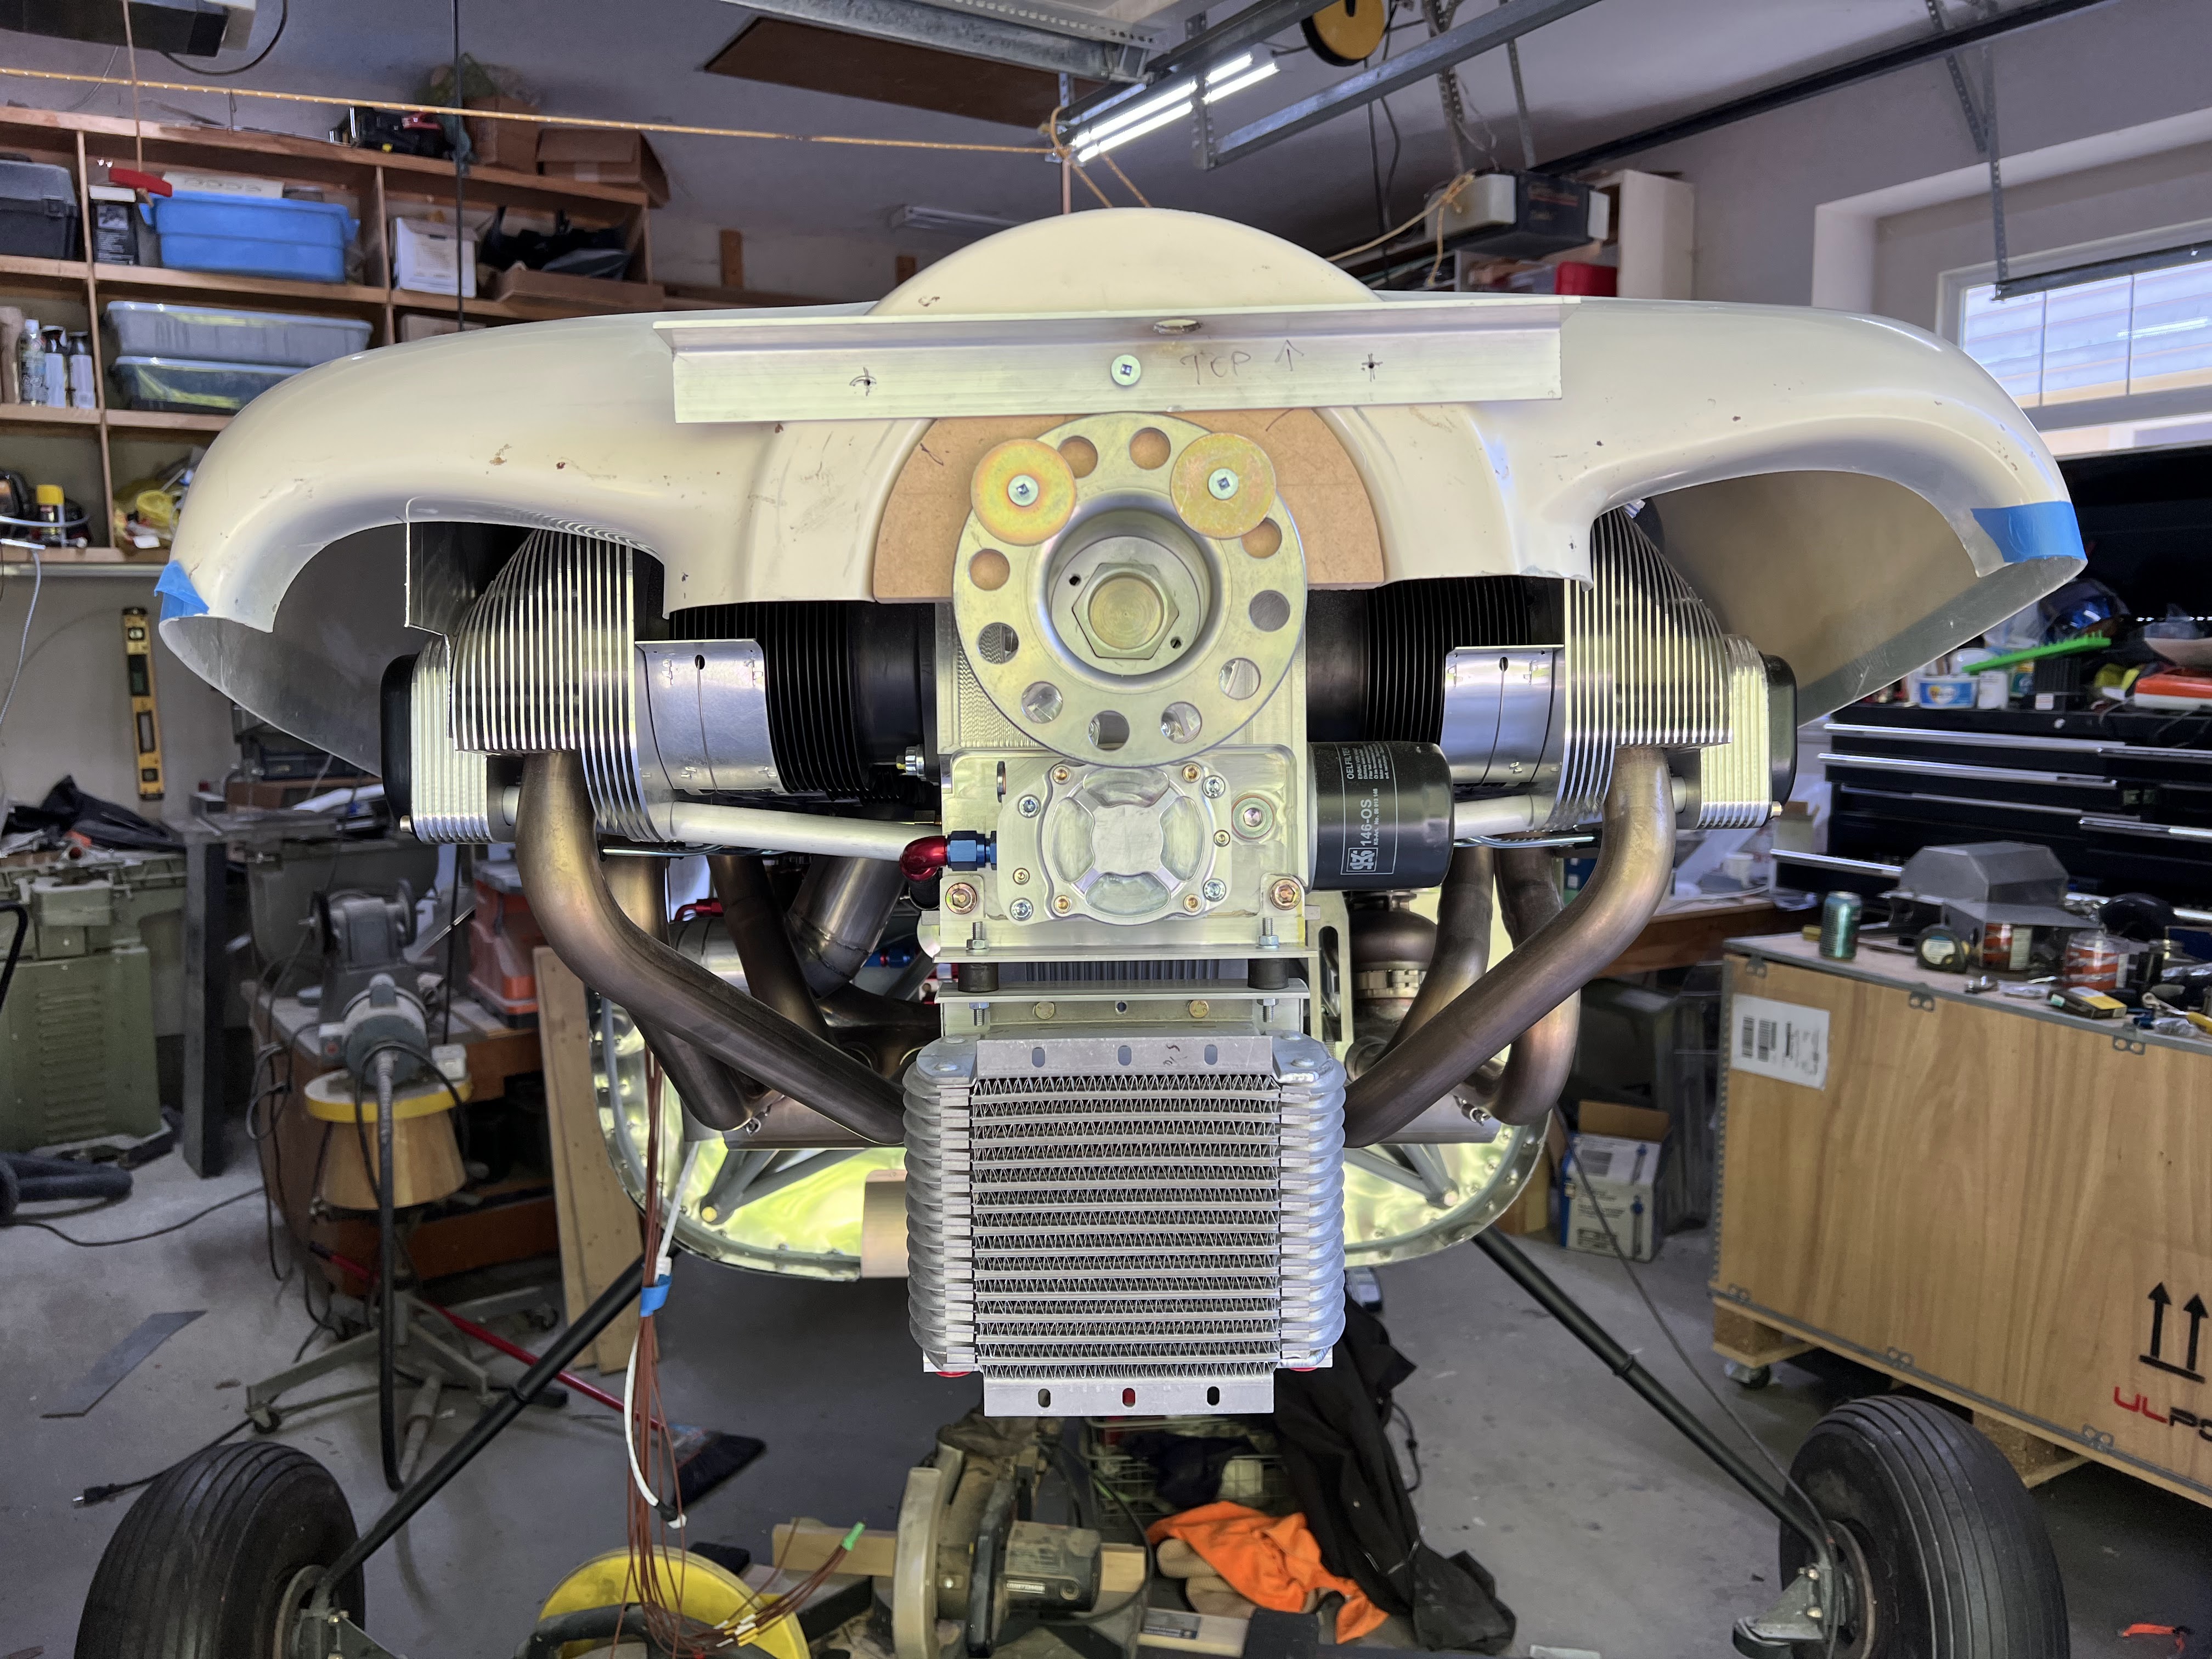
This is what the baffle / plenum blanks look like.
Made a temporary side out of the form for the top of the cowl, and put a rough cut in it, and put on the top cowl (wood spacer installed on crank to properly position cowl).
Not bad for a first cut. Its about right at the front, and too short at the back. But thats fine... and exactly what this piece is for.
The front is where it gets interesting. I had to trim 3/8" off the side. There is very little room between the inlet and front of cylinder.
I took at guess at the plenum side, and I guessed to short. Temporarily built the template up with duct tape so I could get paperclips on to get an accurate measurement.
Then transferred it to card stock for a template.
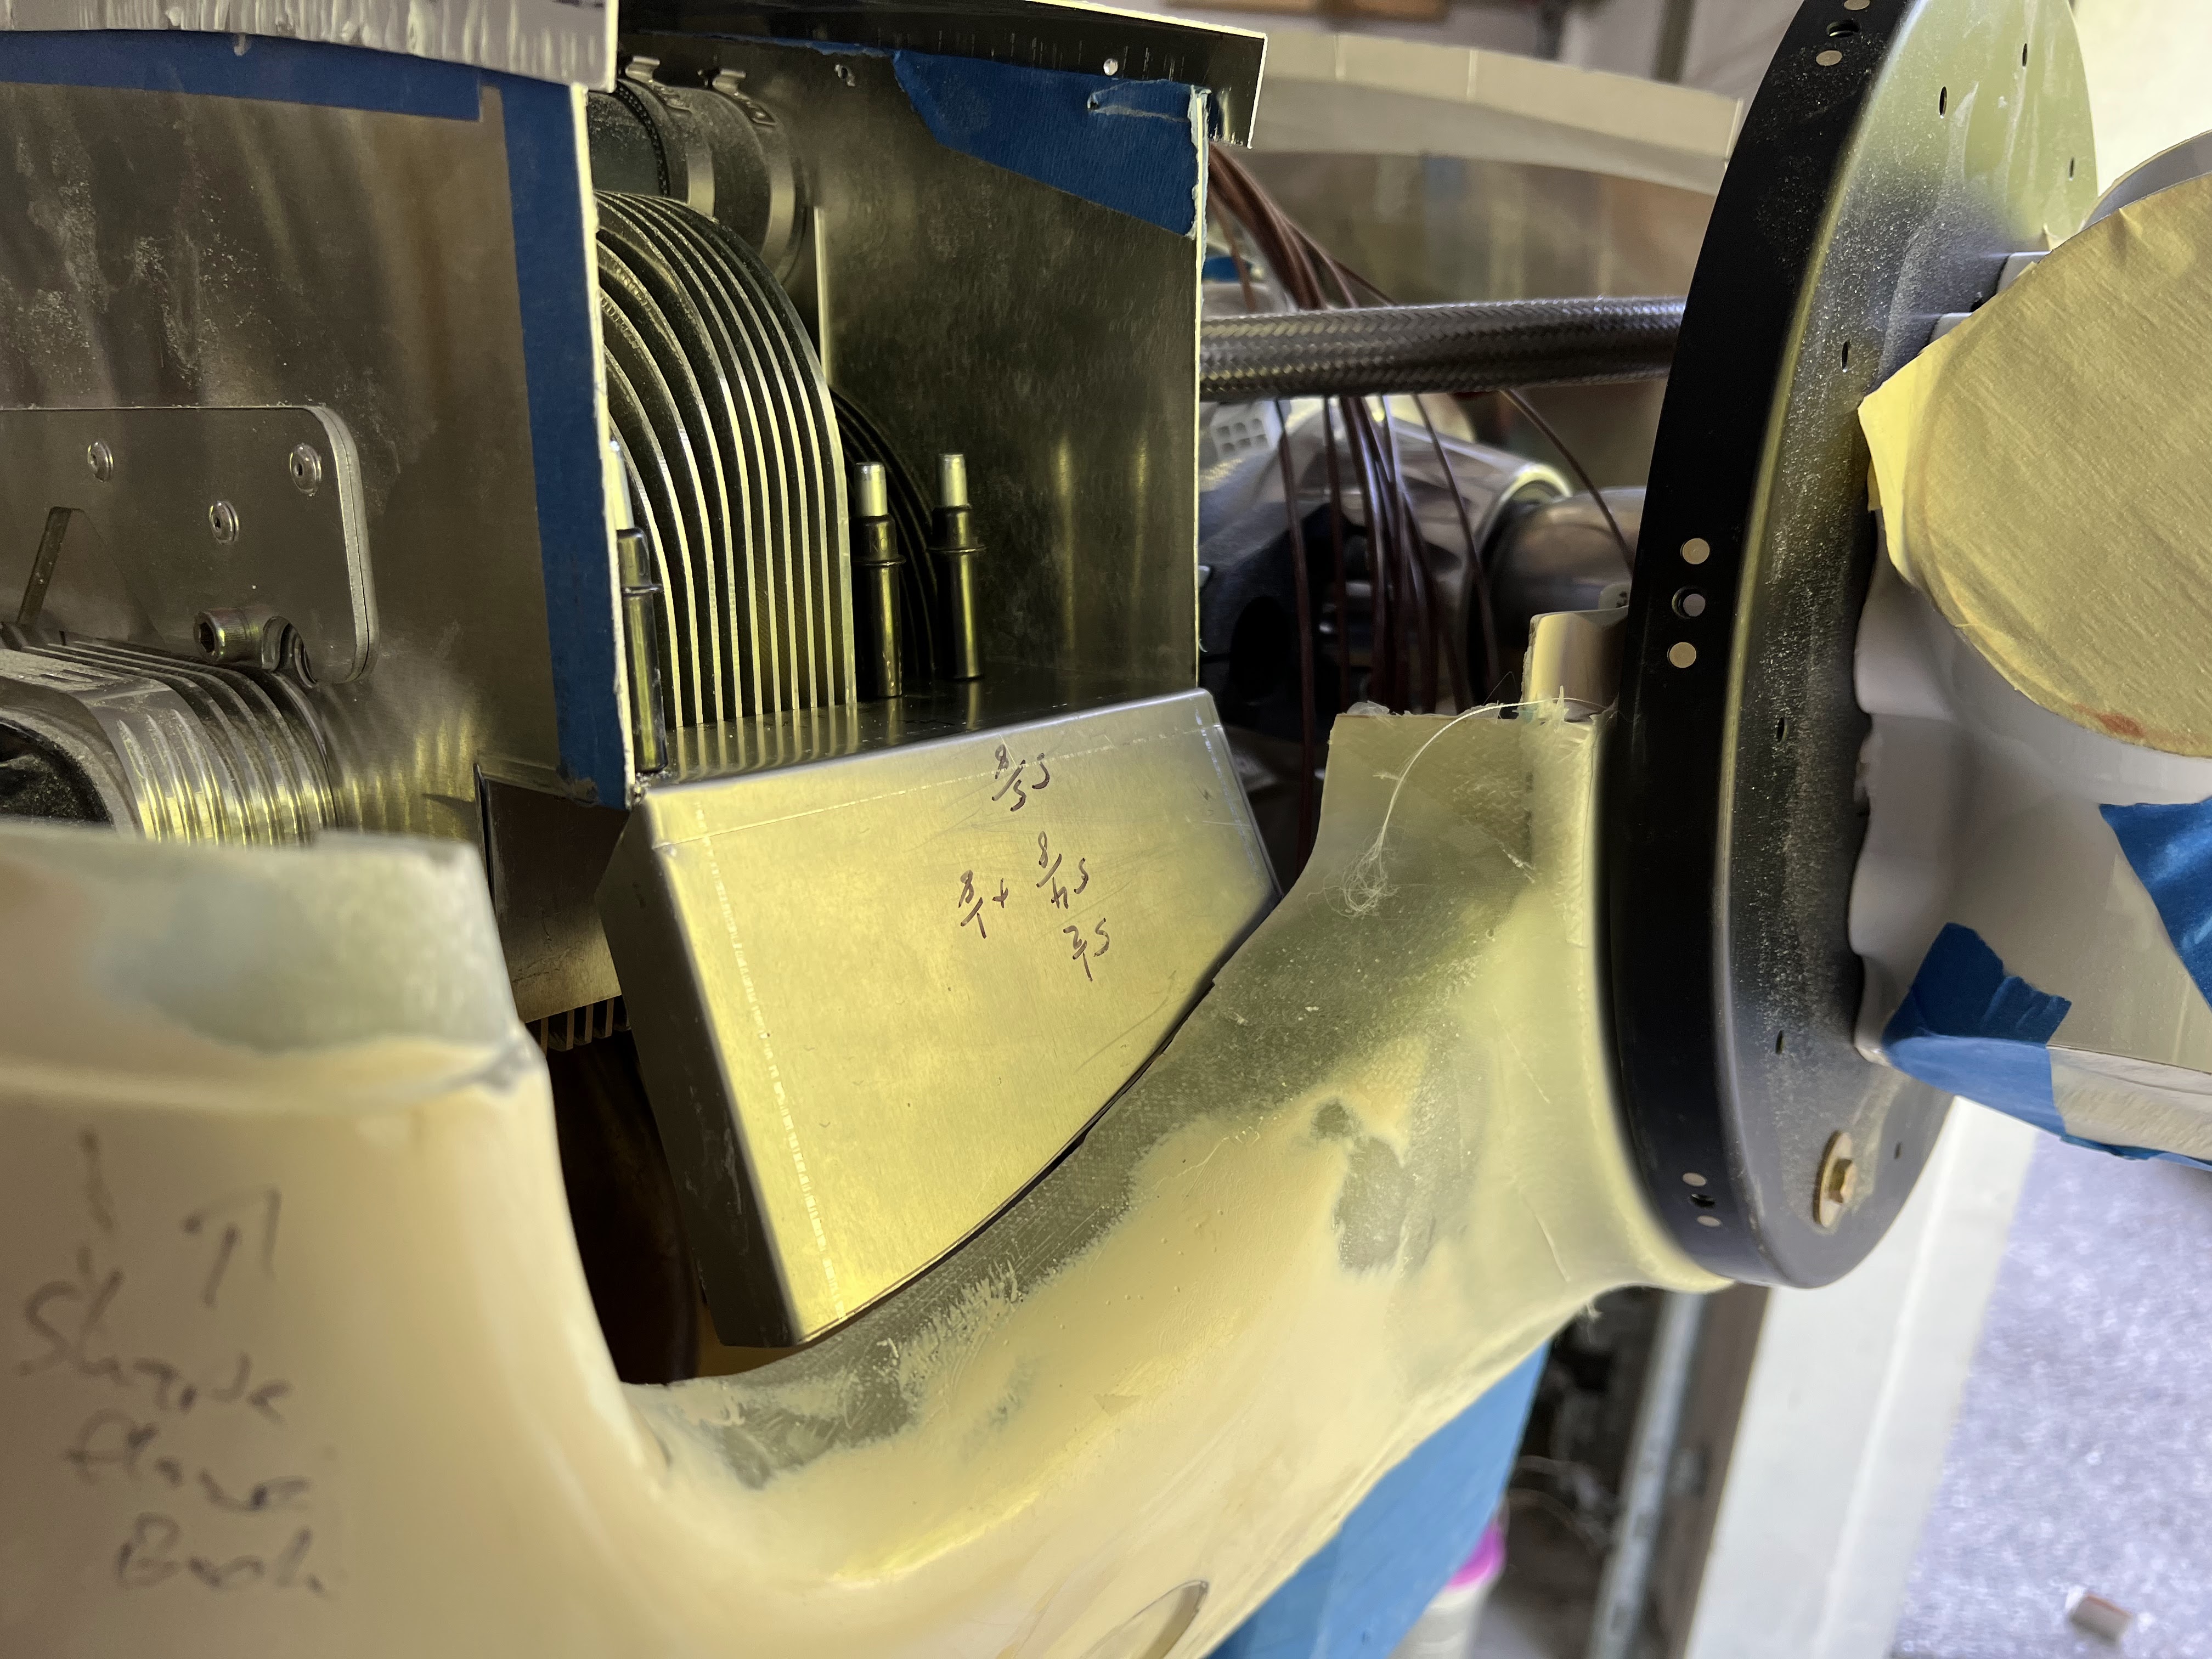
Then cut the plenum sides / back and fit it to the engine.
Cowl put back on to check for fit.
The good news is it fits. However the cowl opening / plenum opening do not align.
My plan is to use the outside portion as the inlet for the intercooler (on both sides). The cowl opening is going to need modification in the inboard side of each inlet - both for the prop, and engine cooling.
Air inlet for Intercooler: So I got this started. The outboard side of the cowl inlet is hopefully to be used for the intercooler.
Below shows the portion I plan to use (the MDF piece).
The intake will run aft and up to clear the cylinder heads.
3" flange will go on the back.
Trying to save money, I decided to use drywall mud to fill all the gaps. I underestimated how much I would need. This is going to take a lot of sanding... My wife pulled into the driveway as I was doing this and yelled "I want to play!". She loves crafts...
And its going to take a long time to dry...
Going to make the left hand side differently when I get to it.
The left hand side baffle blank is considerably longer than the right - which makes sense as the front cylinder is farther aft. Doing the same process. Making a piece to match the blank out of scrap aluminum and will rough fit, then get the exact distance using paperclips.
Left hand side went much faster... and I got it a lot closer than the first using distances from the right side as a staring point.
Transferring to baffle / plenum.
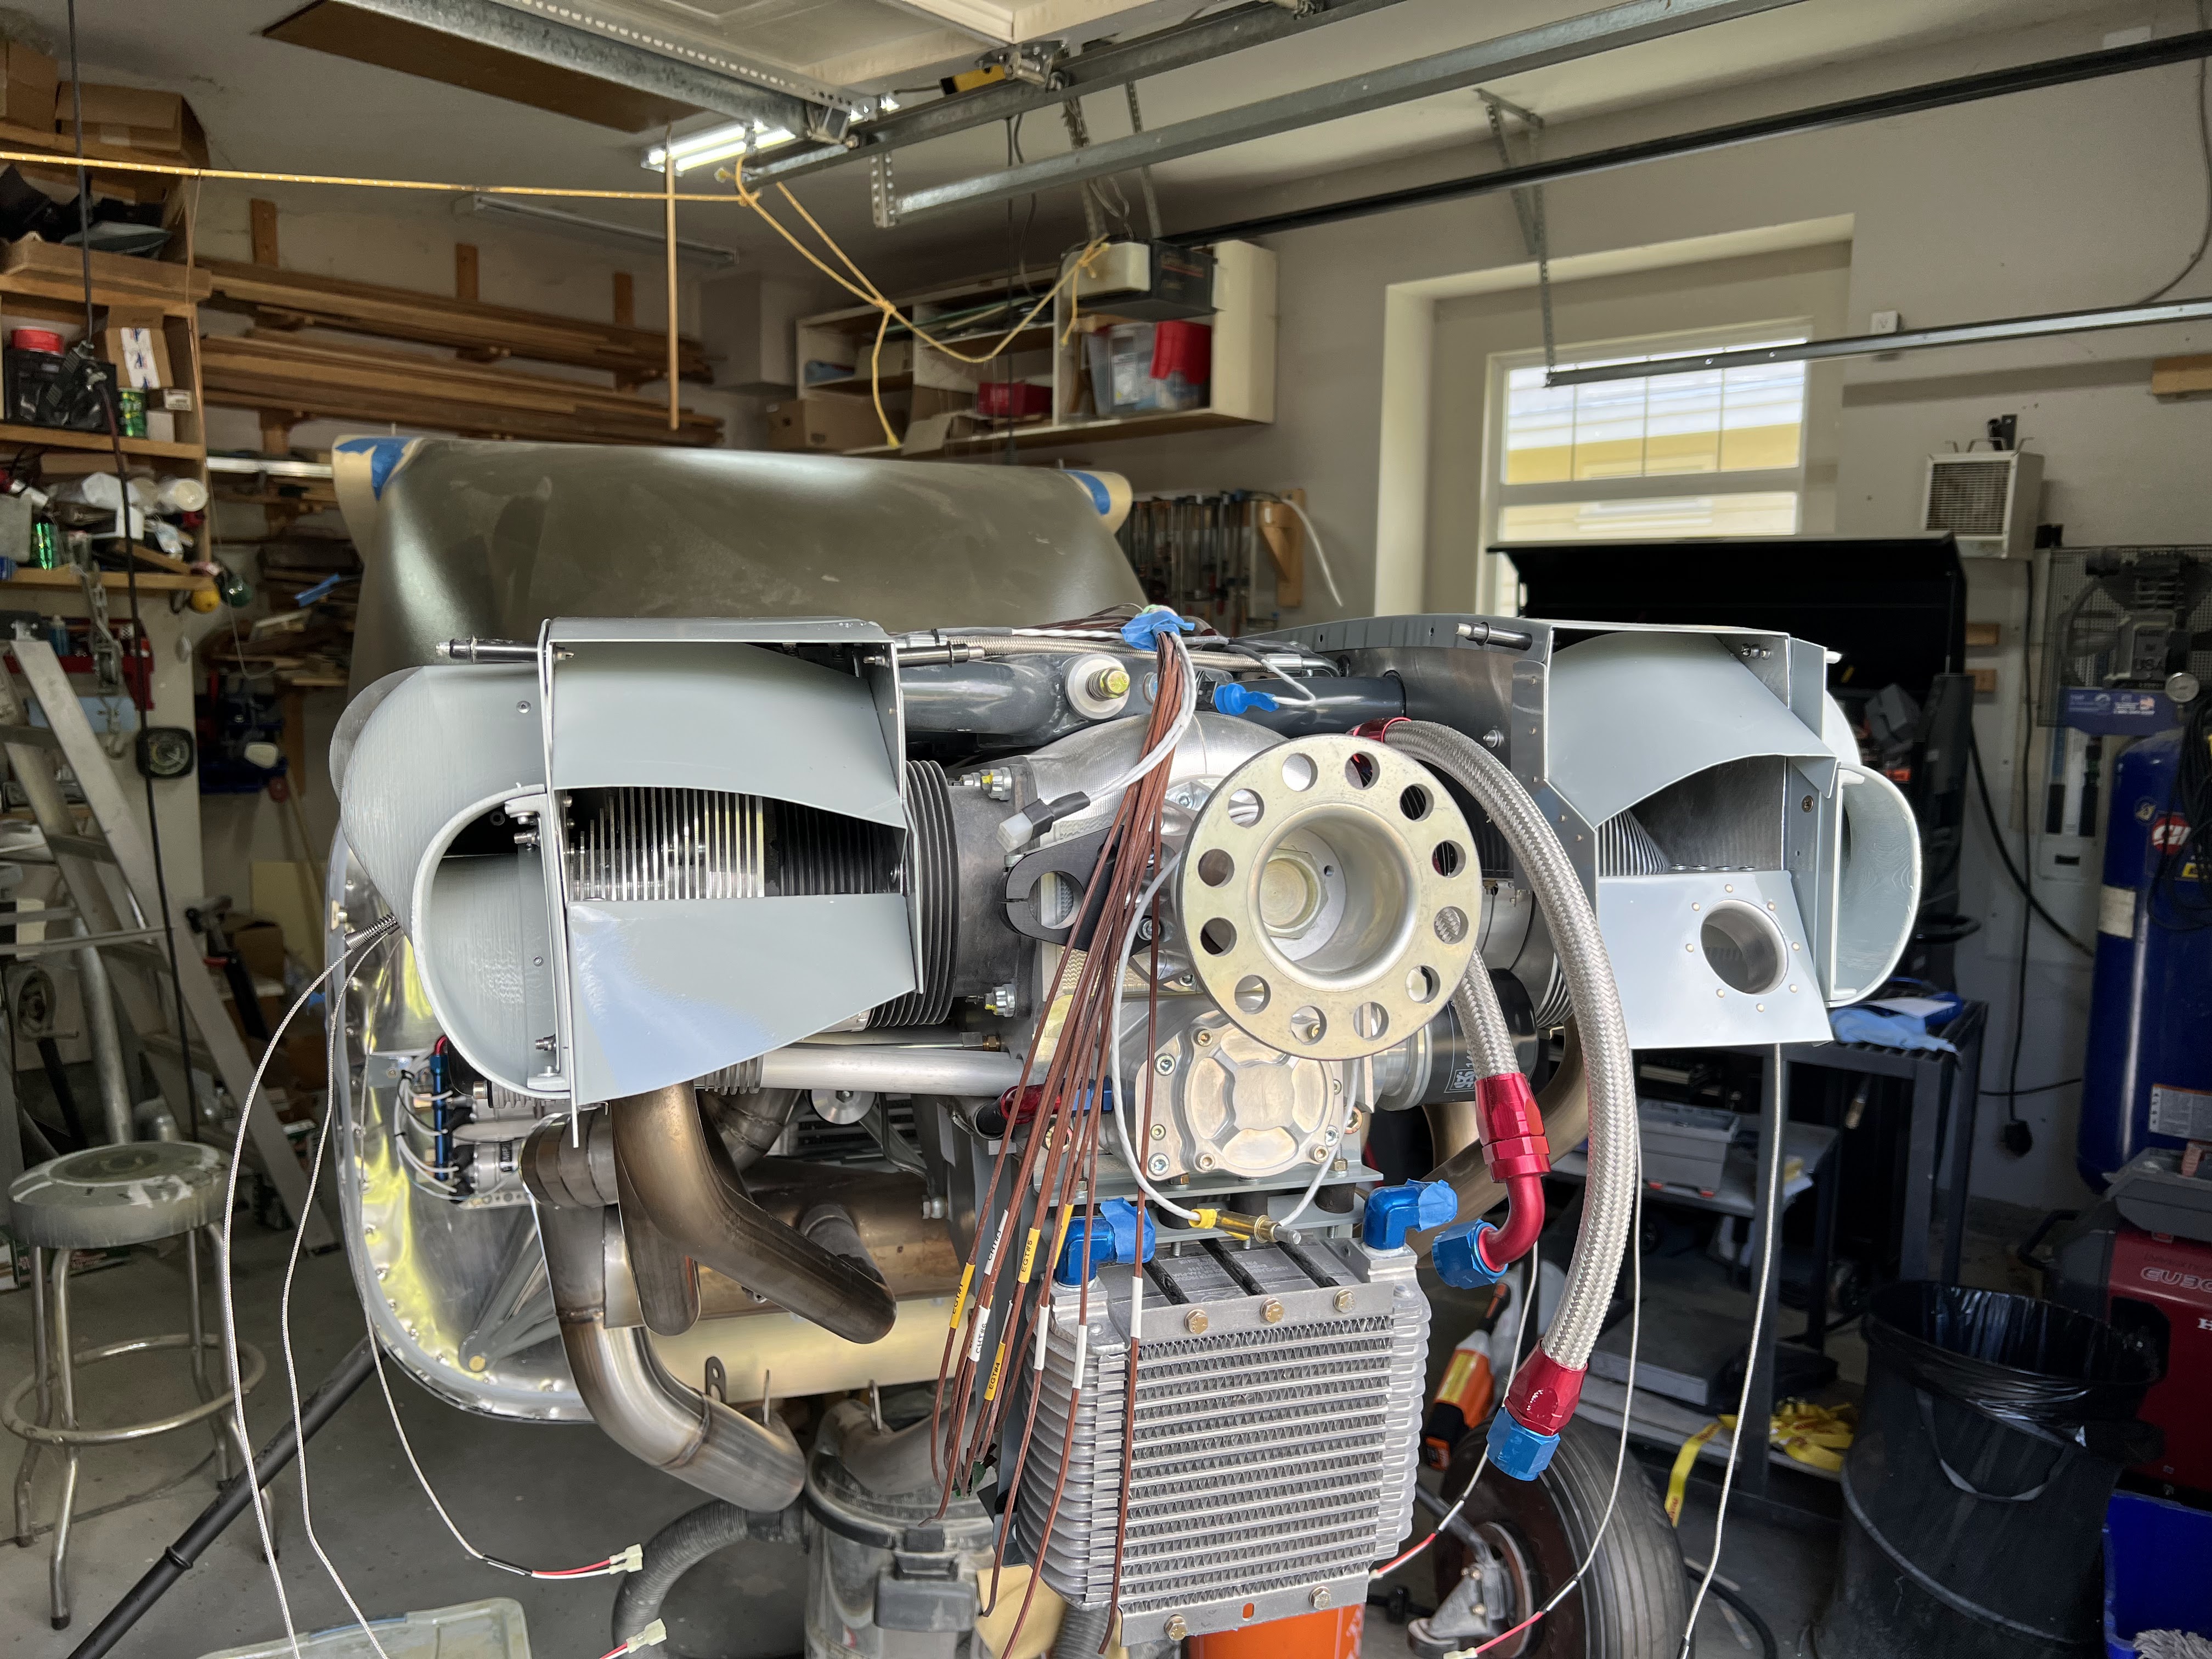
Both plenums / baffles are in. I had to hang the prop and see how it all comes together.
Next is tops. I figured I am going to make them full length for now, knowing that I will probably be shortening them at some point.
Finally got around to making a test top out of aluminum.
I have only put a couple of shrinks in the flange, but it is following the top of the baffle really well. I think this is going to work.
First one drilled and clecoed.
The inboard fasteners will be at odd spacings due to the intake tubes, fuel lines, injector wires, etc.
Onto the inlet ramps. In my effort to keep the cowling looking 'stock-ish', I need to transition the air up and into the plenum. Have been starting at this for awhile. I took inspiration from how my Dad did the inlets on the Emeraude.
As usual, started with a paper template.
And then made it out of aluminum. Only difference is the aluminum piece has flanges on the forward portion. My hope is to tie these into the top to make them stiffer.
The front of the cowl is drooping slightly as its only held in by clecos - so probably some more trimming down the line, but this was the basic plan to start.
The top ramp is going to be much more challenging I think :-).
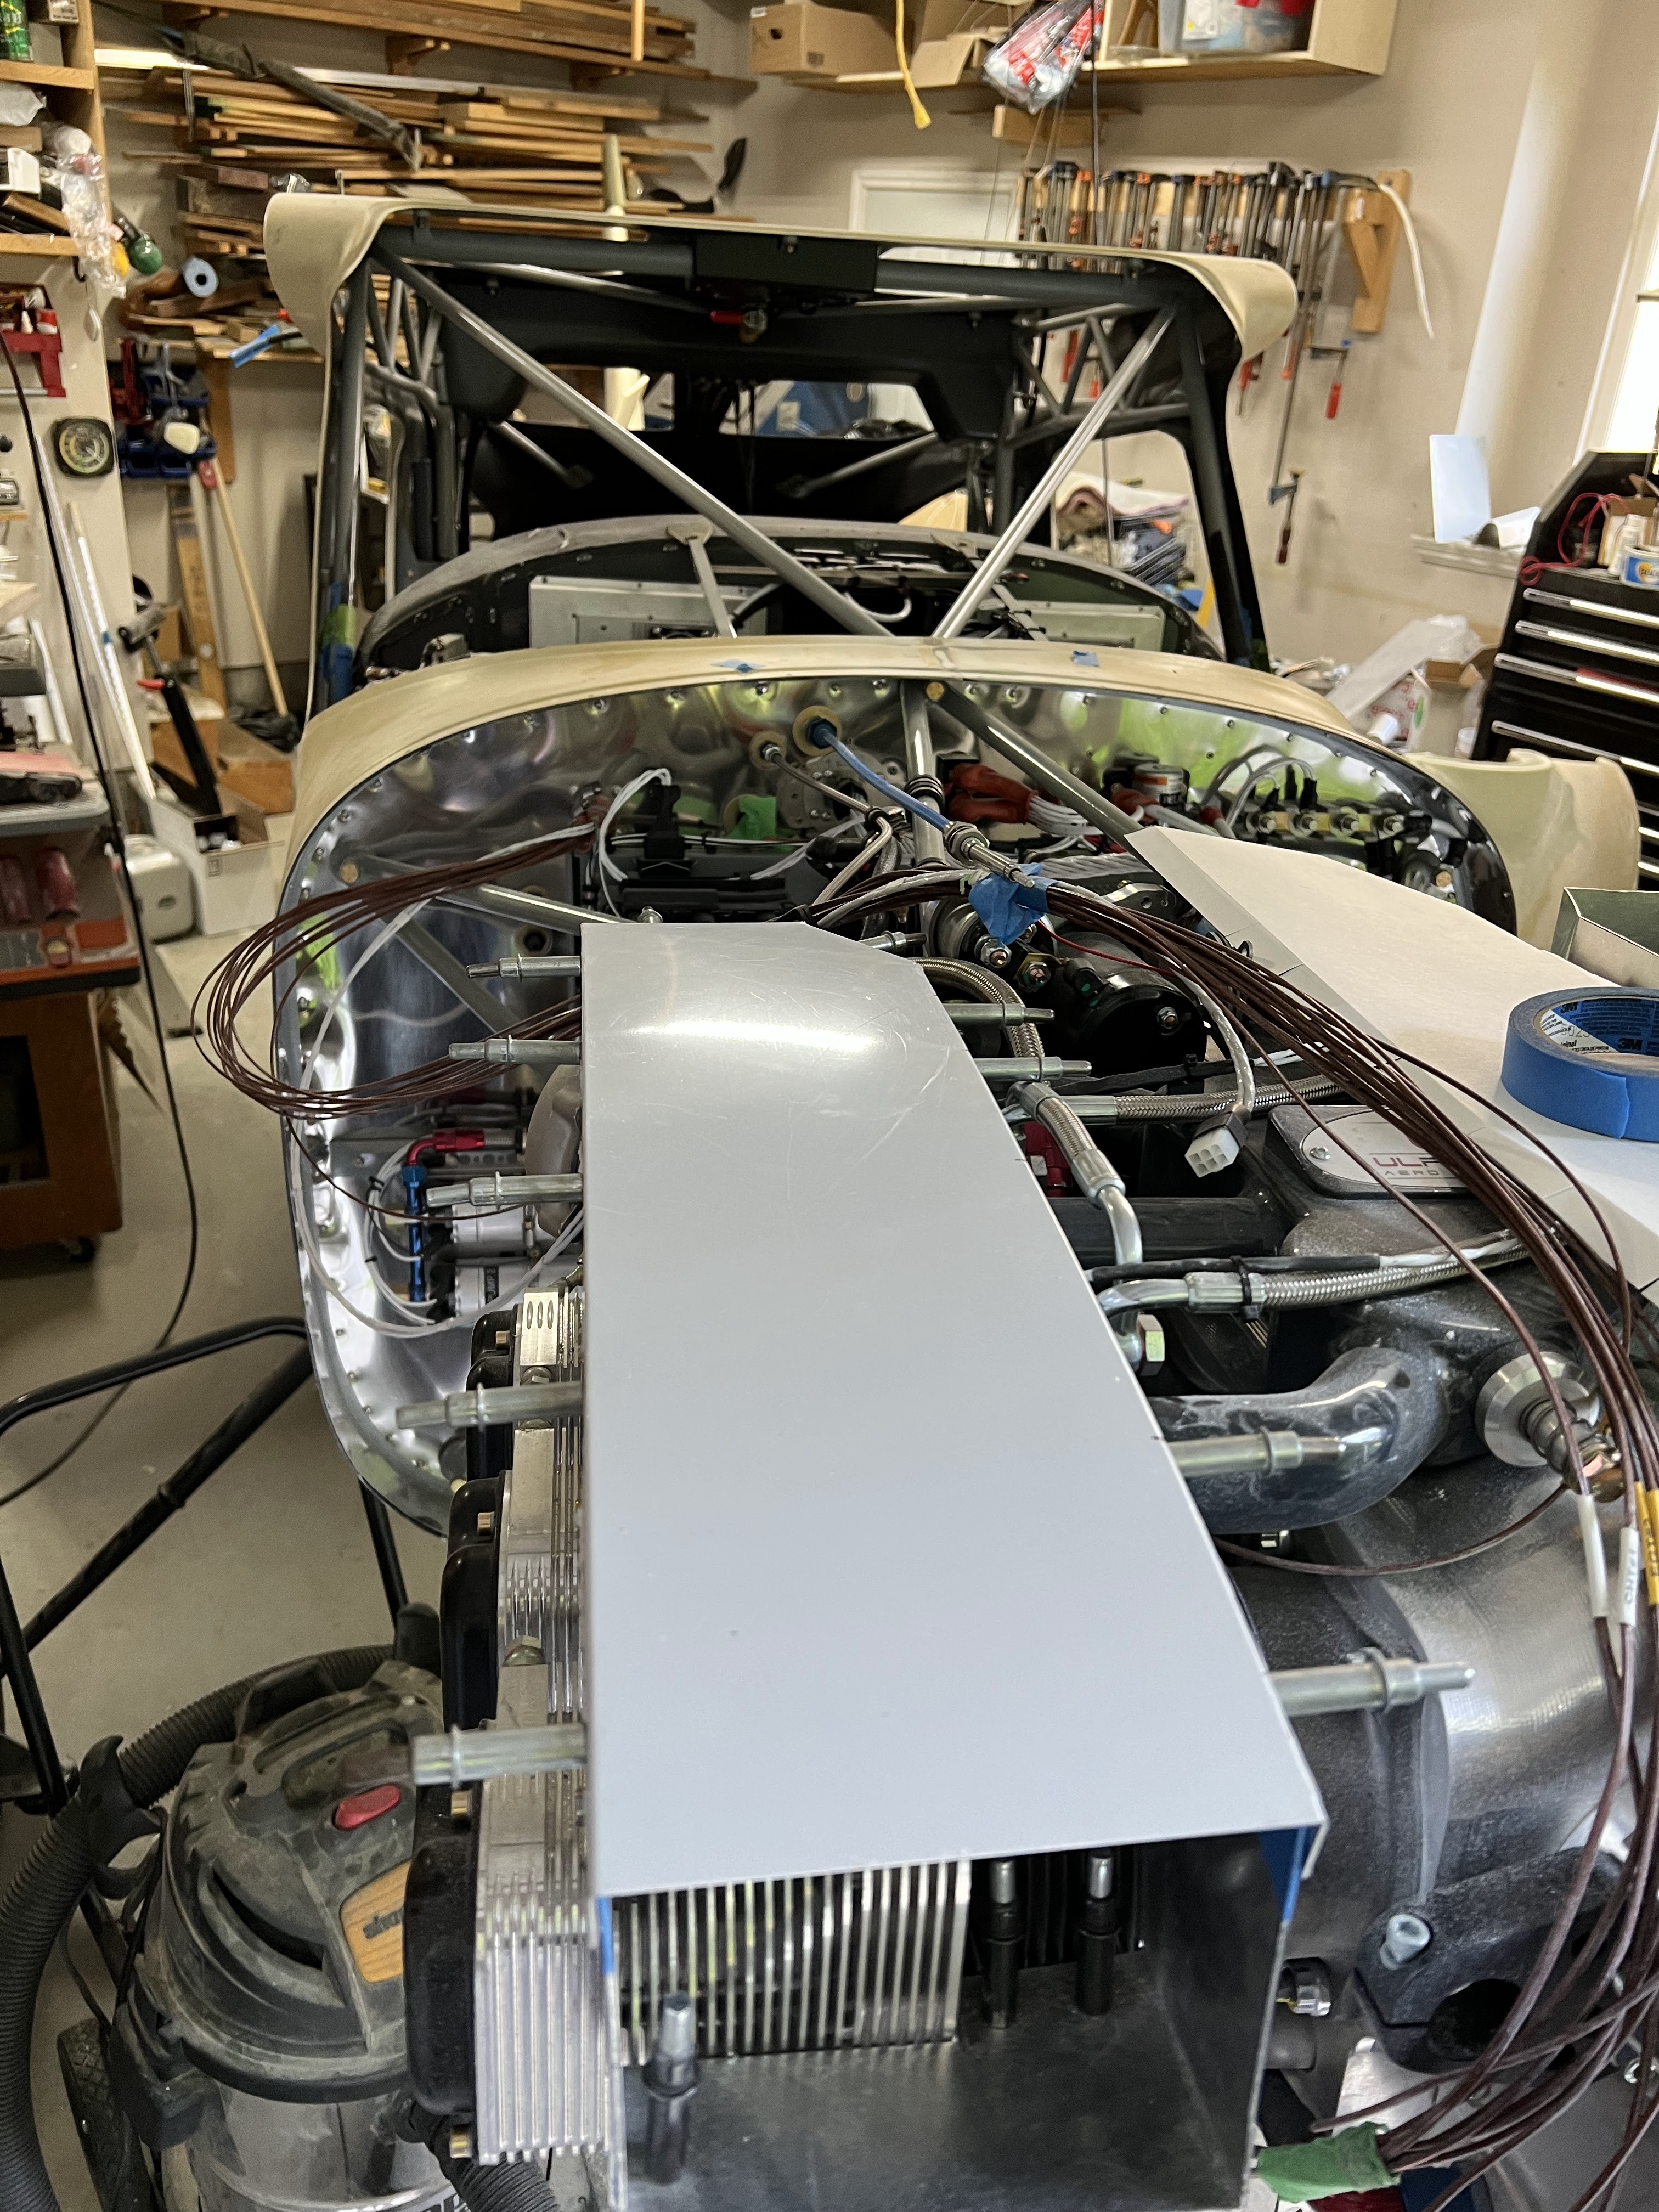
So fast forward a whole bunch of months... Like more than 6 months... and all of this is DONE.
Just need to connect the SCAT tubes from the forward plenum's to the intercooler plenum.


No comments:
Post a Comment