Today I received the confirmation that my project "mark" has been reserved by Transport Canada!

Next step is registration, which will hopefully happen next year.
Today I received the confirmation that my project "mark" has been reserved by Transport Canada!
Next step is registration, which will hopefully happen next year.
I am lucky enough to have the cast rudder pedals with my kit. As part of the repaint, I removed everything and either cleaned, painted or anodized the parts.
Rudder pedals after anodizing

They didn't come out really black, but kind of a dark grey. I think they will look good.
Refurbished pedals installed.


All of the nylon brake lines have been replaced with teflon / stainless steel braid (Aeroquip). Also, a Matco parking brake was added under the forward tunnel.
I put the reservoir close to the stock location, but mounted it with an Adel clamp. I don't see any reason to mount this to the firewall. Also, I used teflon lines all the way up to the reservoir (the 2004 manual says use Nylon... the TWTT instructions use teflon / stainless for everything but the reservoir).
All brakes lines have been run, except to the callipers (up to the park brake).


January 2022 update.
Finally got around to spiral wrapping the brake lines, and attaching the hose coming down from the reservoir.


I probably spiral wrapped more then I needed to as well, but oh well. Its light stuff.
The gear truss upgrade done earlier in 2021 was in order to be able to handle larger main wheels - specifically 31" Alaska Bushwheels.


Ordered the legs from Langair in January, and the arrived early April. I had a shoulder added to the leg to be able to add a step at a later date.


There was some corrosion in the sockets, and some overspray. So again, with a drum sander I very carefully cleaned everything up, and then cleaned out the socket with some WD40, a rag, and a long screwdriver to push it through a few times.
They are REALLY tight. Had to pound them in the last inch with a rubber mallet. Hopefully they come out again :-)
I bought two 100" lengths of 1.5 x 1.5 x 0.25" angle for levelling the legs and setting the toe.
Next step is alignment.
There have been a huge number of posts on this subject.... but here are the goals:


In 2020 Glasair came out with a new 'Interior' for the sportsman. New cage color, new seat color, and new interior color.
I plan to leave the cage 'as is' (aka light grey), but 'darken' the interior fibreglass to match the new style. I really don't think I can get good coverage on the cage with it installed, so am going to leave well enough alone.
Glasair uses a Sherwin Williams product - 'JetFlex', which is a proper aviation interior paint. This stuff is expensive - like almost $500 CDN / gallon (plus catalyst and thinner - $700 all in). And then they top it with Zolatone. My interior already has Zolatone (aka texture), so I started playing around with putting the JetFlex on top, to see how it comes out.
Bulkhead A with factory (quick build) Zolatone.


First front door complete (co-pilot). I will replace the screws one day with dark / black screws... but for today, this is good enough. This pic gives a good comparison of the before and after...

I did the repaint in sections. Doors were done individually, but for the fixed interior I did the rear first as it required the most sanding / filling. Then I did the roof and door pillars, down to the top of the seat rails, then the floor and forward of the doors.


Last section.... below the door sills, forward cabin floor, and up to the firewall.


Service Bulletin 69
I opted for the 'weld up' option, and everything is open and exposed, and its lighter. Plus I wanted to do the gear truss (welded) upgrade, so might as well go all in.
The short version of this SB.... in the forward seat position, the angle of the belts is not ideal. This doesn't really apply to me (with the seat all the way back), but figured I might as well do it.
There are 4 components to the upgrade:
1. Center post that is welded into the centre truss. Provides the inboard lap belt tie in.
2. Outboard mount points (x2)
3. New (longer) seat belts.
The first part of the upgrade is pretty simple, as it almost centers itself in the centre truss.

The outboard mount points are a bit trickier, as they are in 2 parts. One is a plate with a sleeve, and then a 2nd plate gets welded on after.

As per usual, once everything is located you need to gently remove the paint, and prep everything for welding.

Once everything is prepped, I used weld through primer on all the surfaces that you won't be able to get to after the fact.

And all finished....


Airplanes have a lot of places you shouldn't push / pull on. On high wing aircraft, you have the struts which works great with 2 people. For trikes, you can use a handle on the nose wheel. The prop works, but has risk associated with it.
Some tail draggers have retractable handles on the rear fuselage.... a Tail Pull Handle...
B.A.S. makes one for the Sportsman. They are a pretty simple concept. Essentially it is a tube that mounts on the airframe, with small retractable handles (another tube) that you can use to push / pull the airplane around.
Ted Setzer wrote this up for the forum, and as usual I am following his trail.


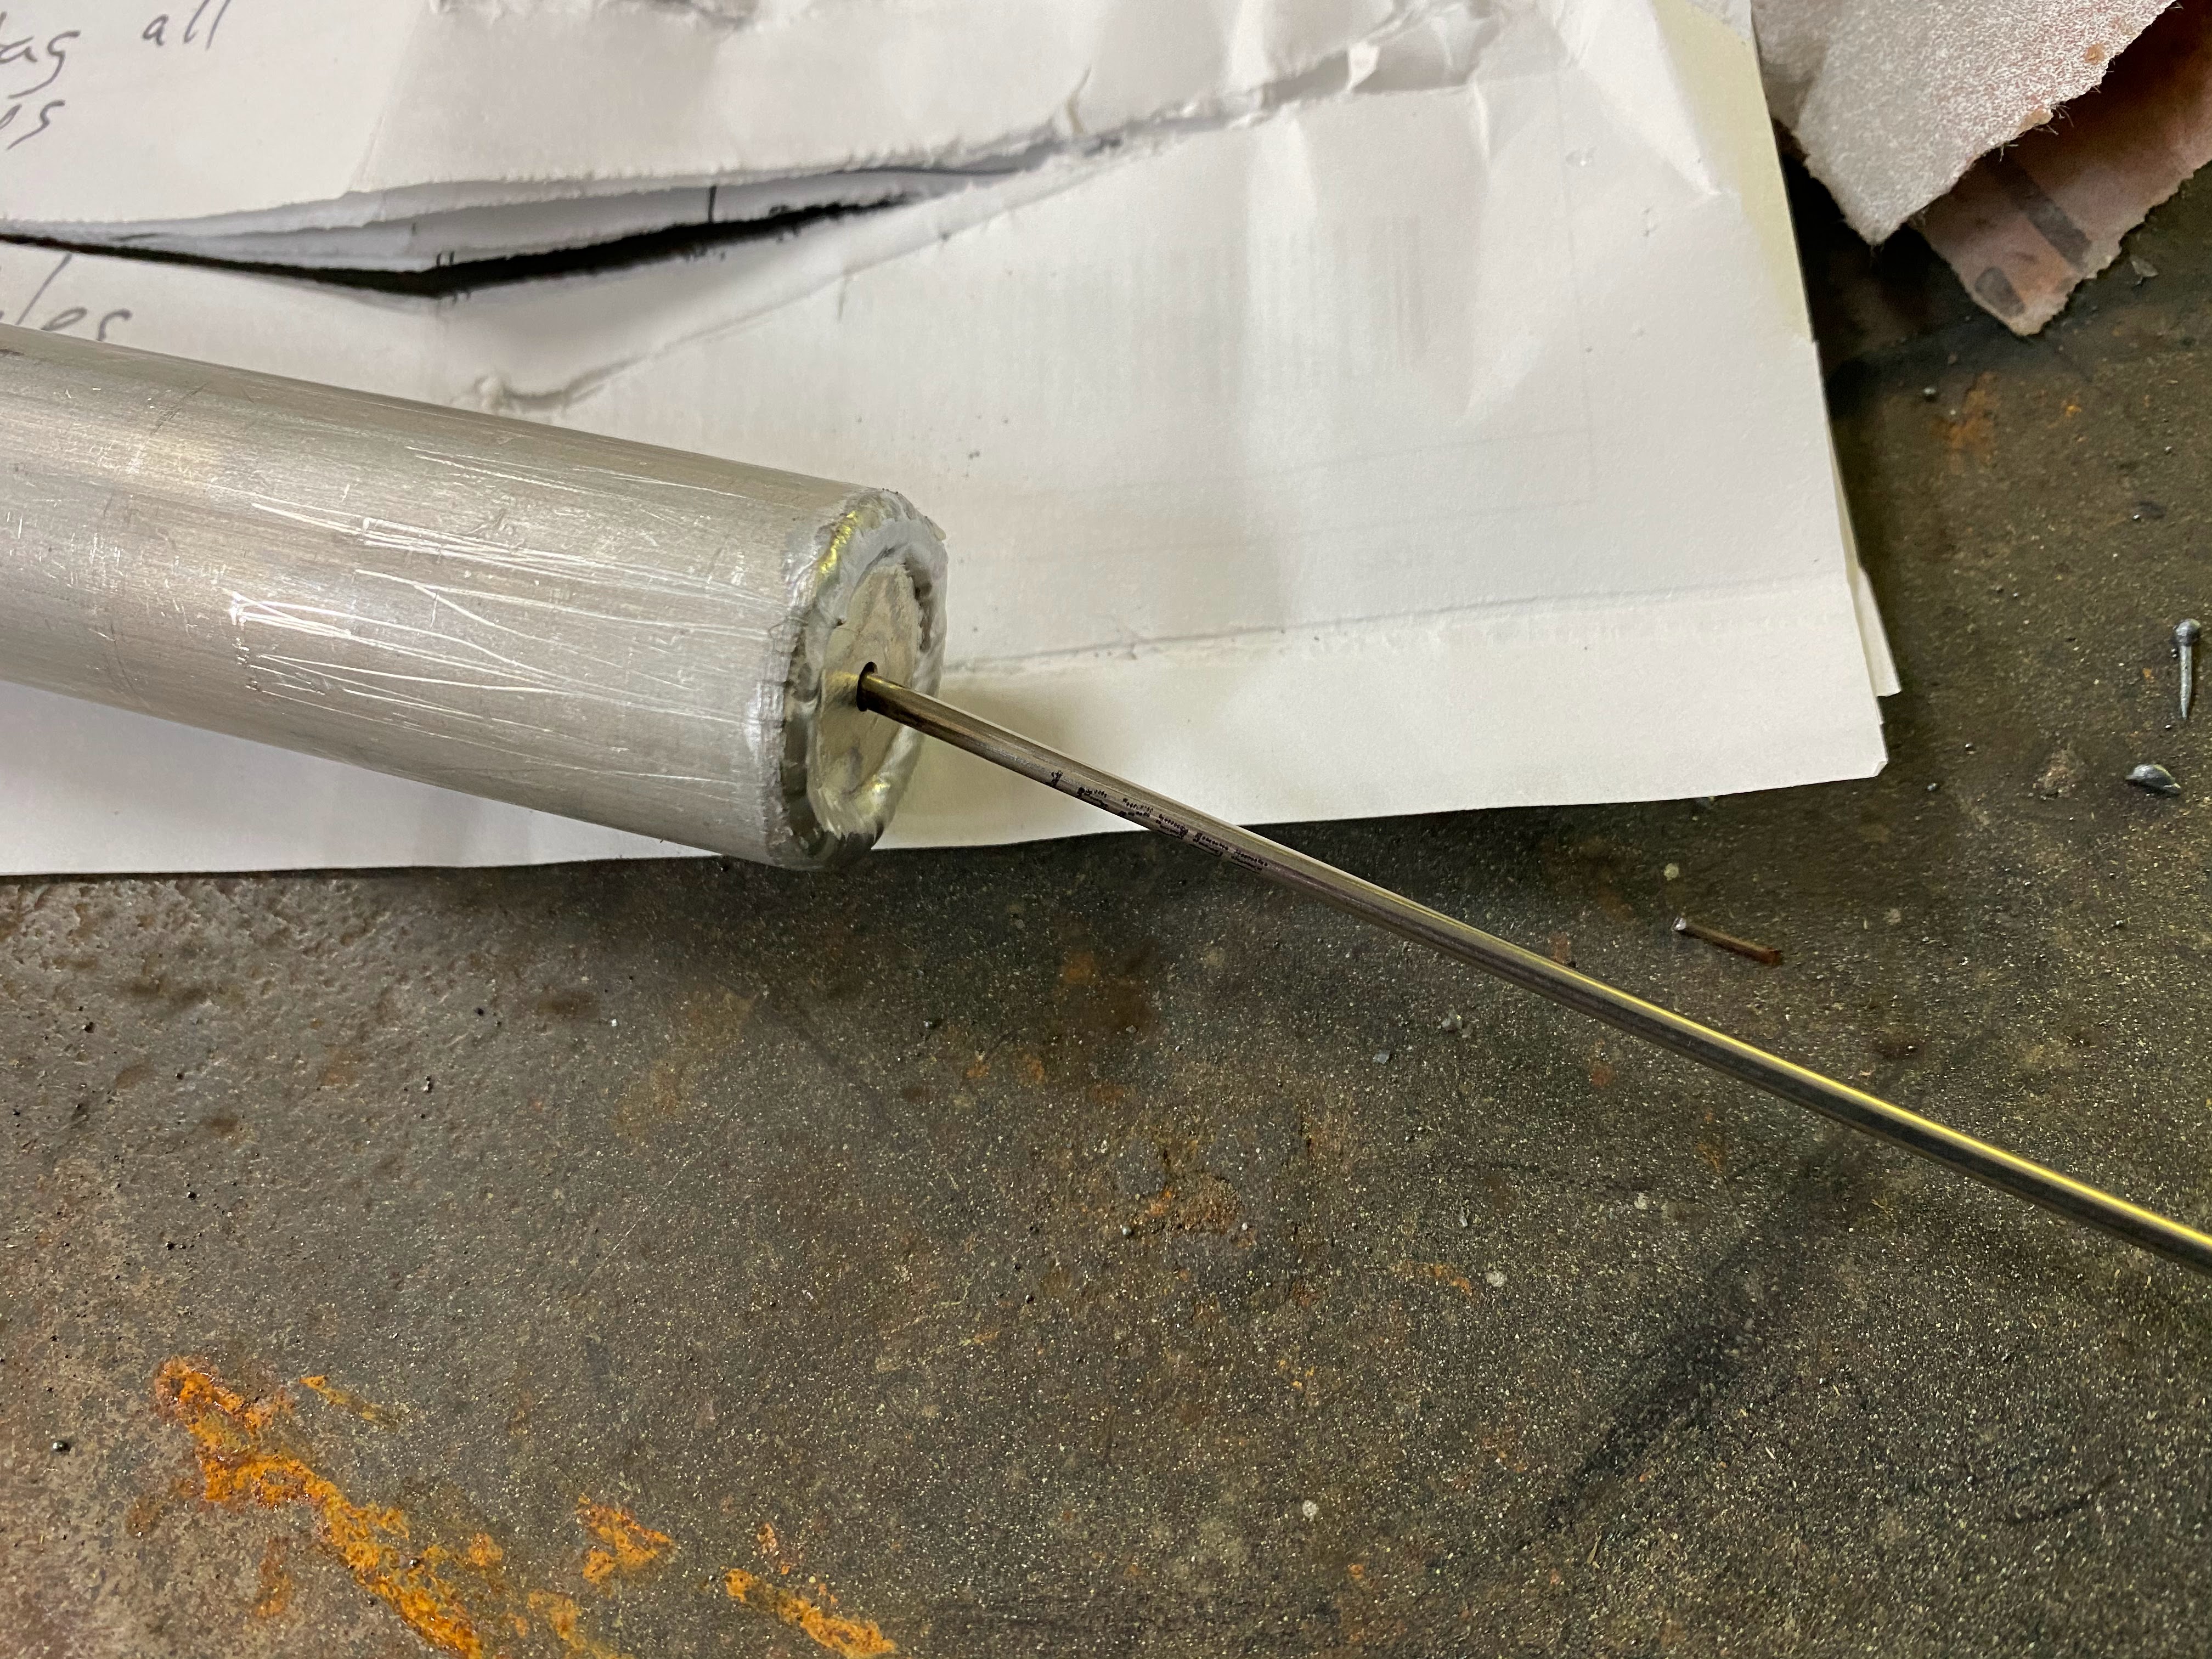

There is a .09 stainless wire that stops the tube from popping out. On the inboard side, there is a bolt that goes through the outer tube and the wire is wrapped around it. On the handle side, the wire is welded to a washer.
Step #1 was disassembly... I ended up unbending the wire around the bolt, with the hope of wrapping it back around after the handles have been anodized.
Step #2 is drilling the mounting holes in the fuselage. You crawl in the fuselage with a hole saw and drill the first hole up against the forward side of bulkhead B. Then I got out and put the tube into the first hole... using a small level I marked the top of the other side and drilled it next.
I started the holes on the inside, through the inner layer of glass. Then I finished the hole from the outside. The act of drilling the inner gummed up the hole saw enough that I had to get out anyway to remove the debris.
I used a 1 1/8th hole saw. The outer tube is slightly bigger than 1 1/8. I tested on a thin piece of wood first, and it was right on the money.

Step #3: Getting the handles anodized. I unwound the wire and extracted the retaining mechanism and sent the handles off. They are nice and black.
Step #4: Reassembly. I put the whole thing back together and then filled the cavities in the fuselage with a mixture of resin, cabosil, and milled fibre. Then inserted the handle from the inside, and filled the gaps between bulkhead B and the handle.


For those of us that plan on running big tires and fly off airport, extended / heavy duty gear legs are available from Langair for $1100 a set. Mine are on order, and will hopefully be delivered in a month or so.
My plan is to run 31" Alaska Bushwheels...
Side note: My current aircraft is a low wing, taildragger with wheel pants. I have never flown 'off airport', but have gone into some pretty gnarly strips considering I have 600x6 tires that are covered. I have suffered quite a bit of wheel pant damage, and have spent a lot of time repairing and repainting them. I plan to do this no more. My goal for the sportsman is to be able to go wherever I want. On airport, off airport, etc. I am probably not going to be going into horrible places that you should just not attempt to land... I dont need insane performance... I want the aircraft equivalent of a capable 4x4 that will get you 95% of the places you ever want to go...
My fuselage is ~2006 vintage, and was never designed for bigger gear / big tires. Ted Setzer developed a mod to the gear truss to add significantly more strength. During the design of the original Glastar, the plan was for the gear to fail before the cage.... this mod allows that philosophy to remain true. There has only ever been 1 documented case of a cage bending due to a bad landing.
The mod applies to the forward (taildragger) gear truss. I took a piece of 1" OD, 0049 wall 4130 tubing and split it down the middle on a metal cutting bandsaw. You then proceed to make caps that go overtop of the existing top / bottom tubes of the truss.


All the welding is done.... now onto cleanup and priming. Knocked off all the 'boogers' (as my brother in law calls them) with a combination scotch bright pads and wire wheels. Using a sanding disk for the largest 'knobs'. Using a self etching primer to halt the corrosion.....

The downside to putting the lower caps on the bottom of the truss is ability to prime / spray. Using a brush to get to the bottoms. Fortunately the insides are all primed before welding.
Our local auto parts distributor (Lordco) mixed me up a batch of paint in a 2K can (with hardener) and it is really close. A bit more glossy than the original, but you will never see it.
Final result:

